What do you want to find out?
The Overwriting calculated distances feature allows you to specify the distance the program calculates between two specific clients (instead of the distances calculated by the program).
- The specified distance will be valid for trips entered after setting the new distances. In the same way: the data already entered will not be changed if you change or delete the set distance.
- After overwriting the calculated distances, the distance between the two clients will be the later set mile. This will happen regardless of the type of trip entered in the mileage log (mobile app, fixed trip, recurring daily trip, AI Wizard generated trip, refueling / charging, or an imported fixed trip).
- If you delete a client, the associated distances will also be deleted.
- Before printing the document, the automatic distance correction can change the set miles. This way the added and deductible distances at the end of the month will correspond to each other.
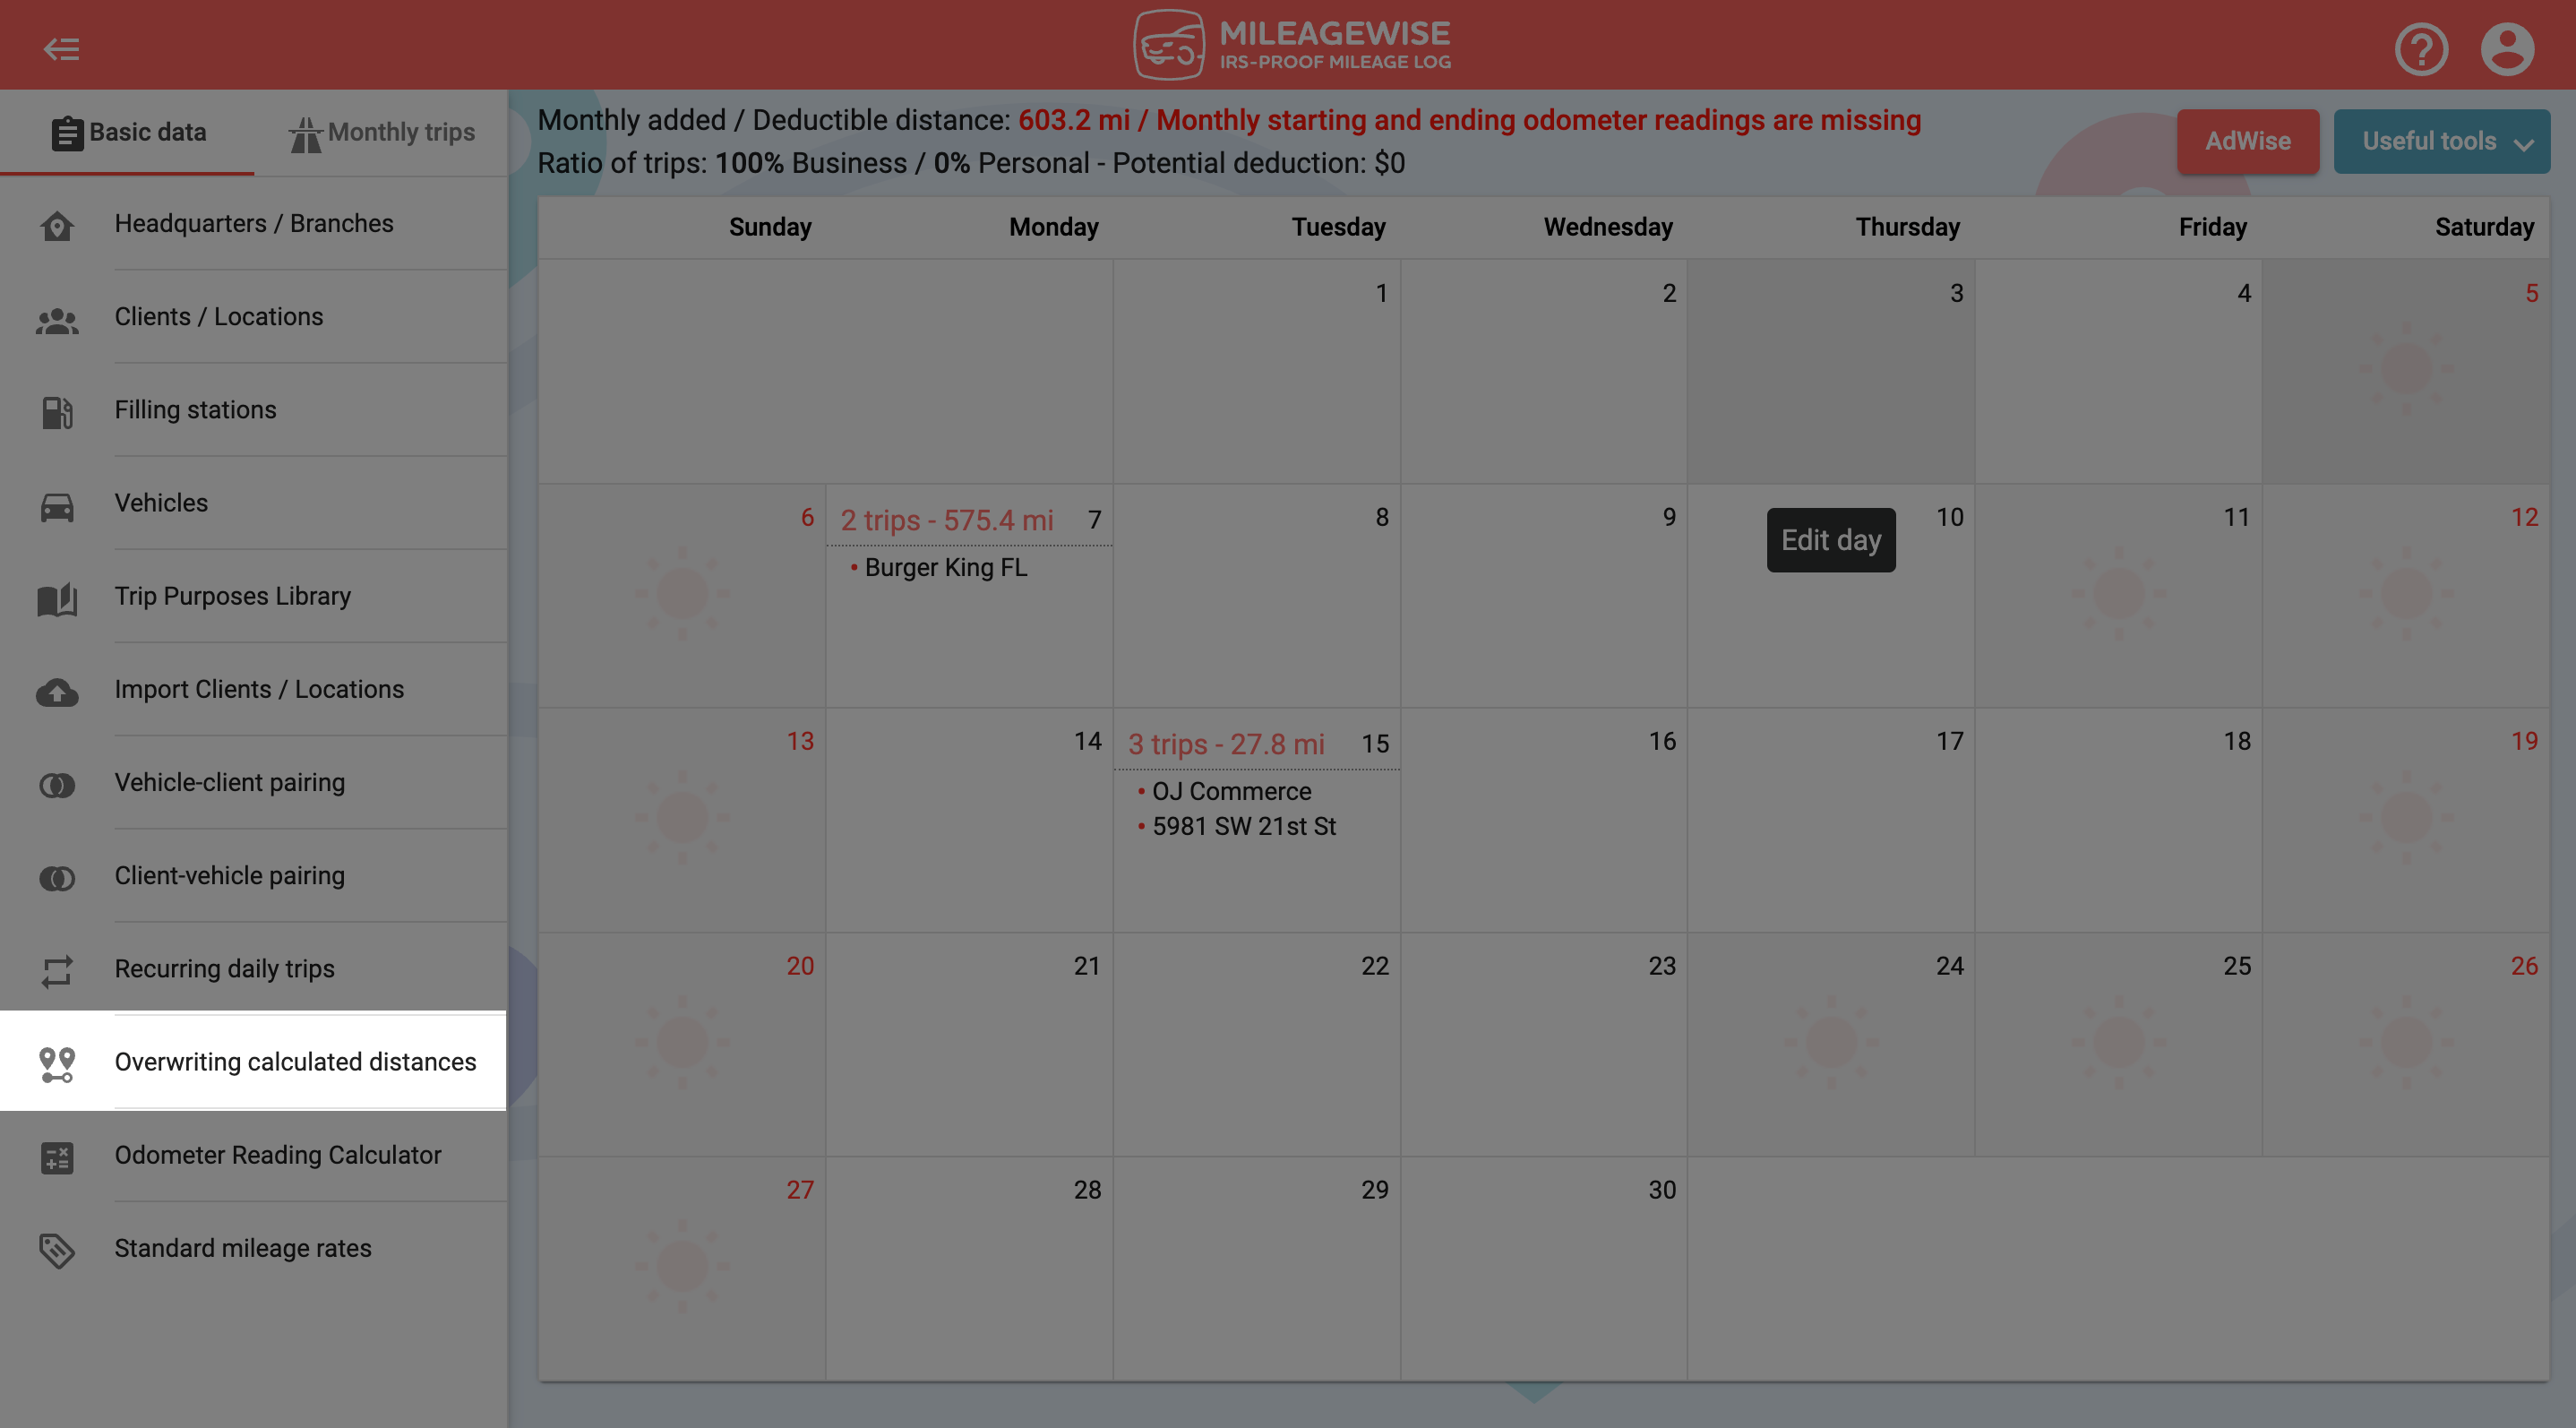
To overwrite the distances calculated by the program go to the My data menu and select the Overwriting calculated distances menu point.
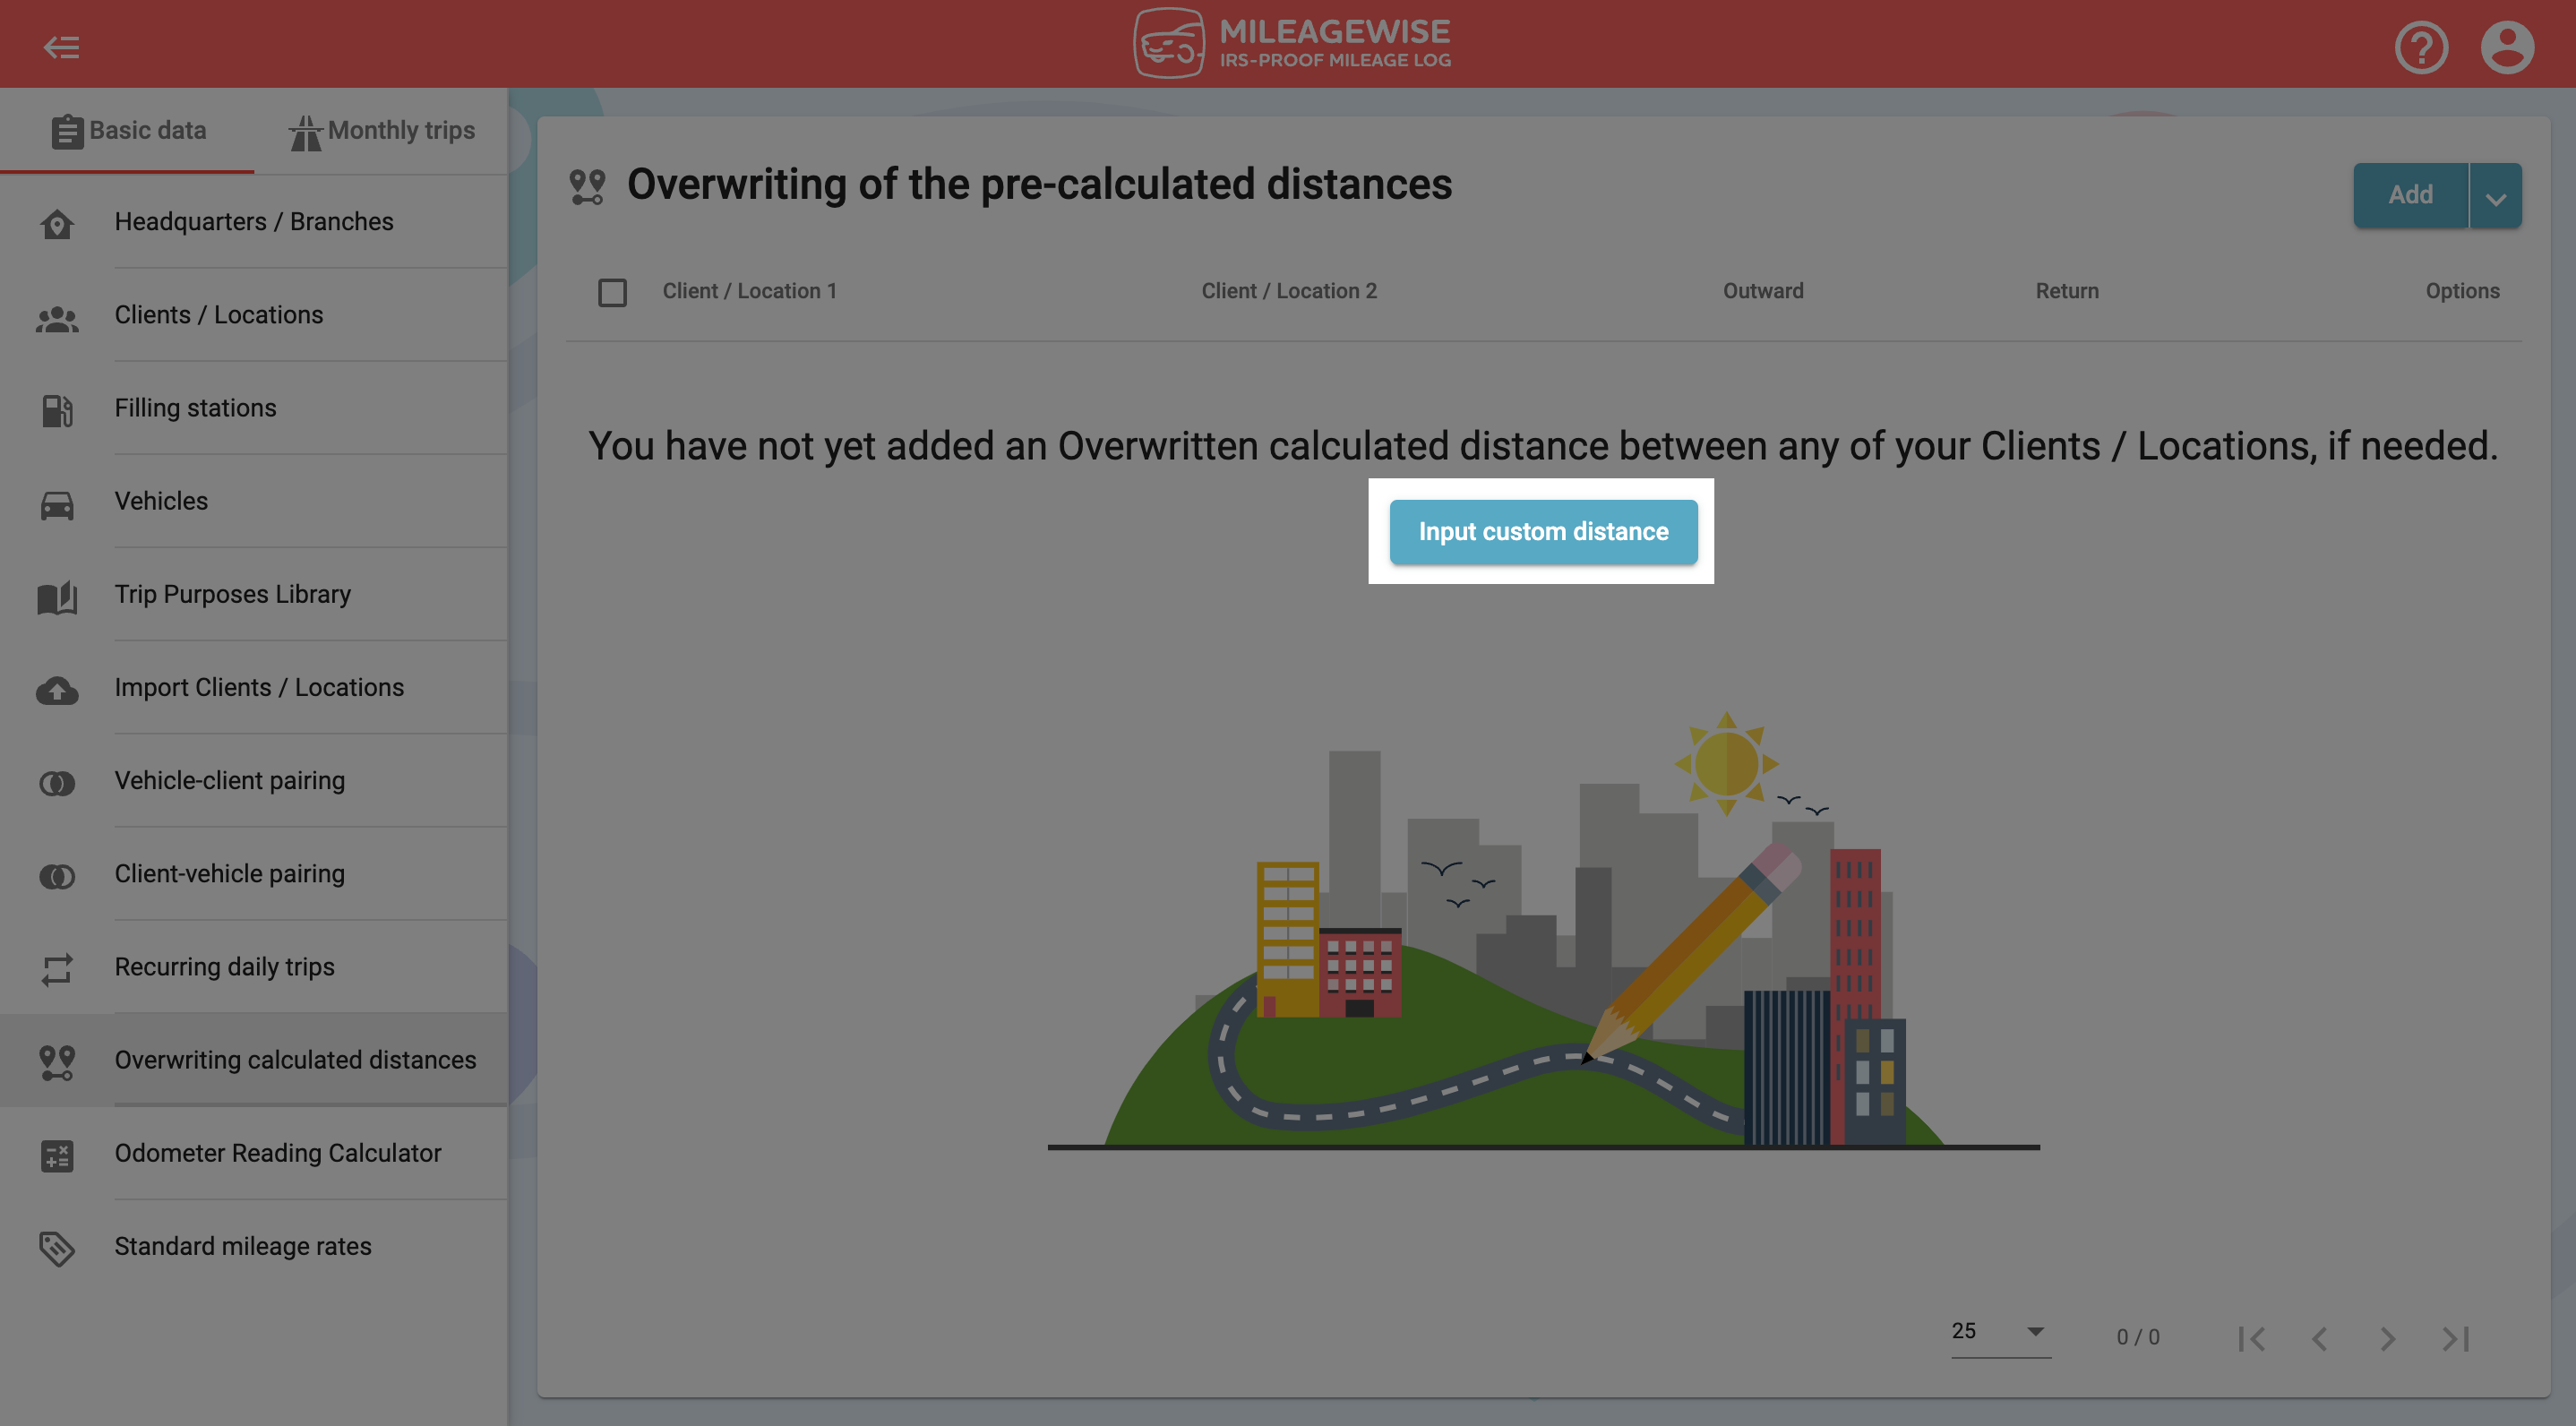
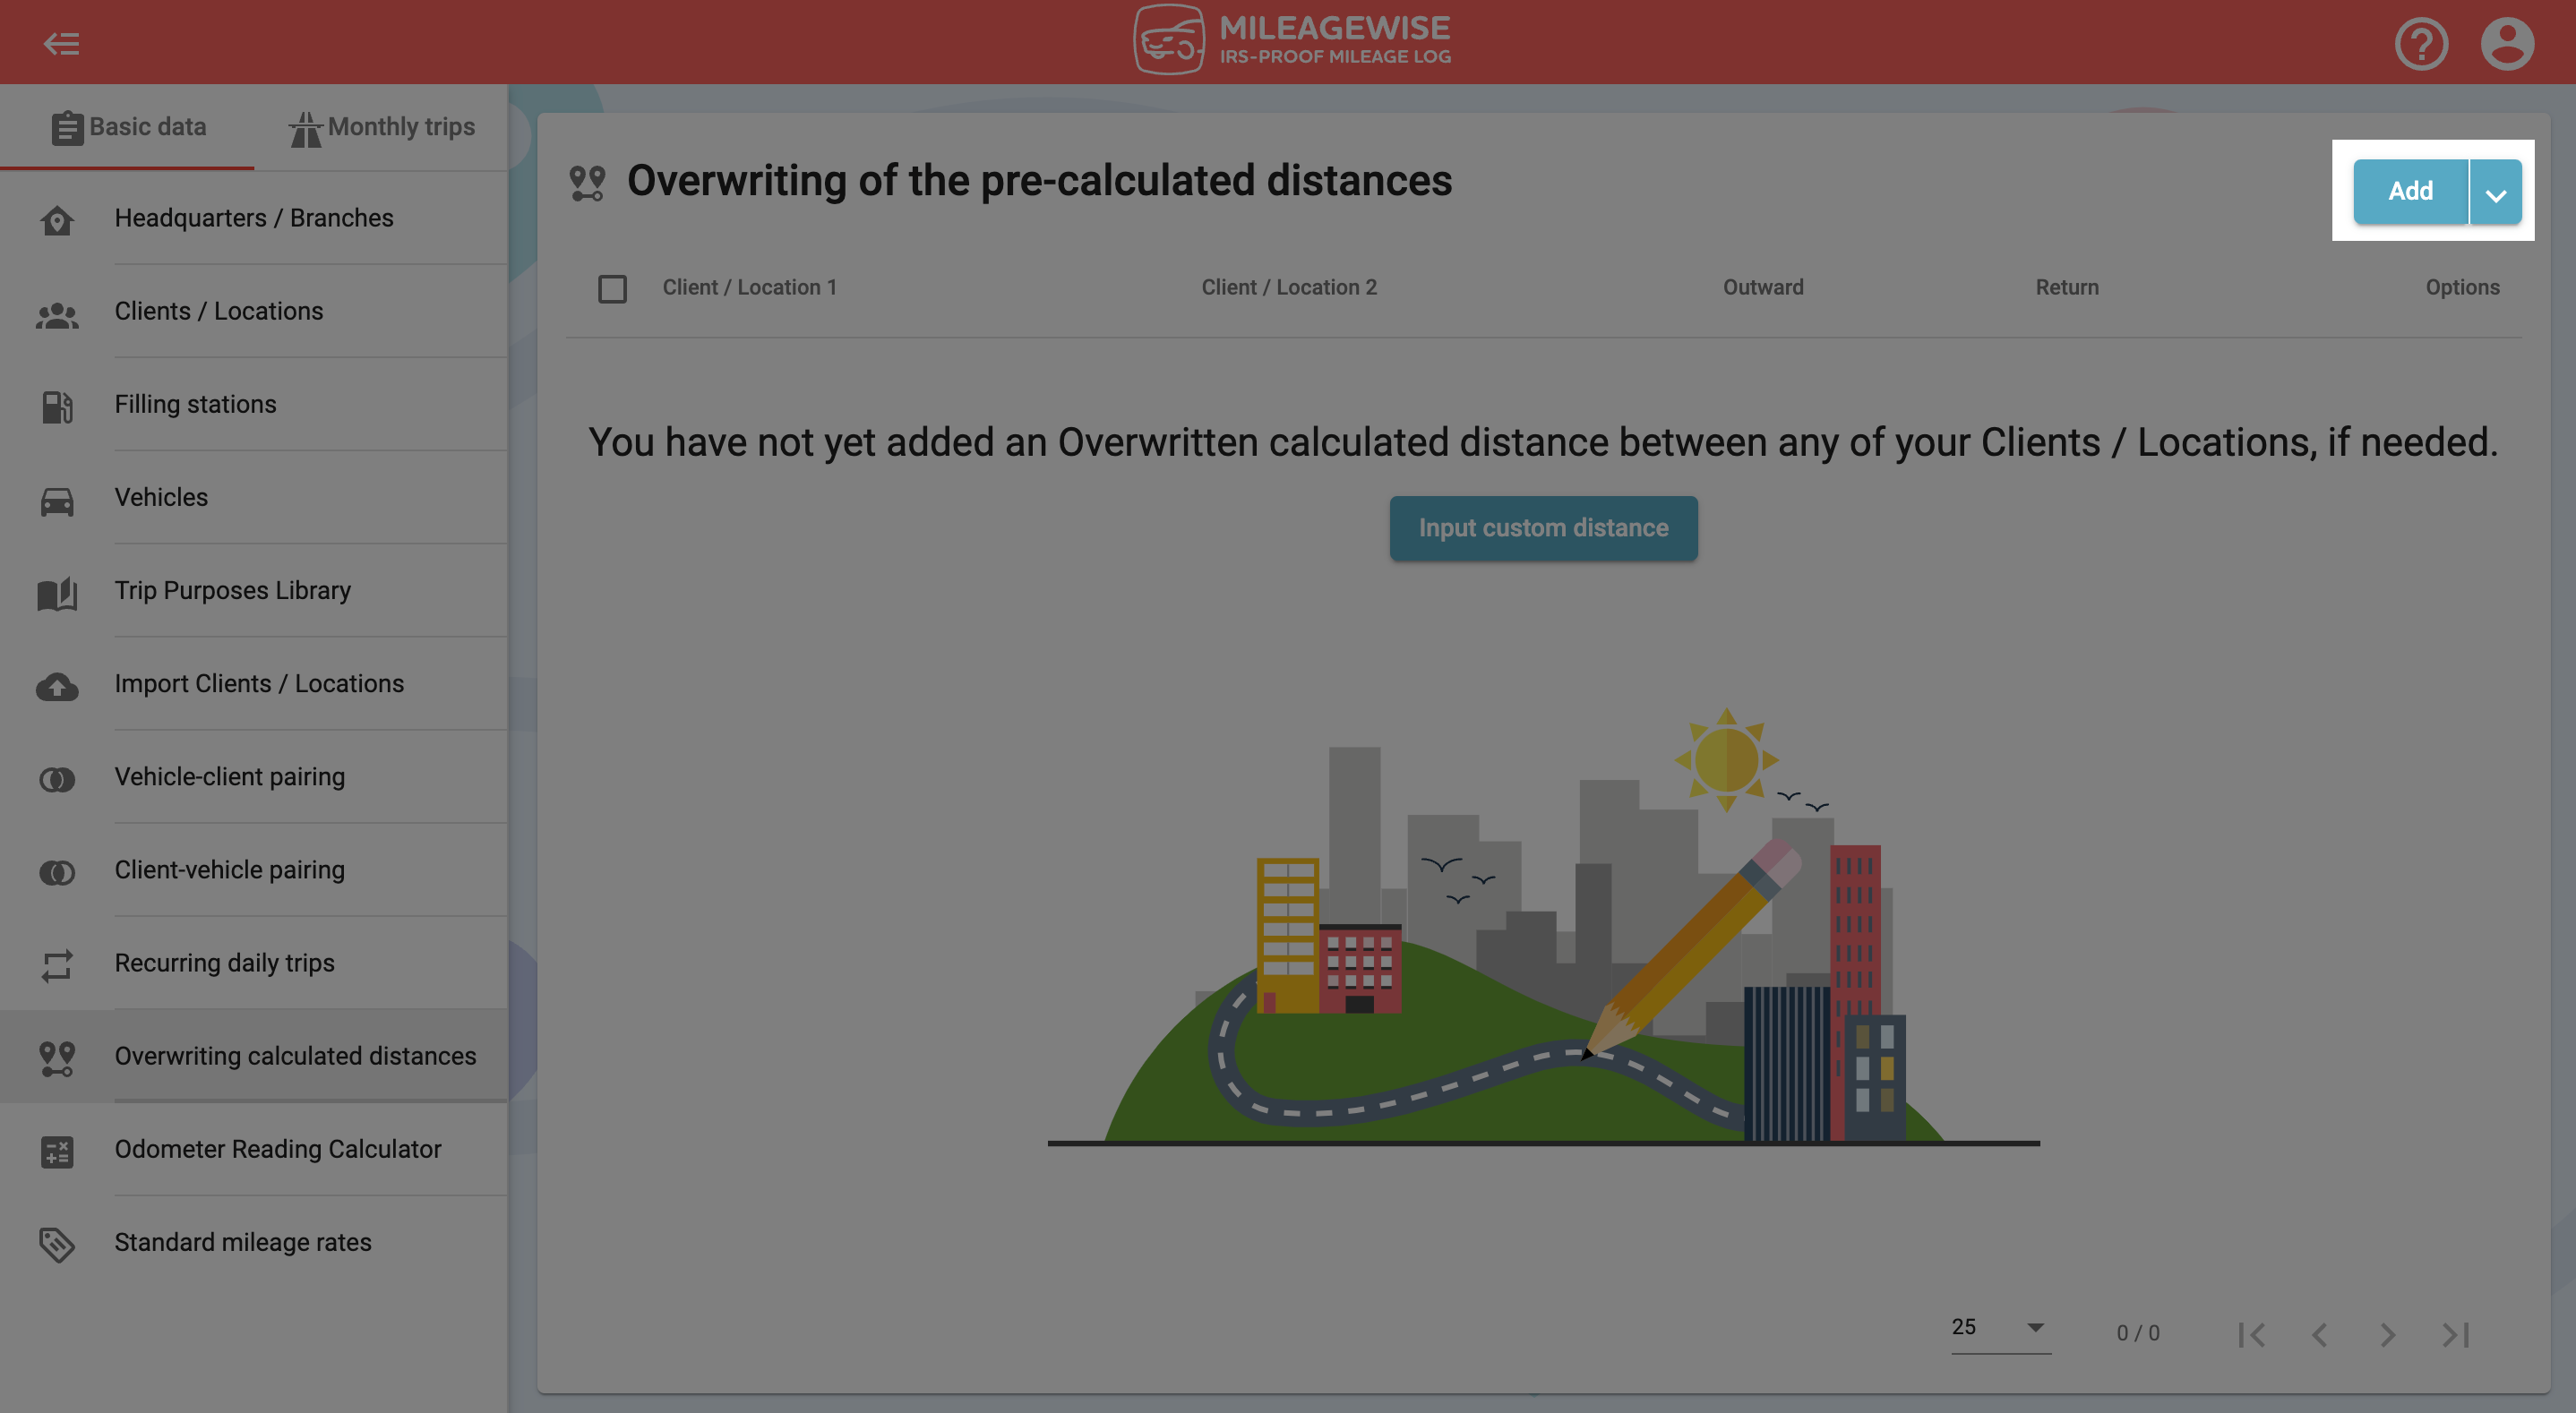
To record data, click on the text in the middle of the interface. Or select Add in the upper right menu.
Select the first client from the drop-down list or use the search option. The list shows you the clients in each category (active-passive-inactive clients, headquarters, branches, and Filling stations).
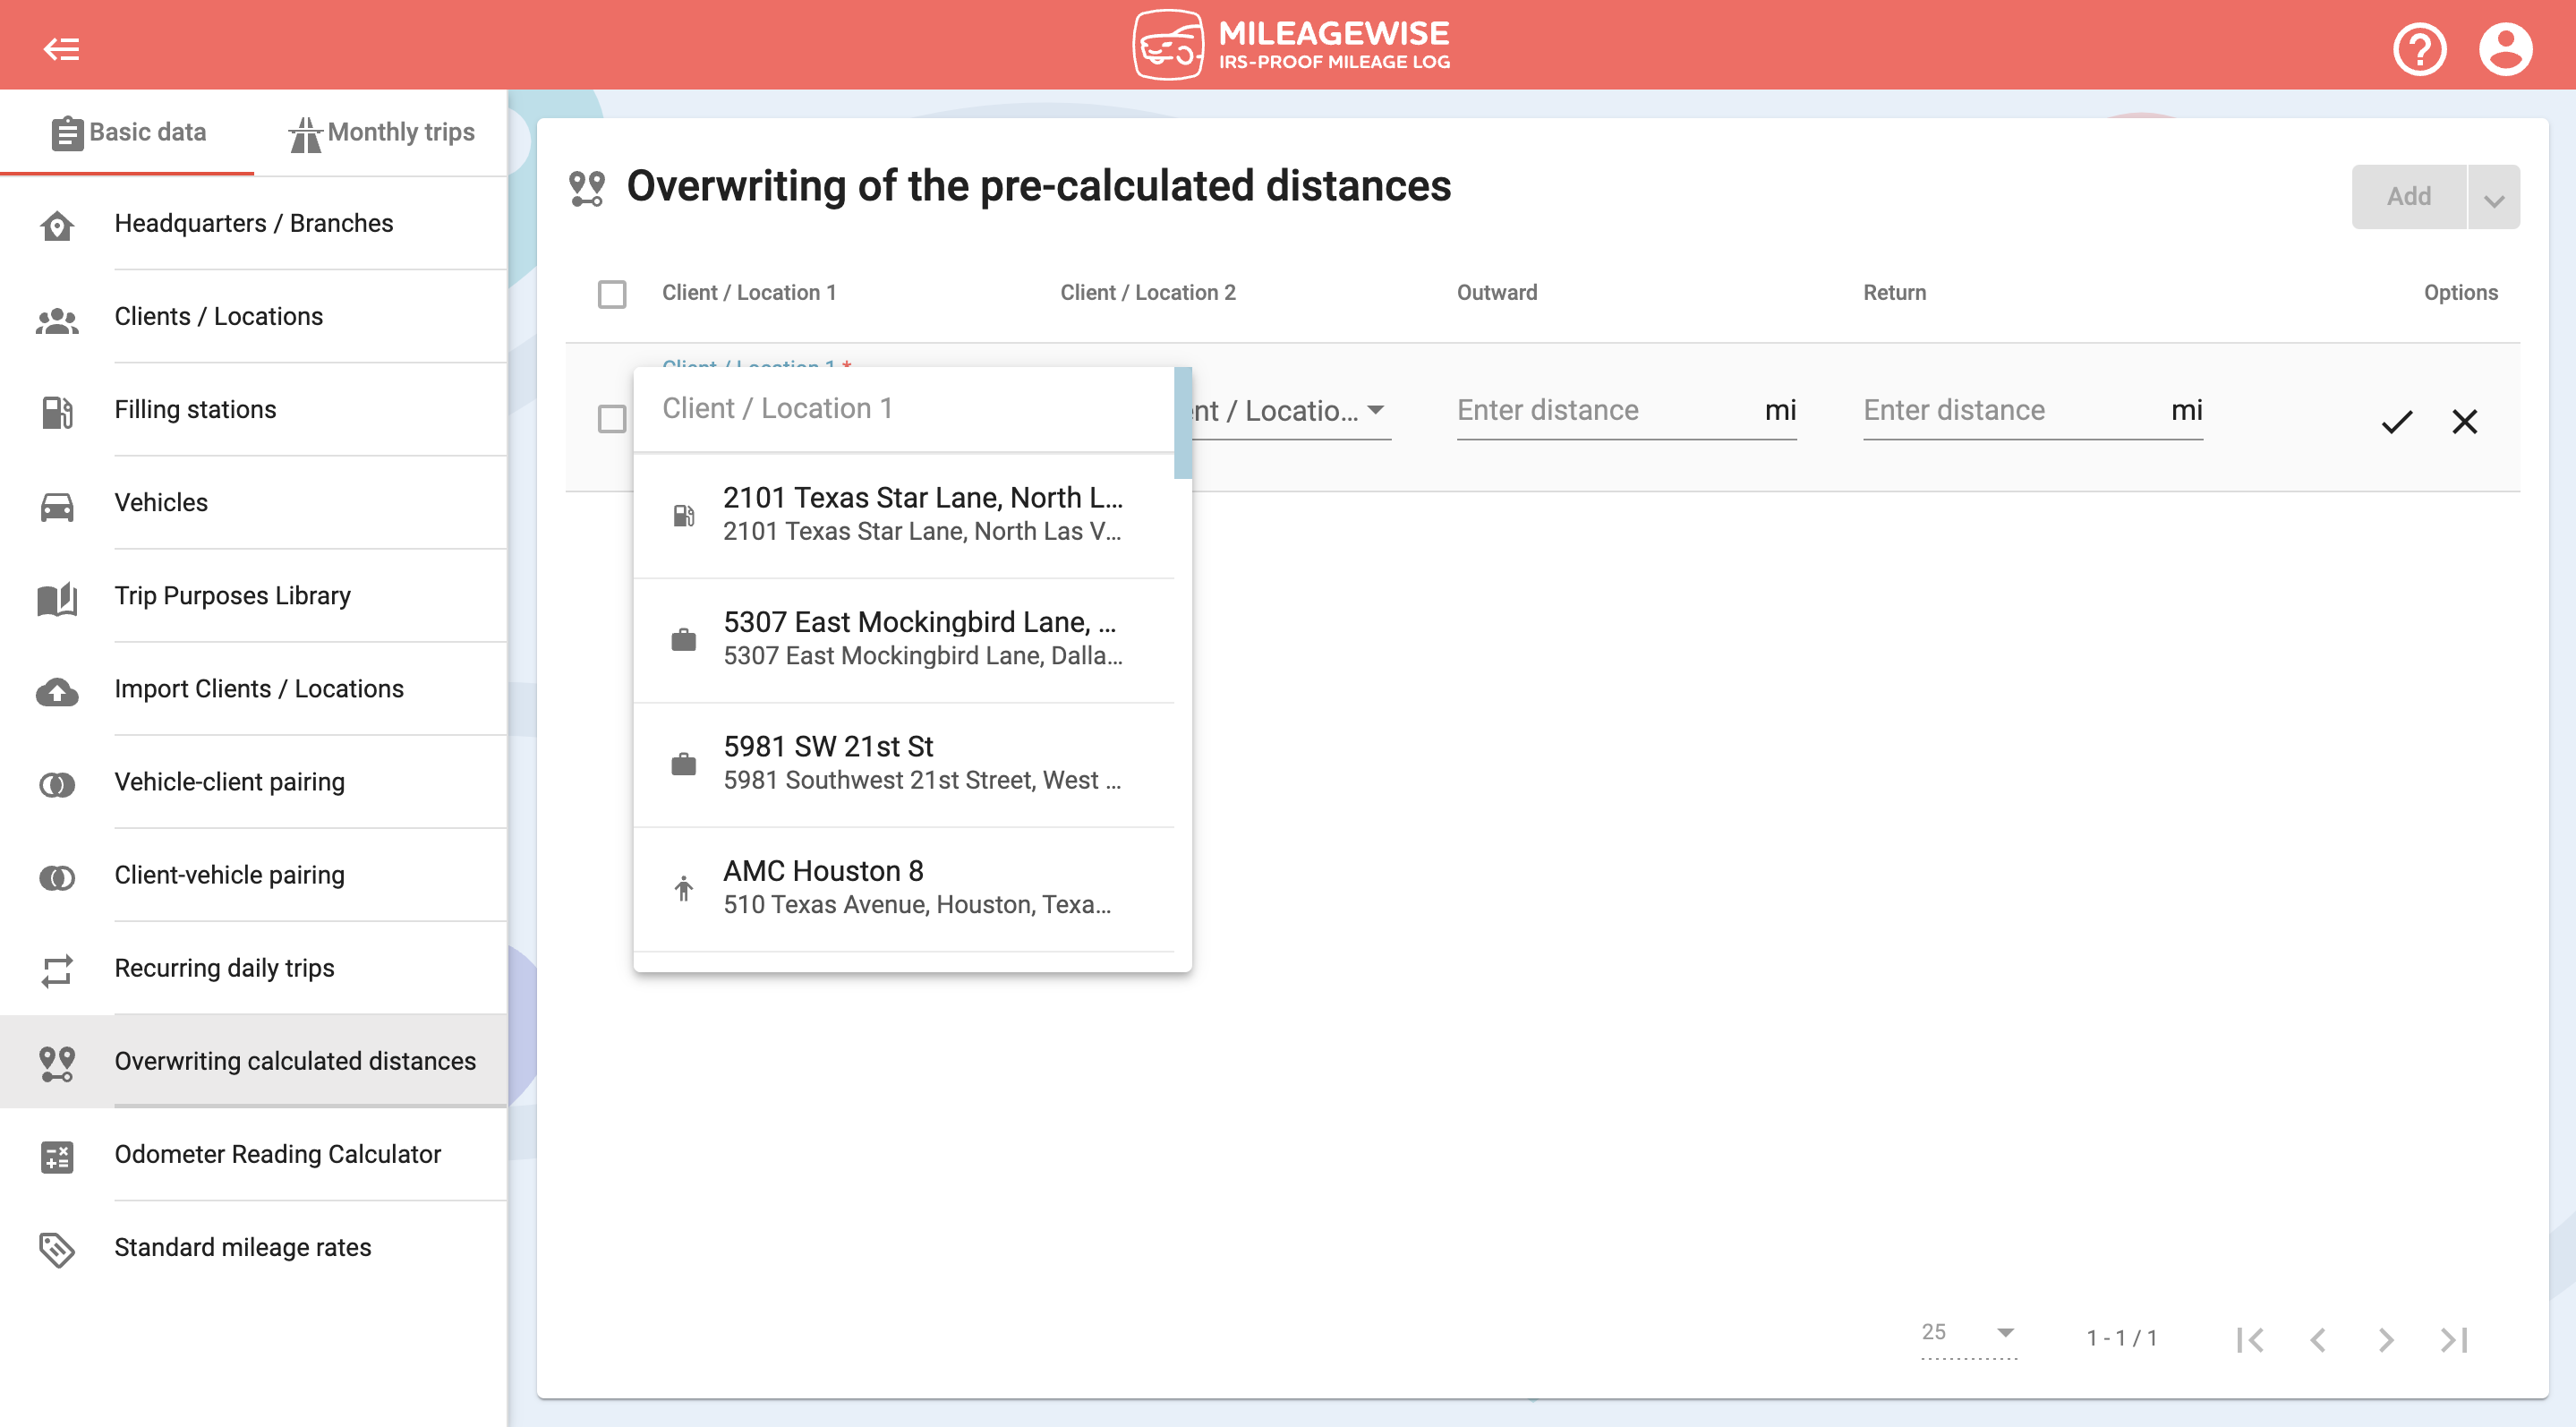
Next, select the client you have arrived at. Since you can also specify the outward and return distances, the order in which you add the clients does not matter.
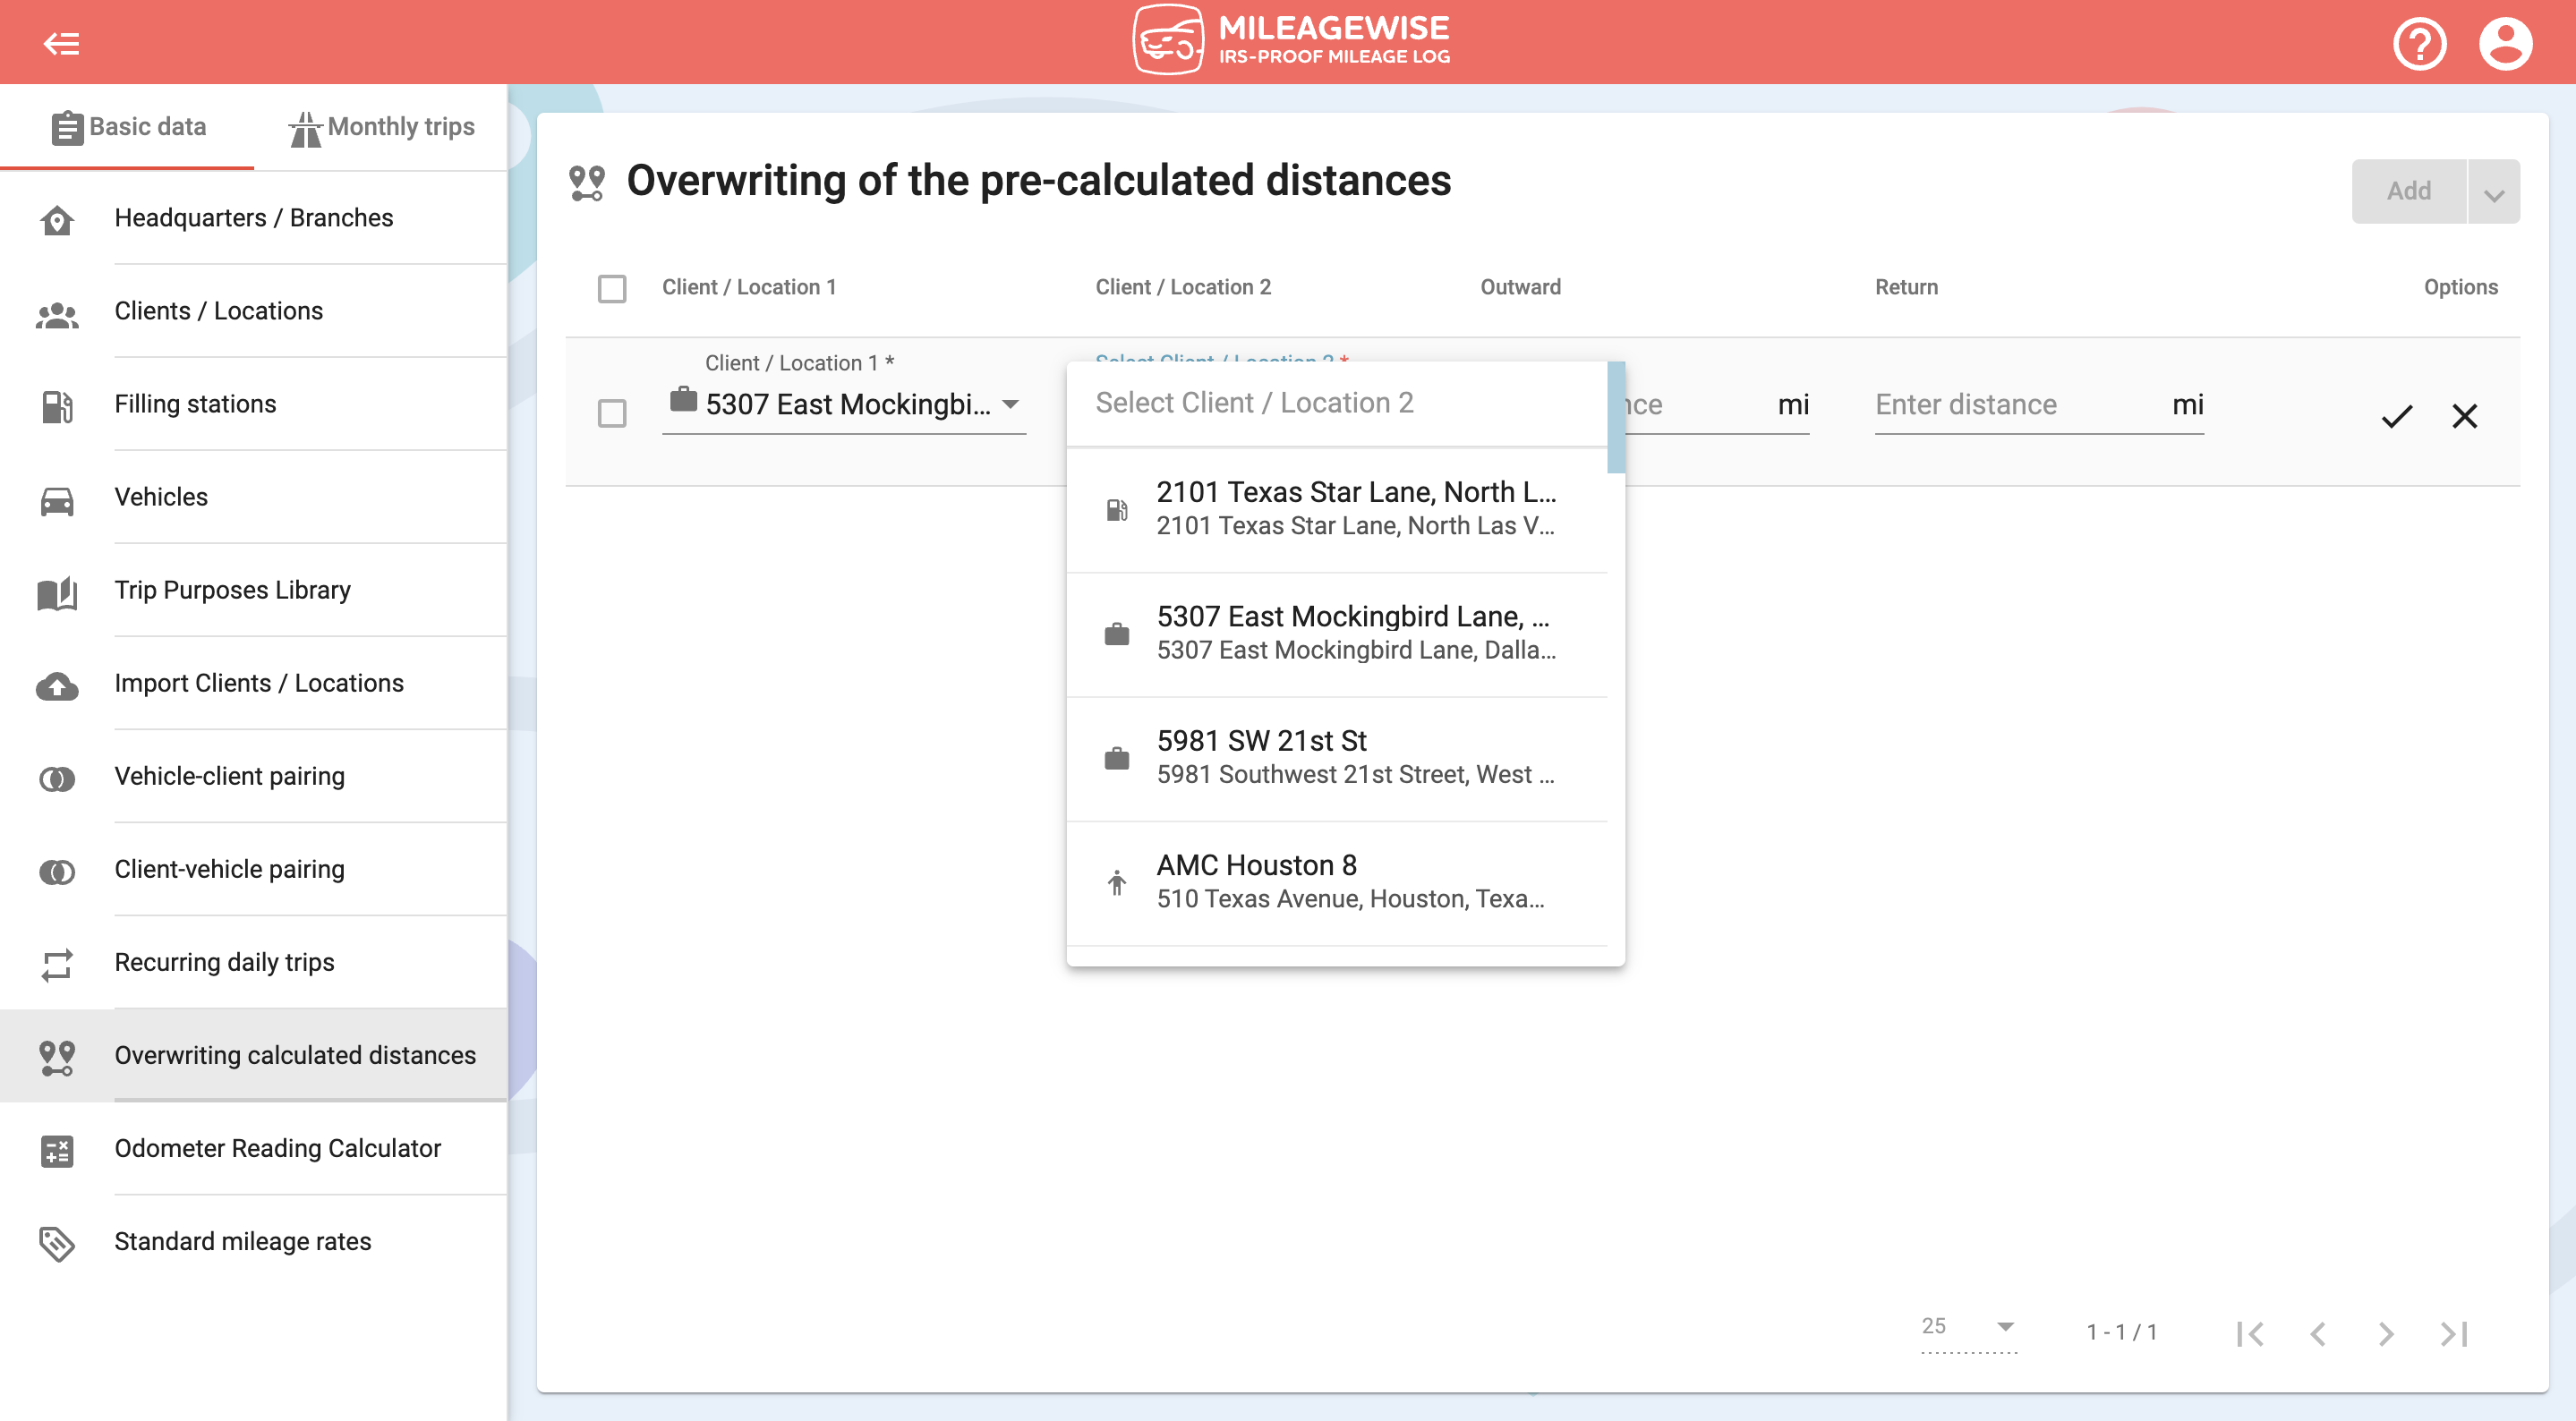
After selecting the clients, the distances are calculated by the program and are automatically filled in, which you can then overwrite.
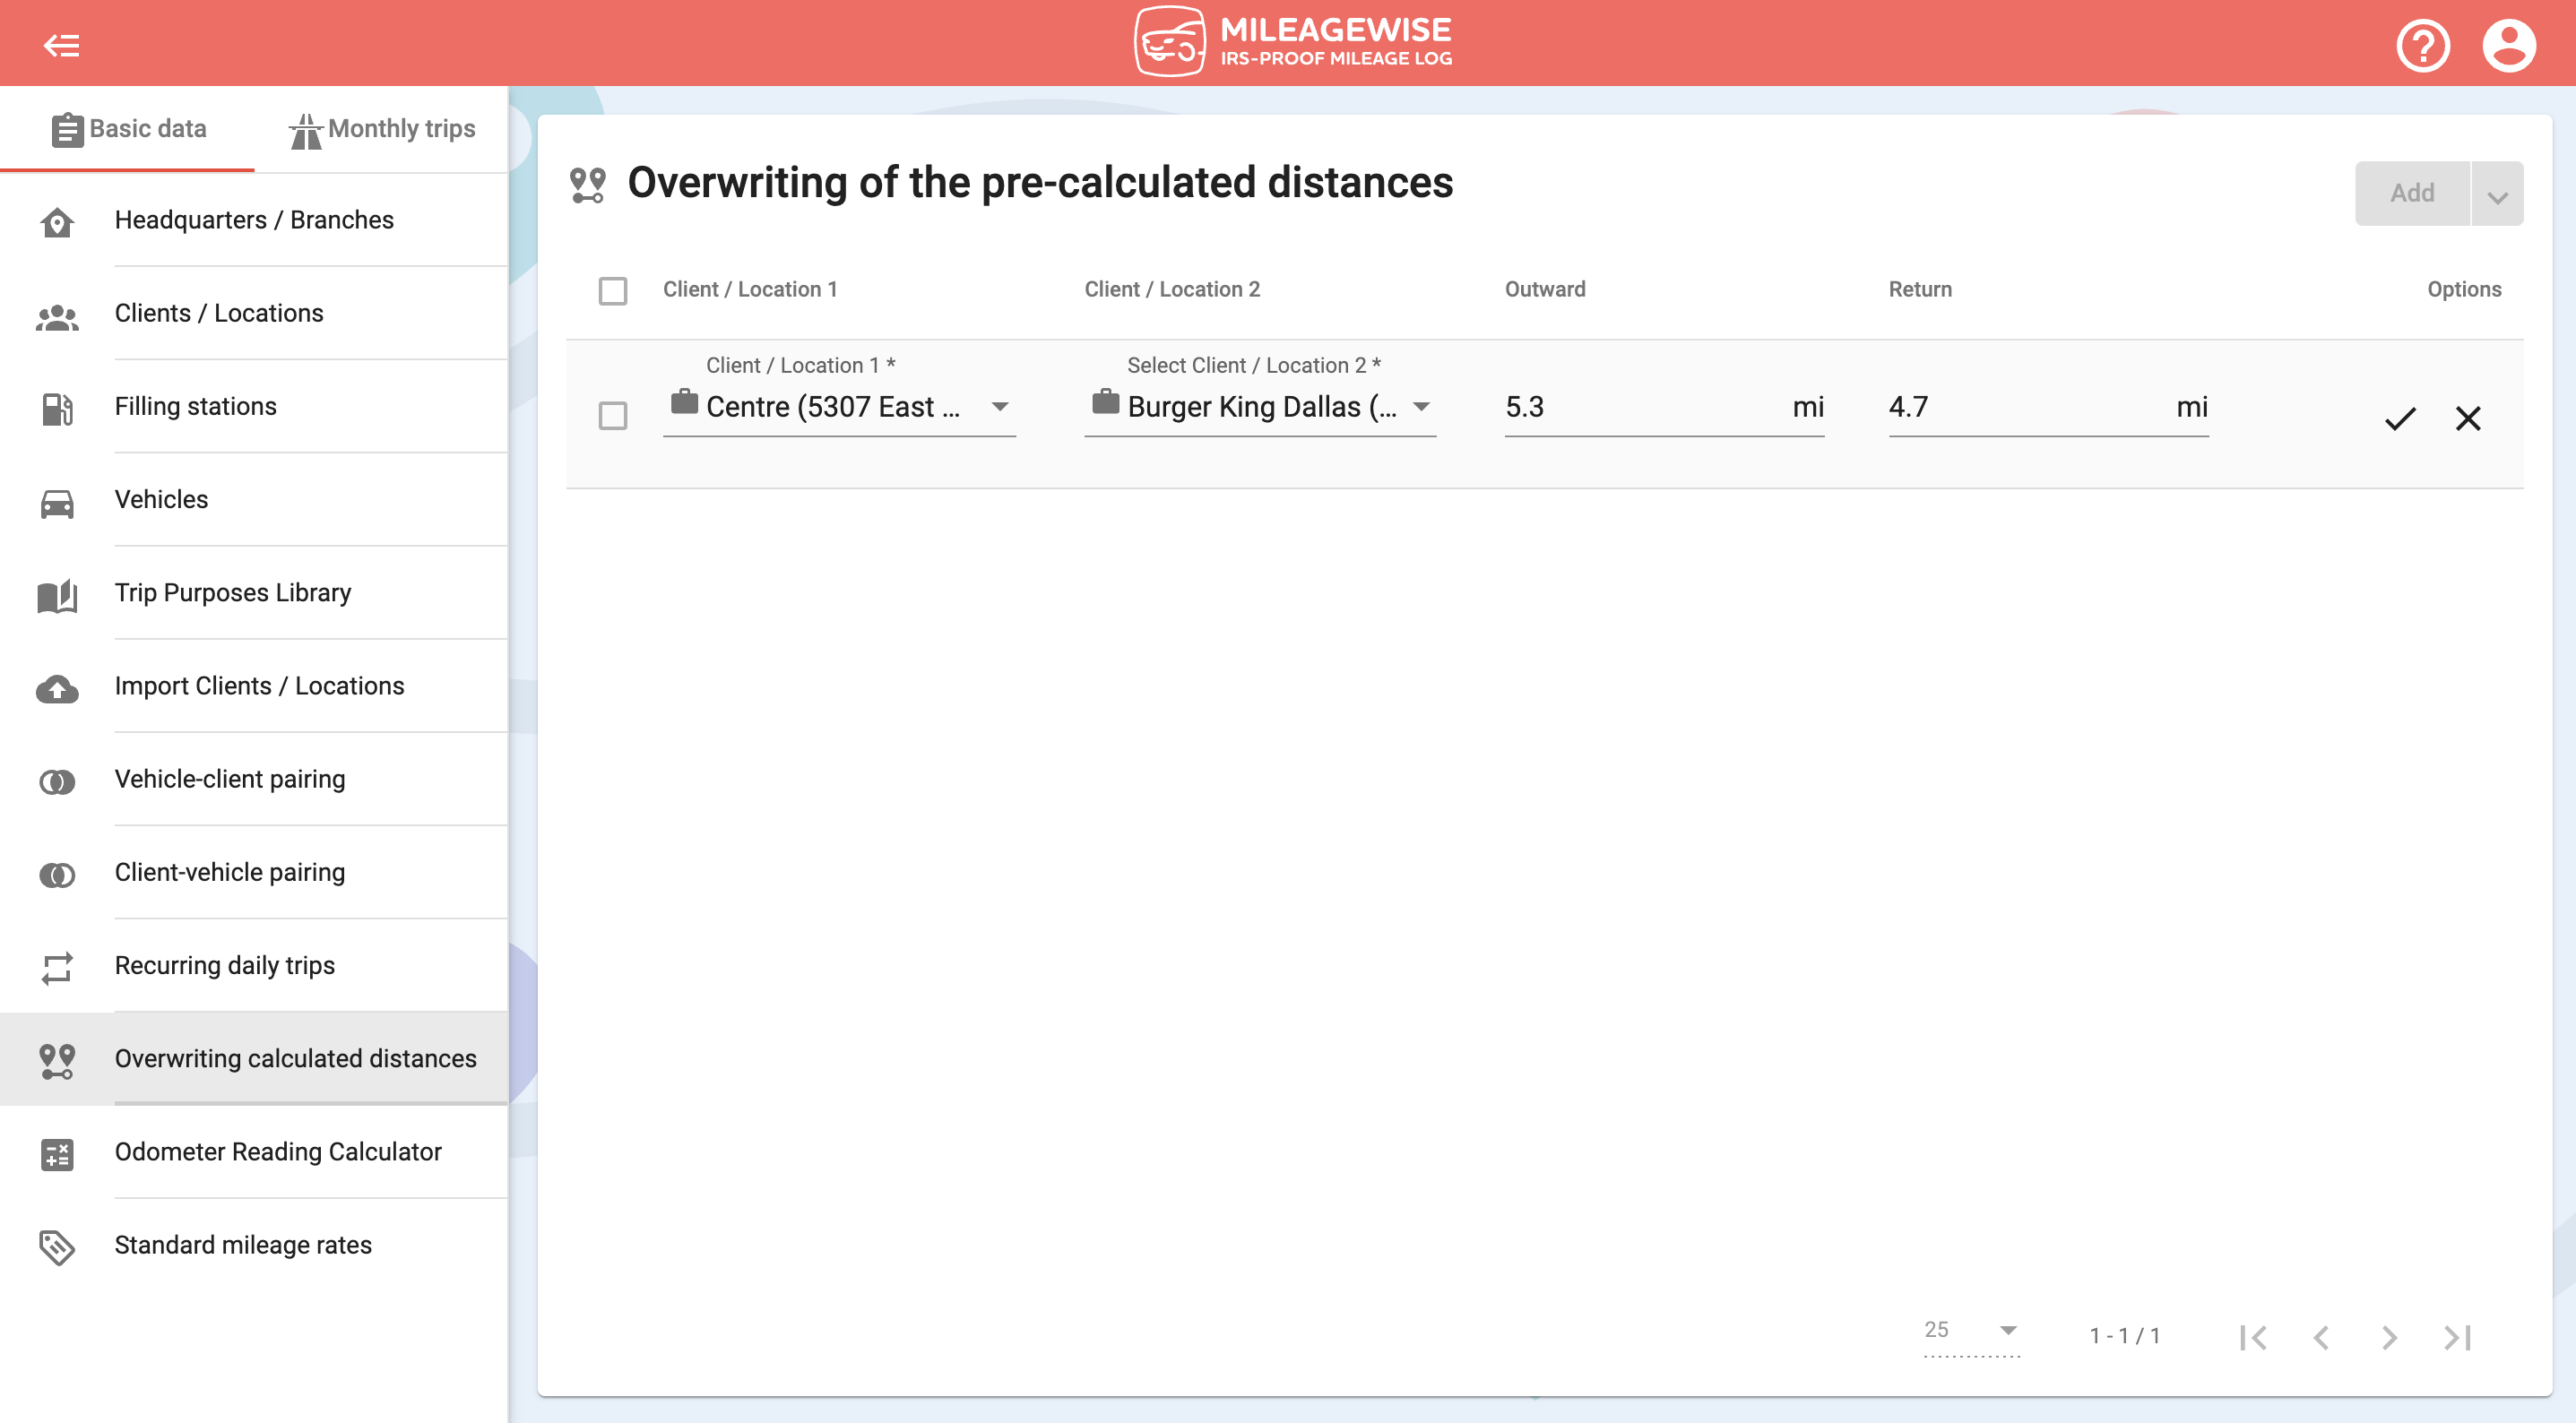


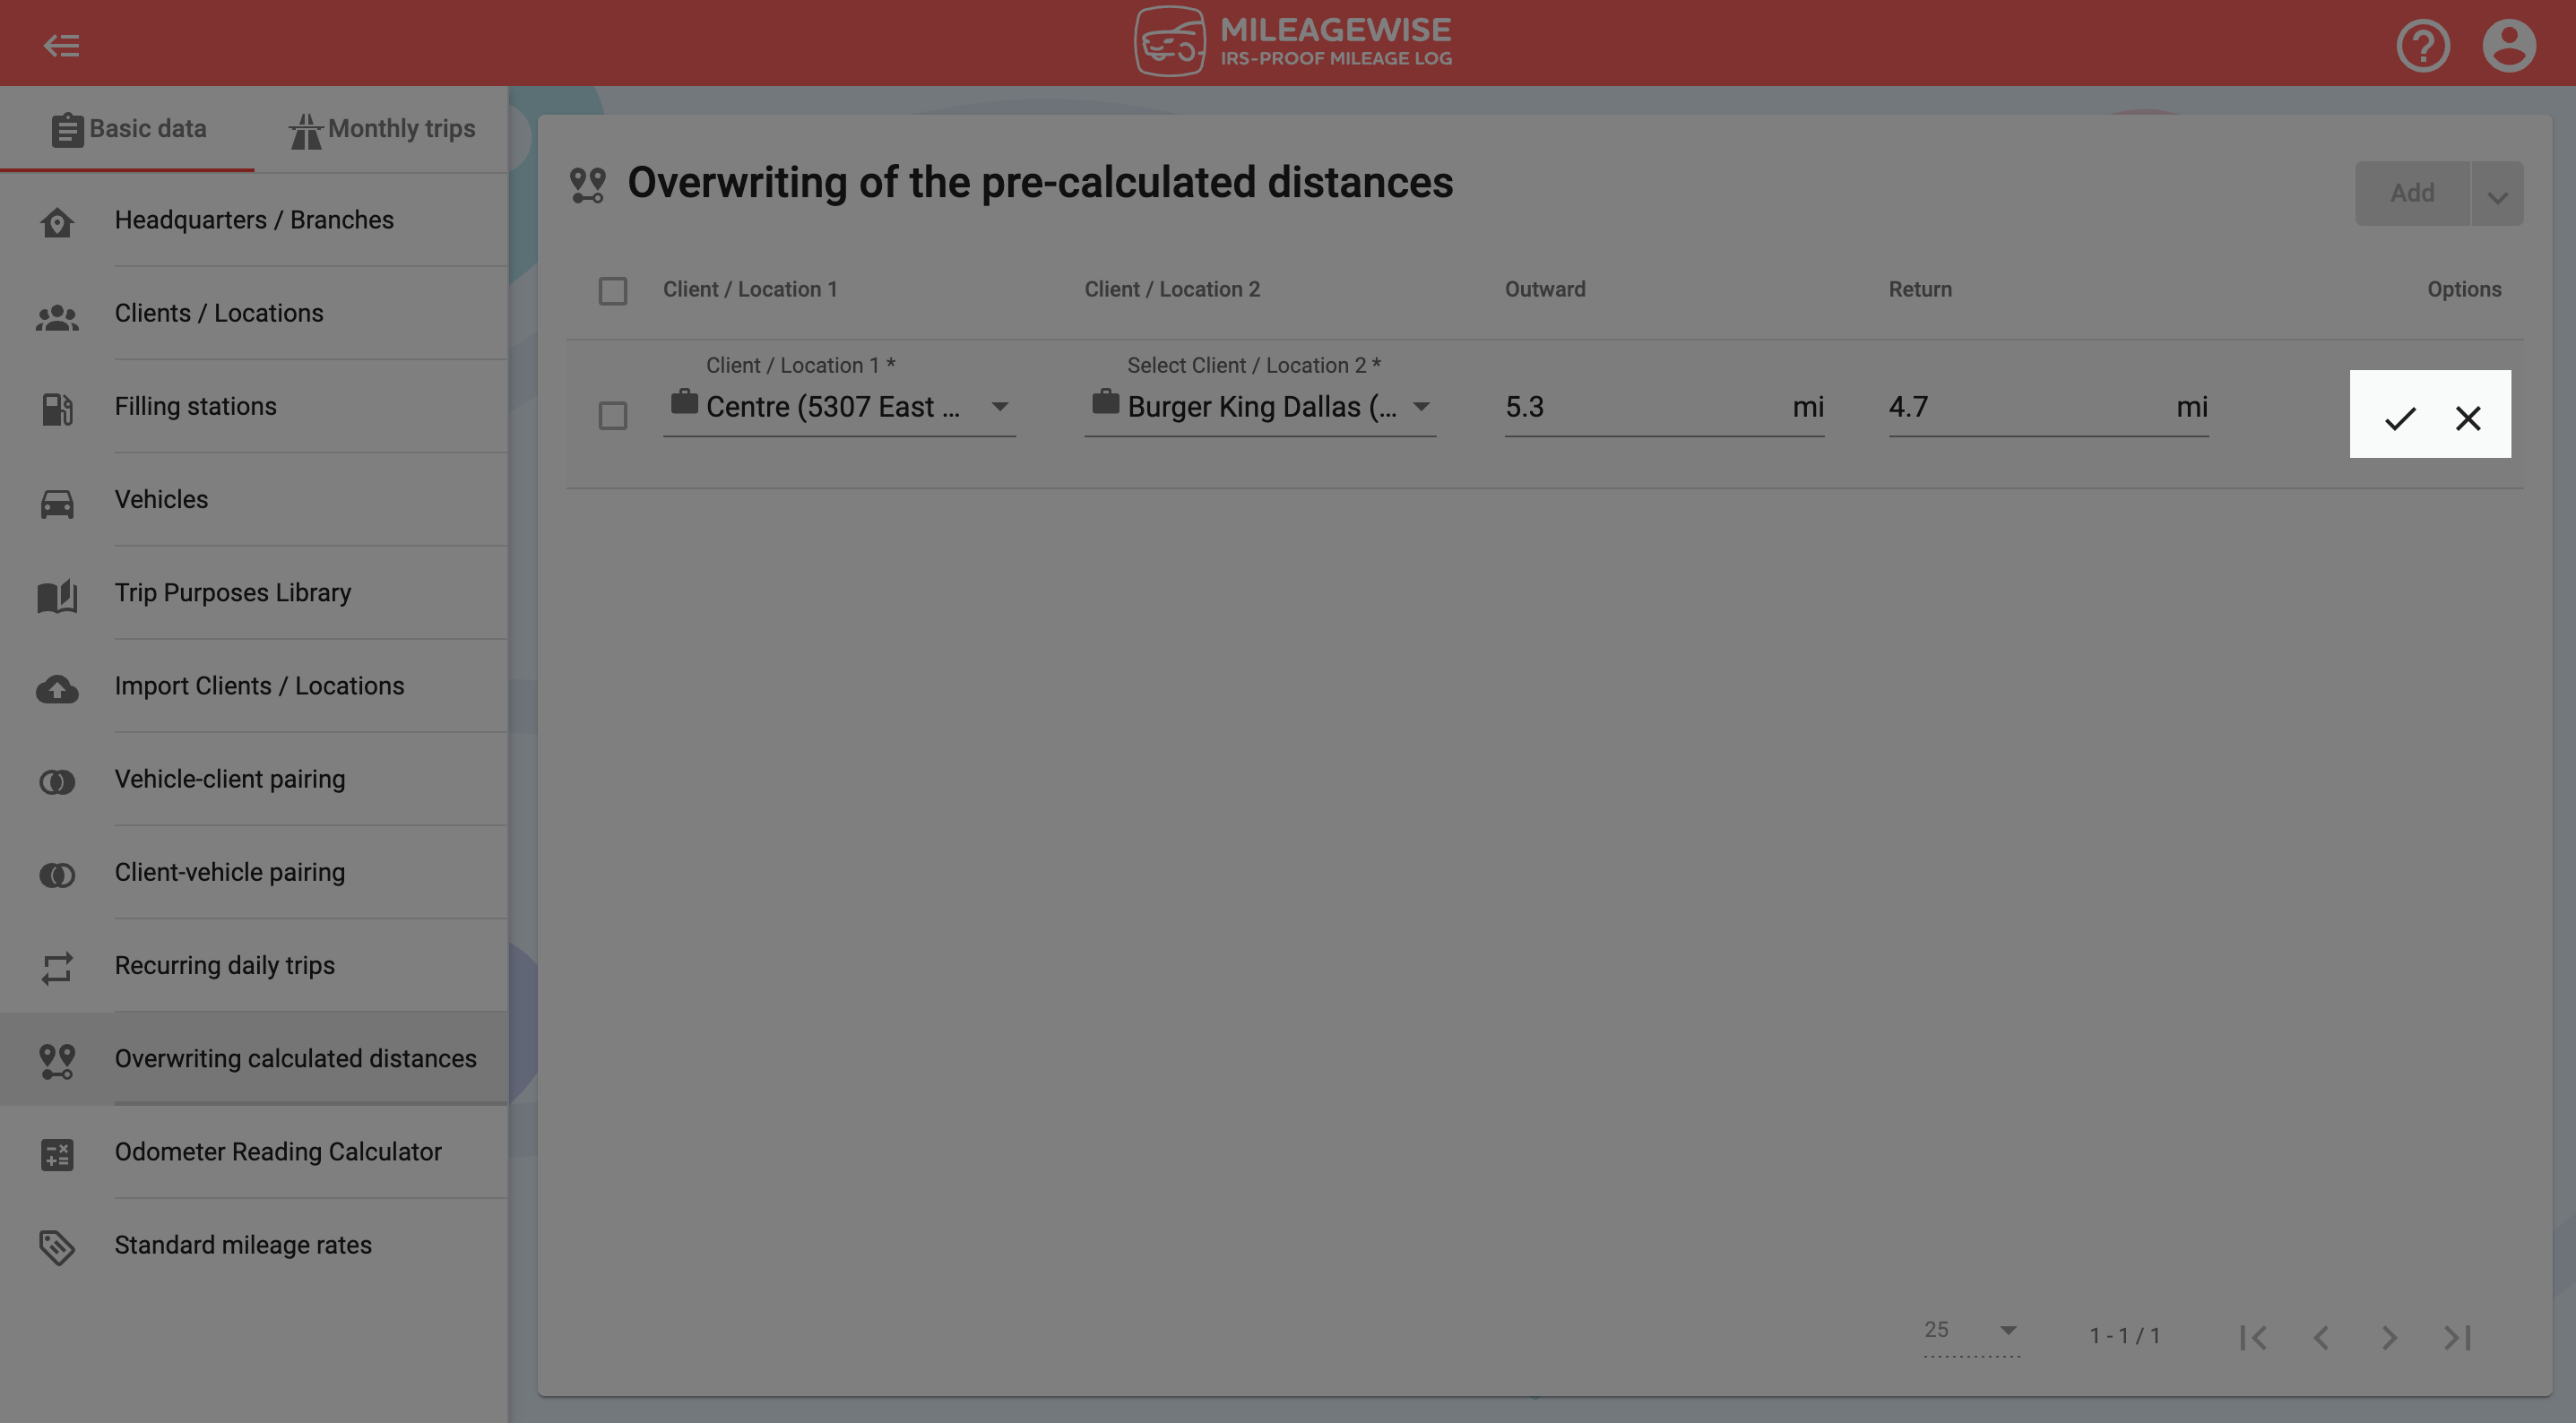
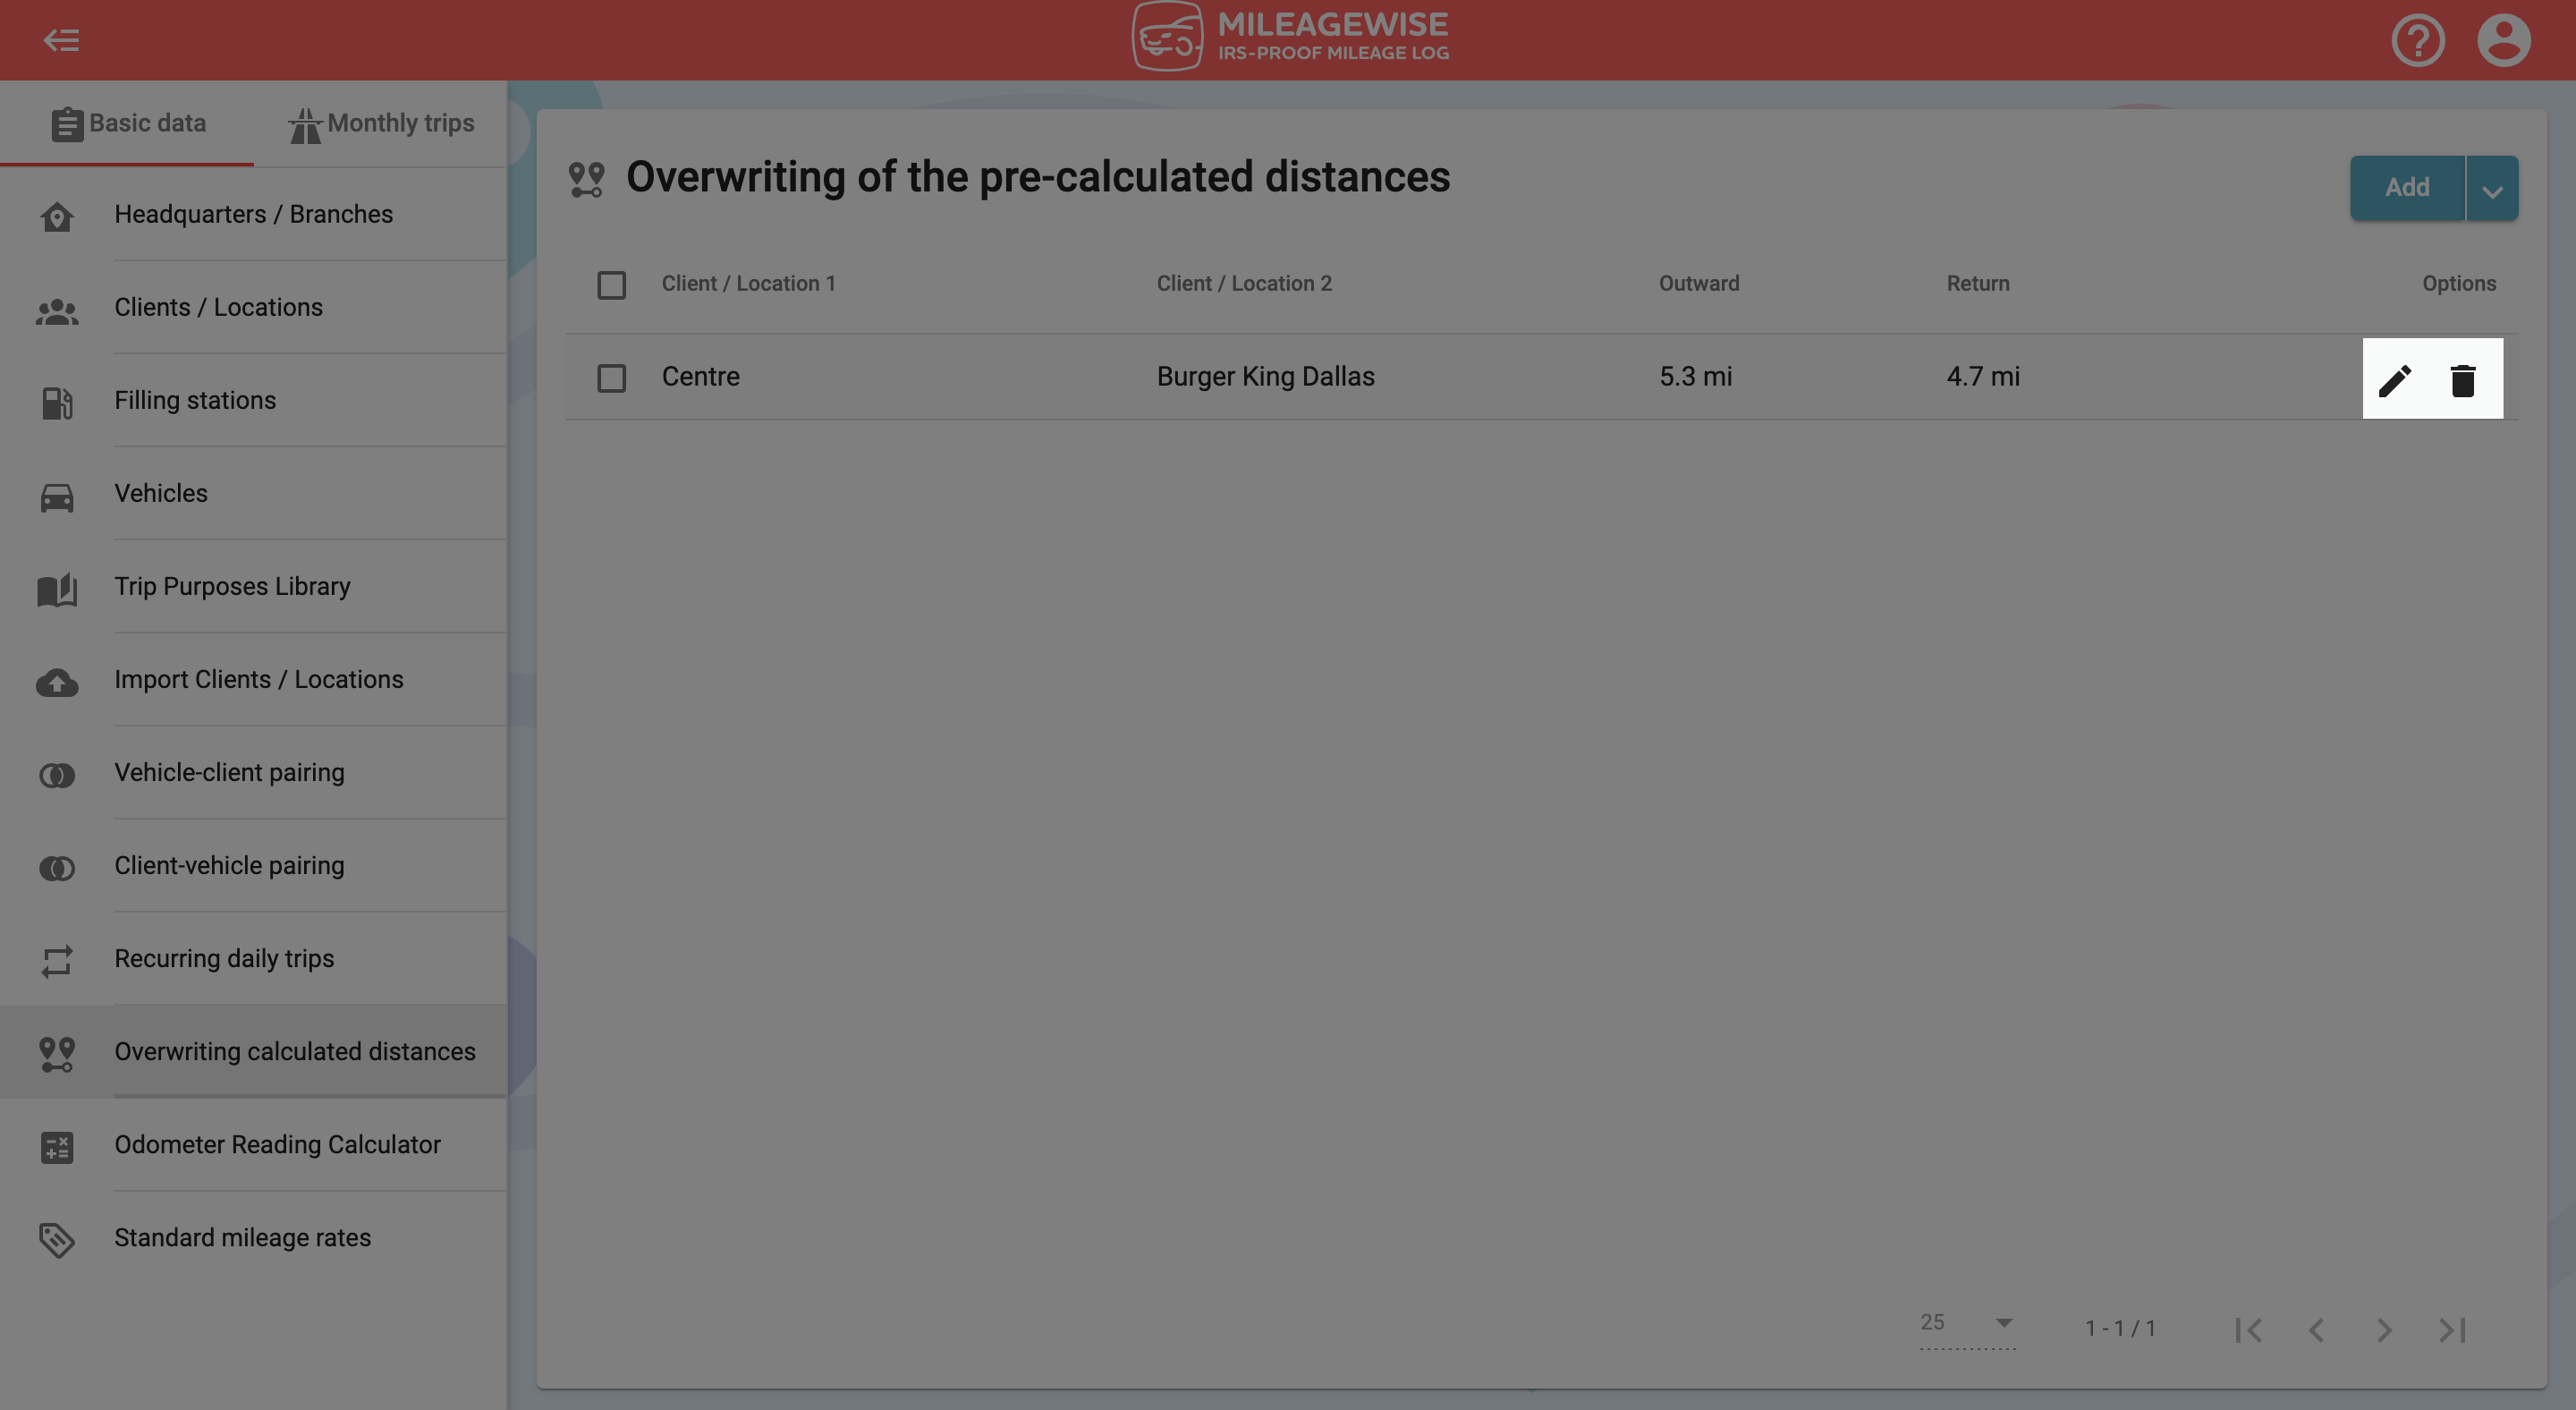
If you want to edit the setting, click the ![]() icon at the end of the line in the list of data, if you want to delete it, click the
icon at the end of the line in the list of data, if you want to delete it, click the ![]() icon.
icon.
