In List view, select Add from the right-click menu.
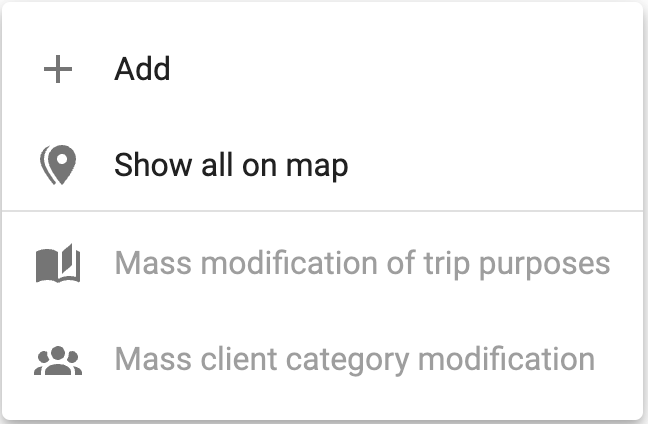
Or, click the menu at the top right and select Add: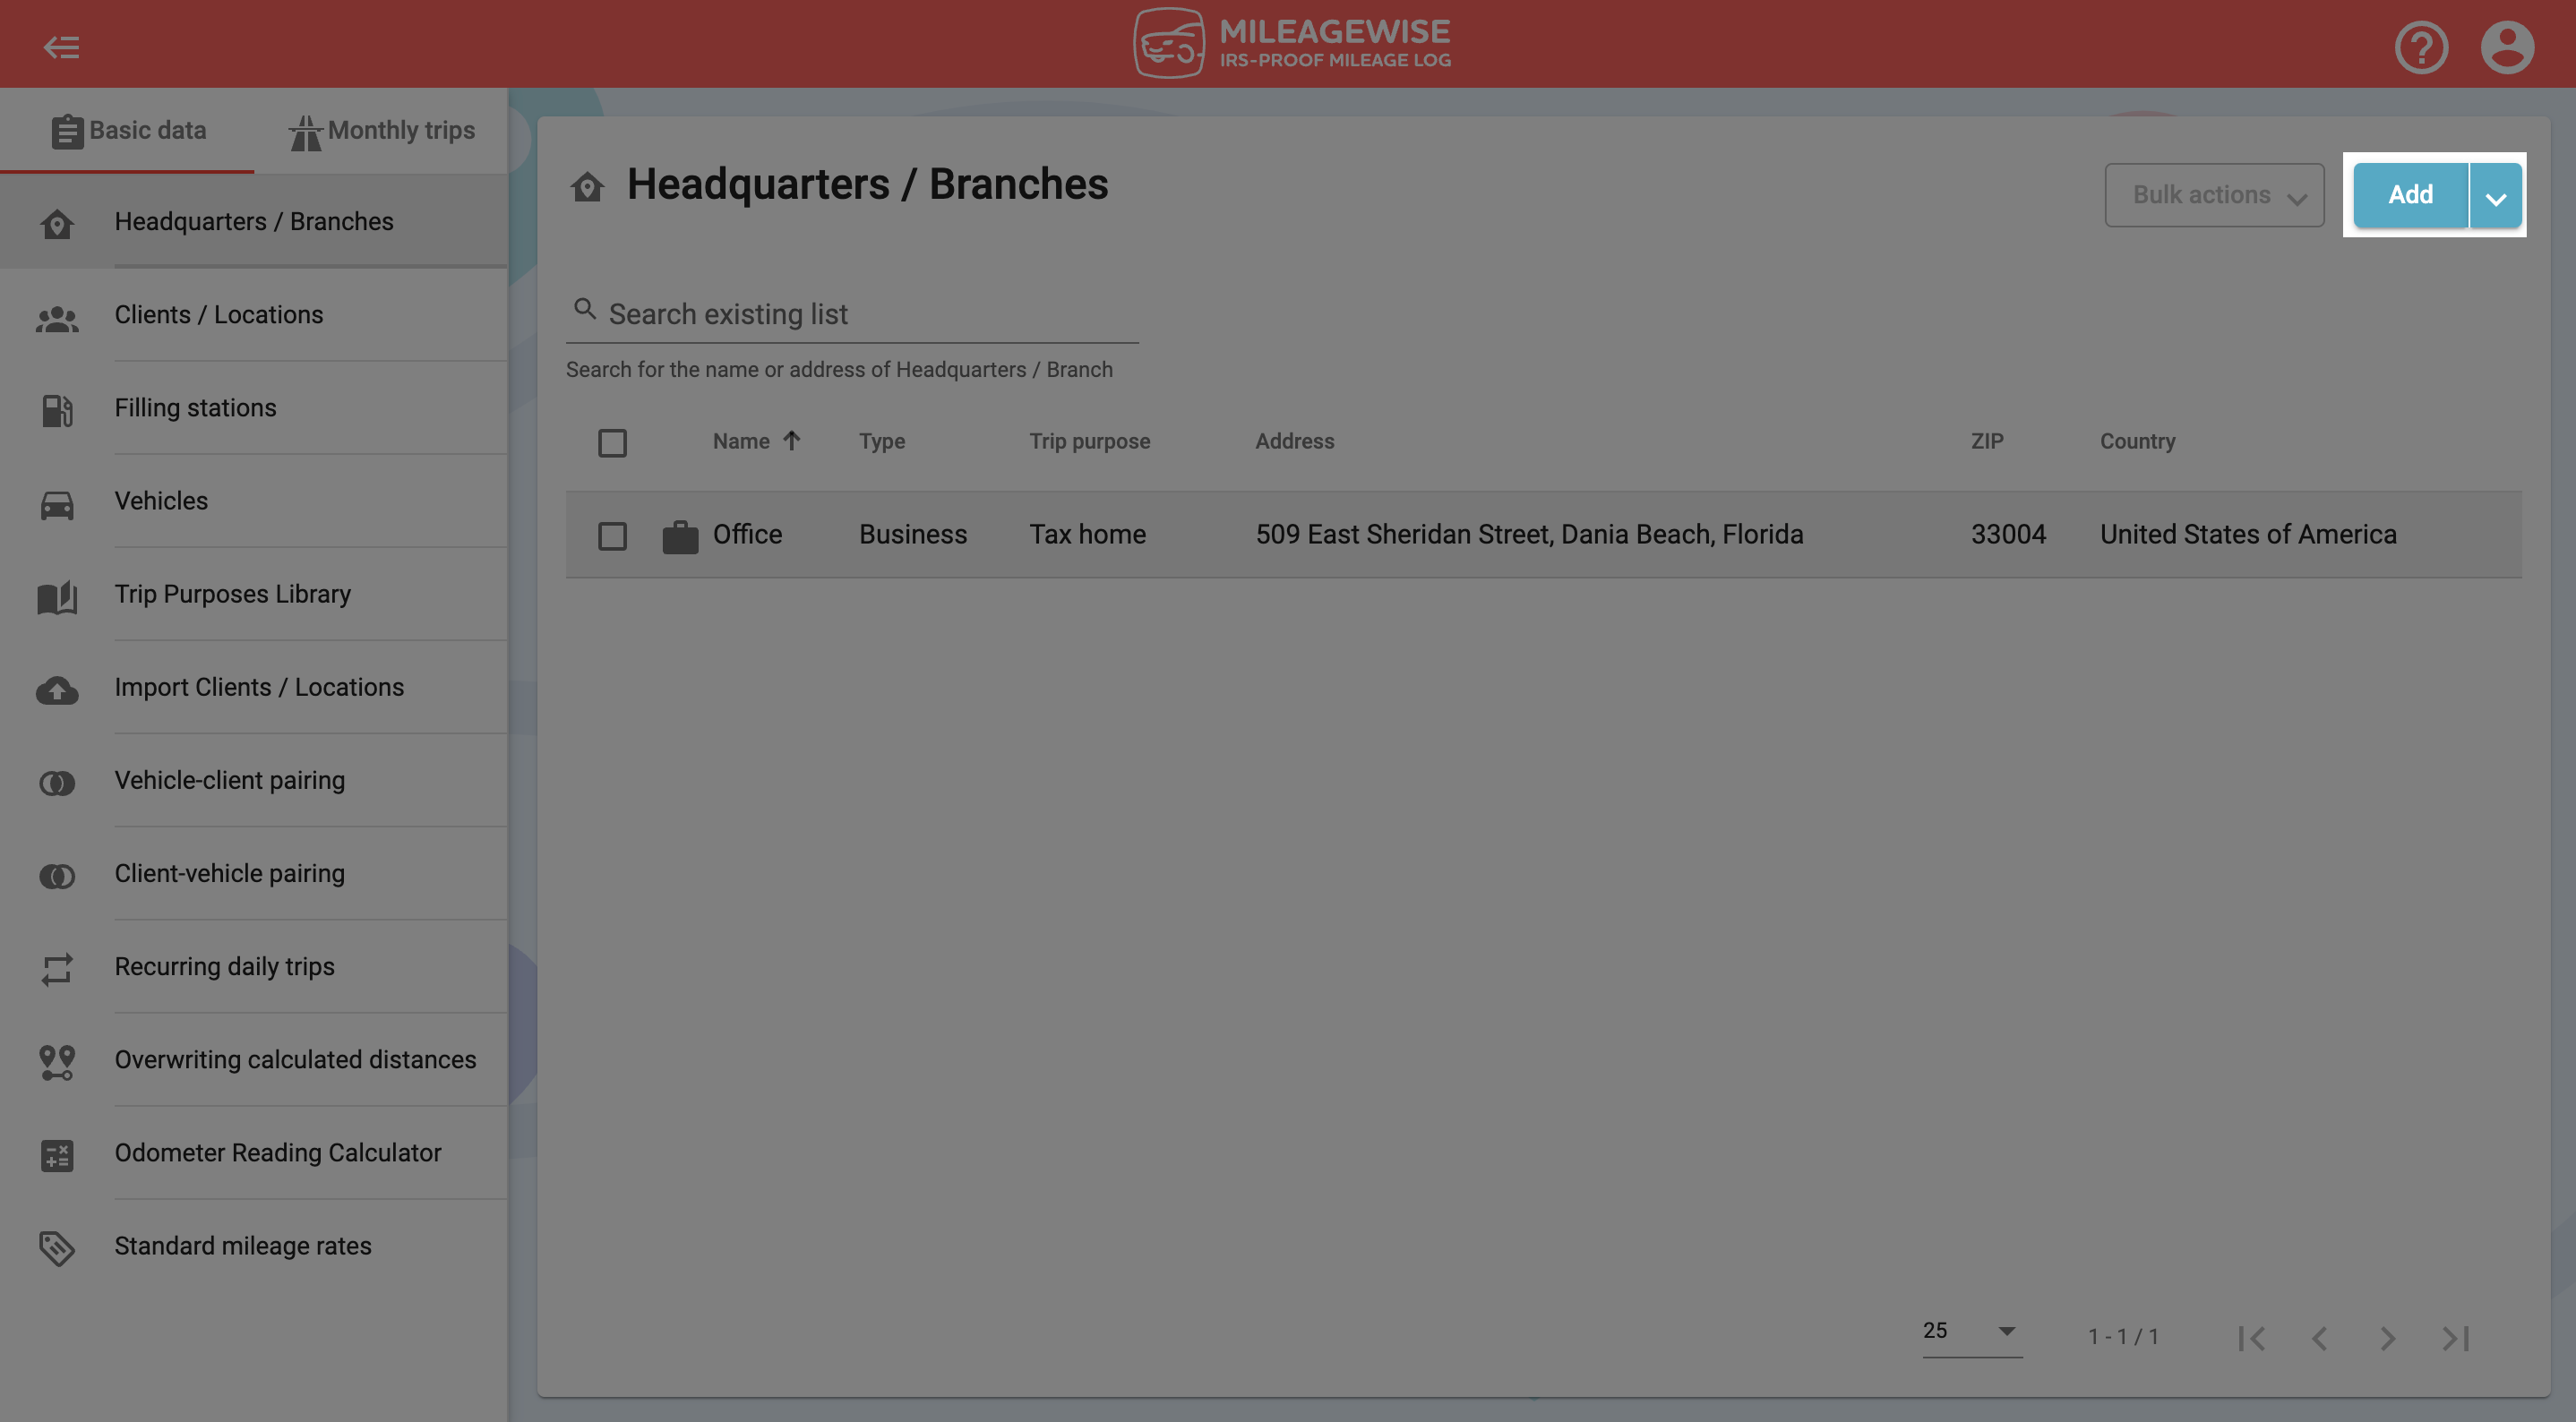
You can zoom in and out on the right-hand visual map as you would in other map applications. You can also tilt the 3D map interface to find the point you are looking for. Once you have defined the point you are looking for, click on it to place the marker.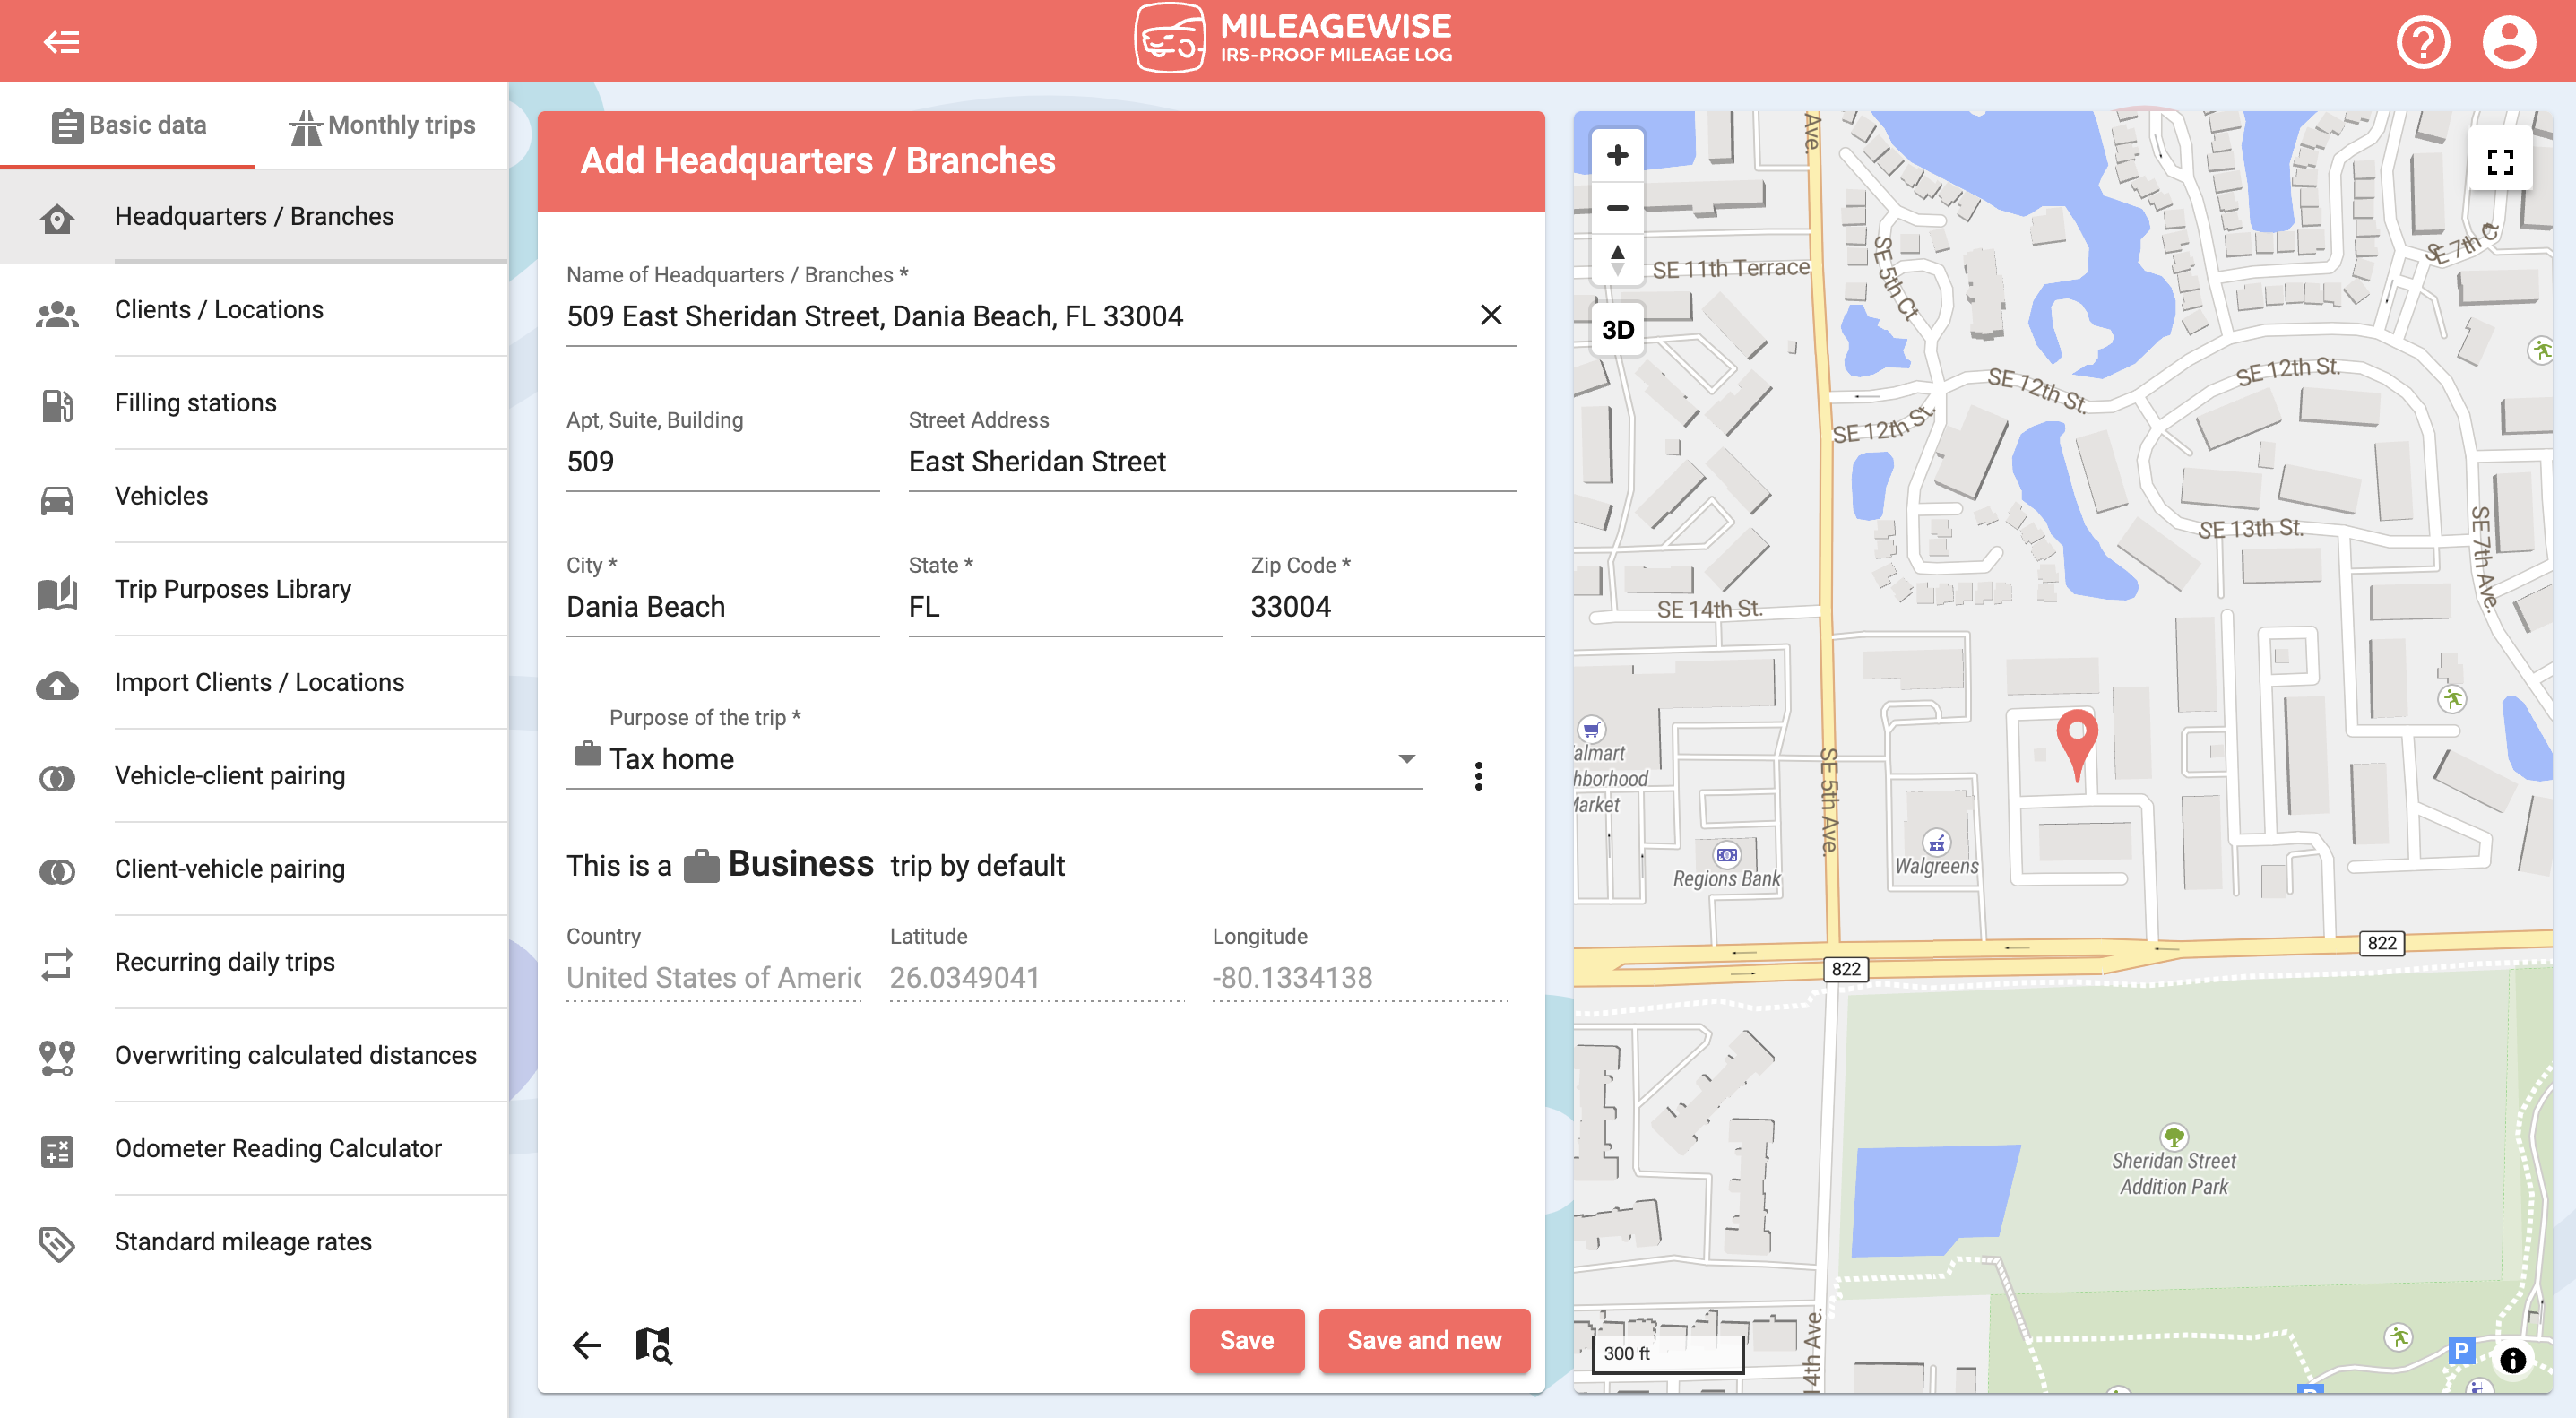
You can see the address on the map by clicking on the 

In the Name of headquarters / branch field, enter the name of your new headquarters or branch, and the address information will be filled in automatically, so all you have to do is click Save!
If you want to use the address of your client as the name of your client as well, click on the 
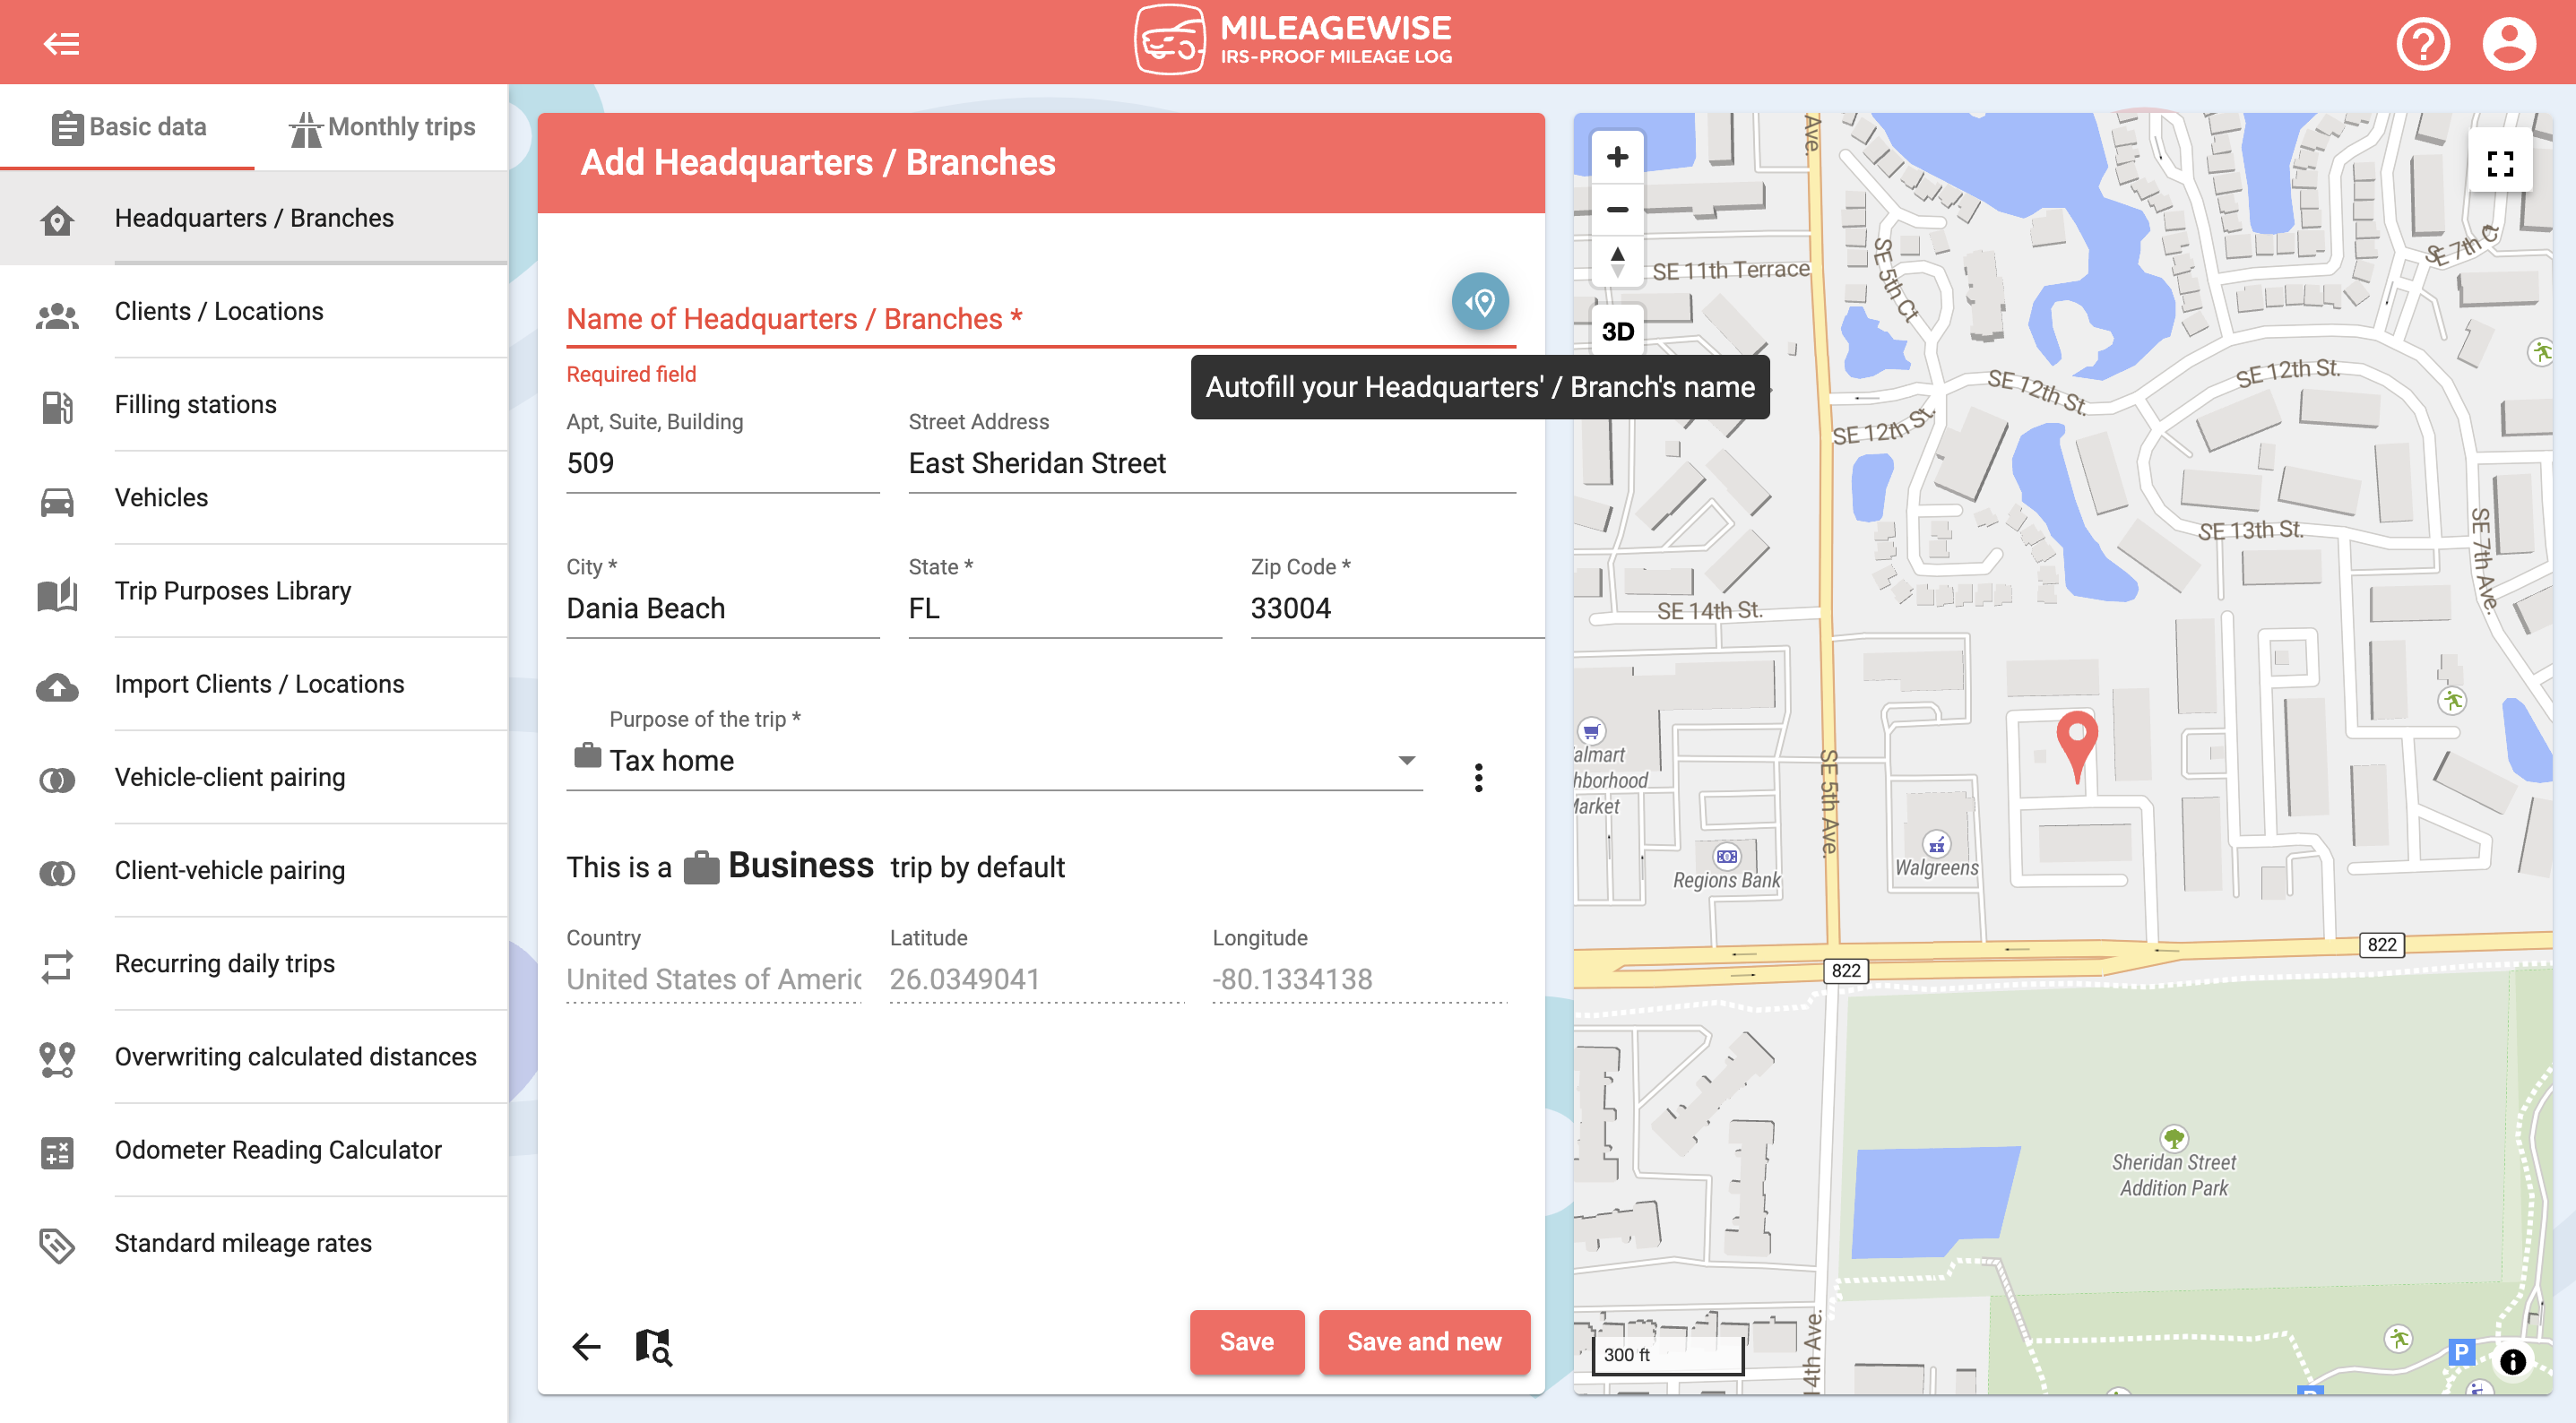

If you would like to add more headquarters or branches now, click Save and new and search for a client and save as described above.
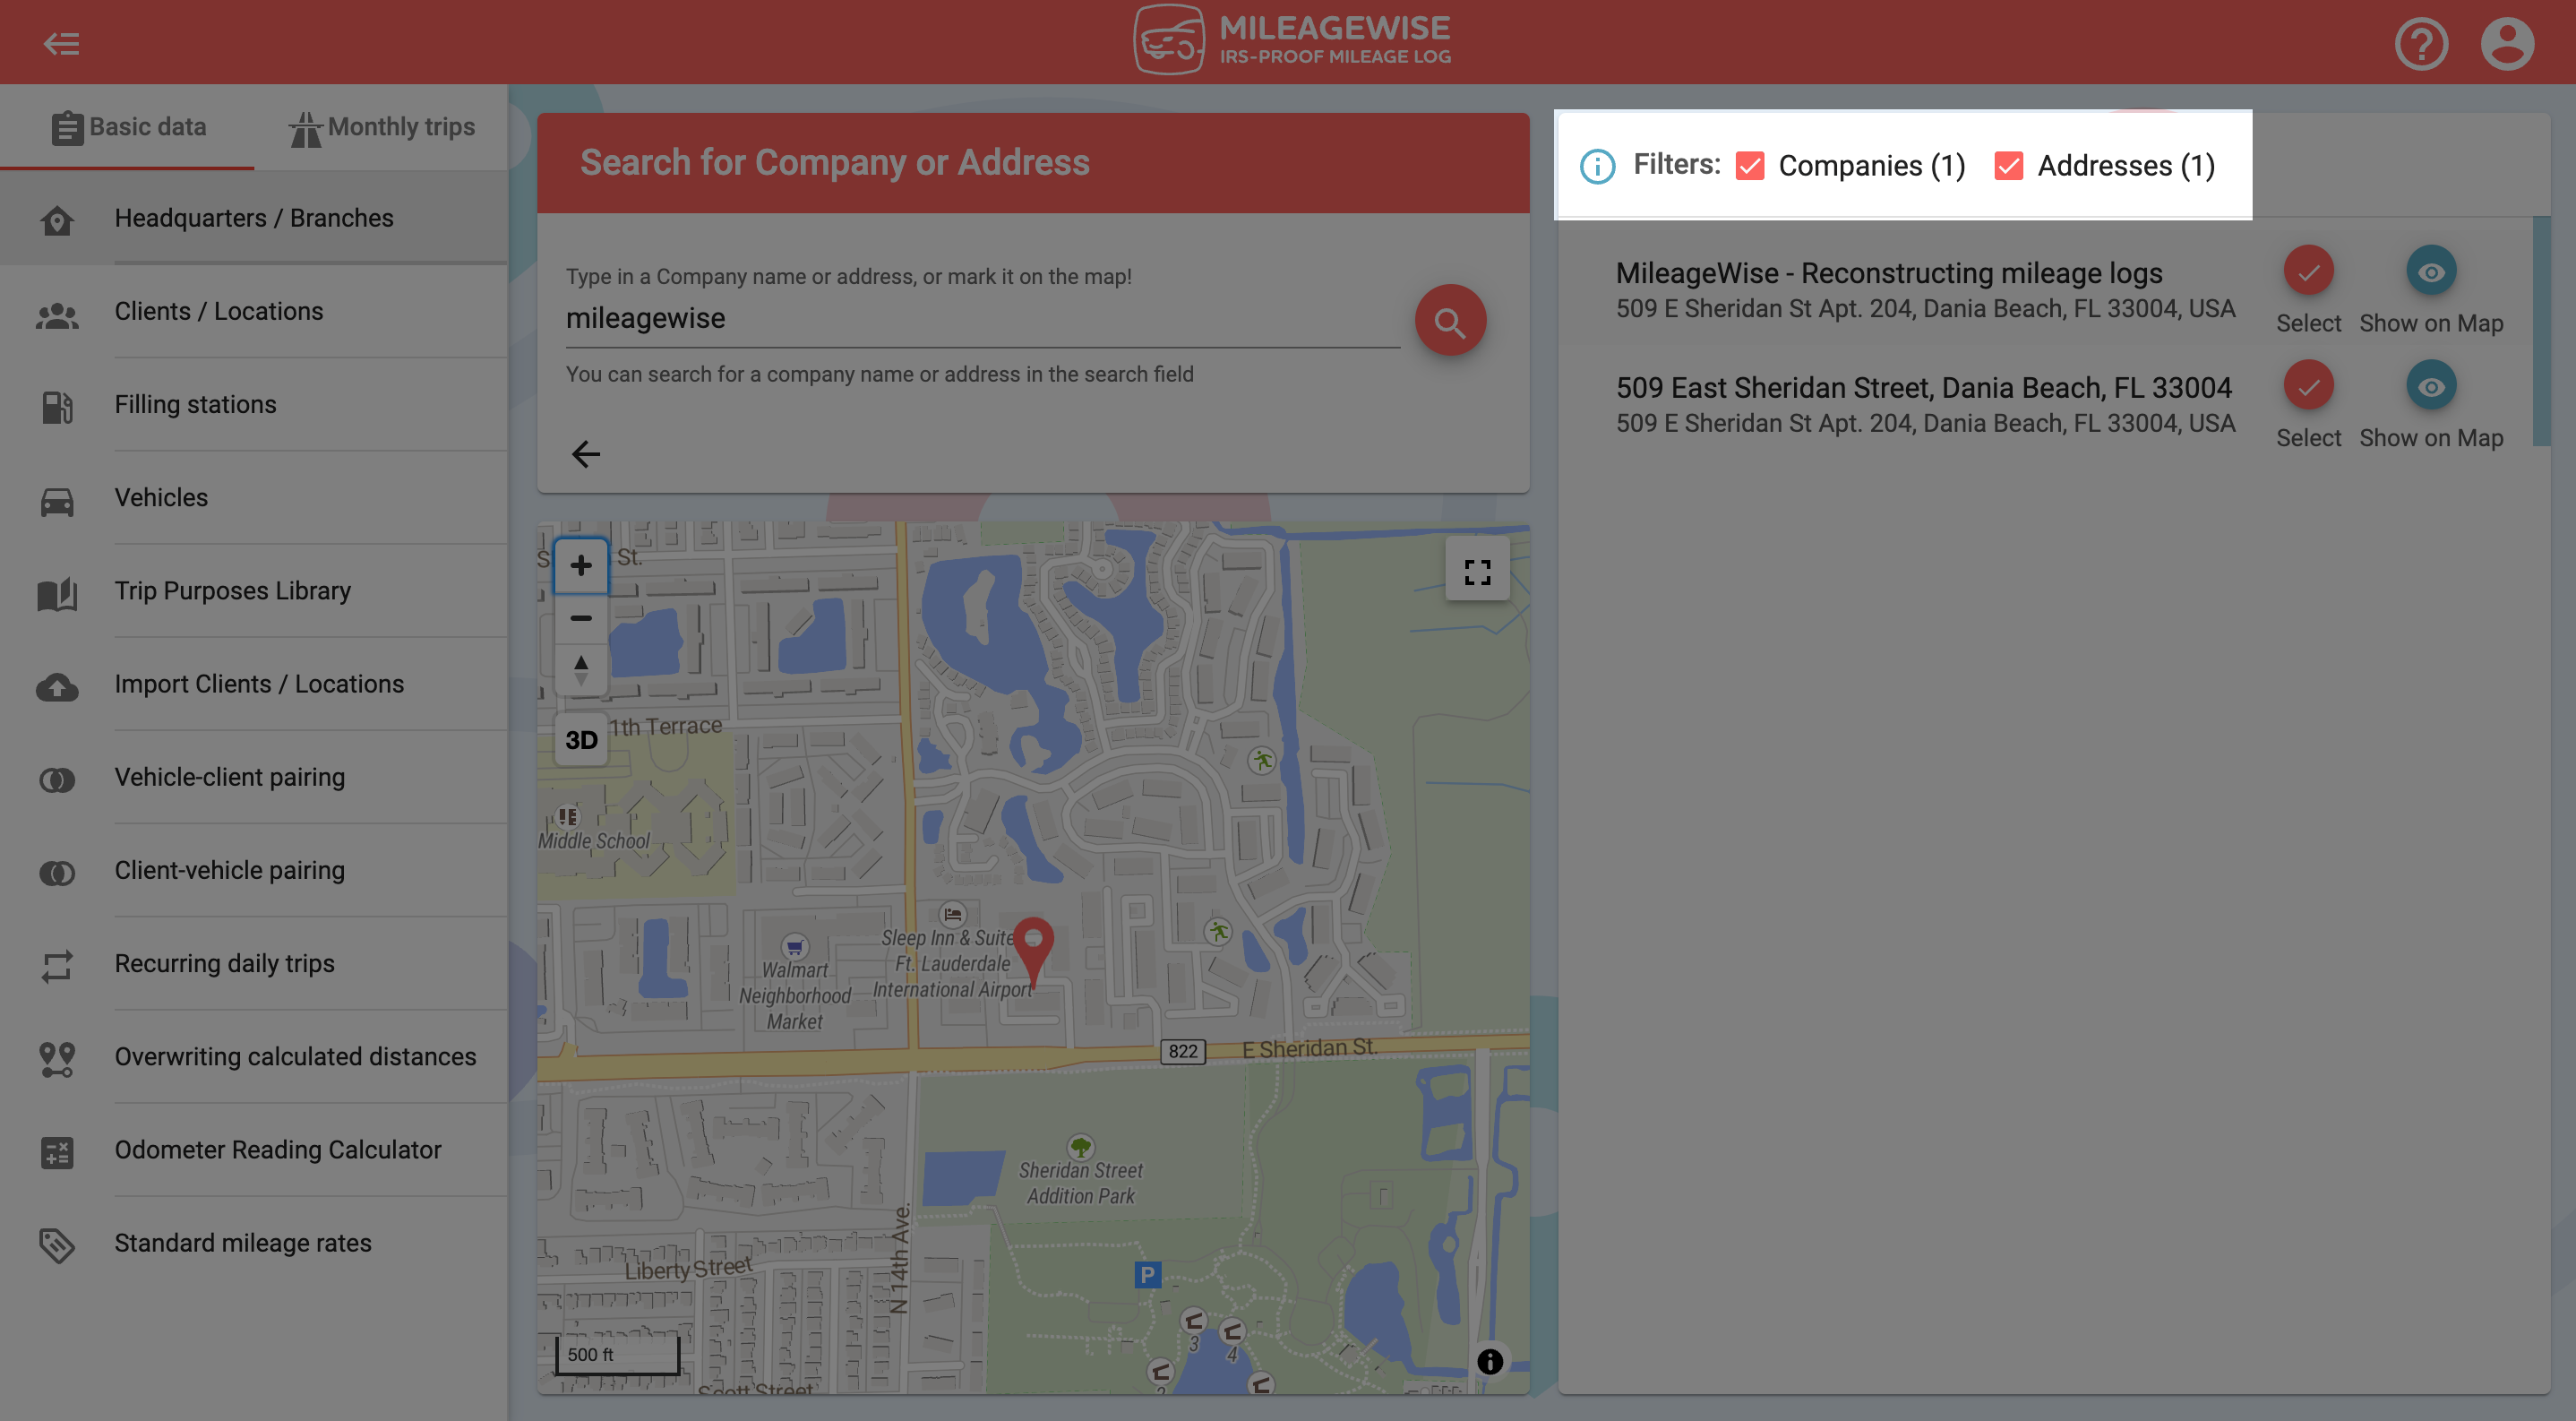
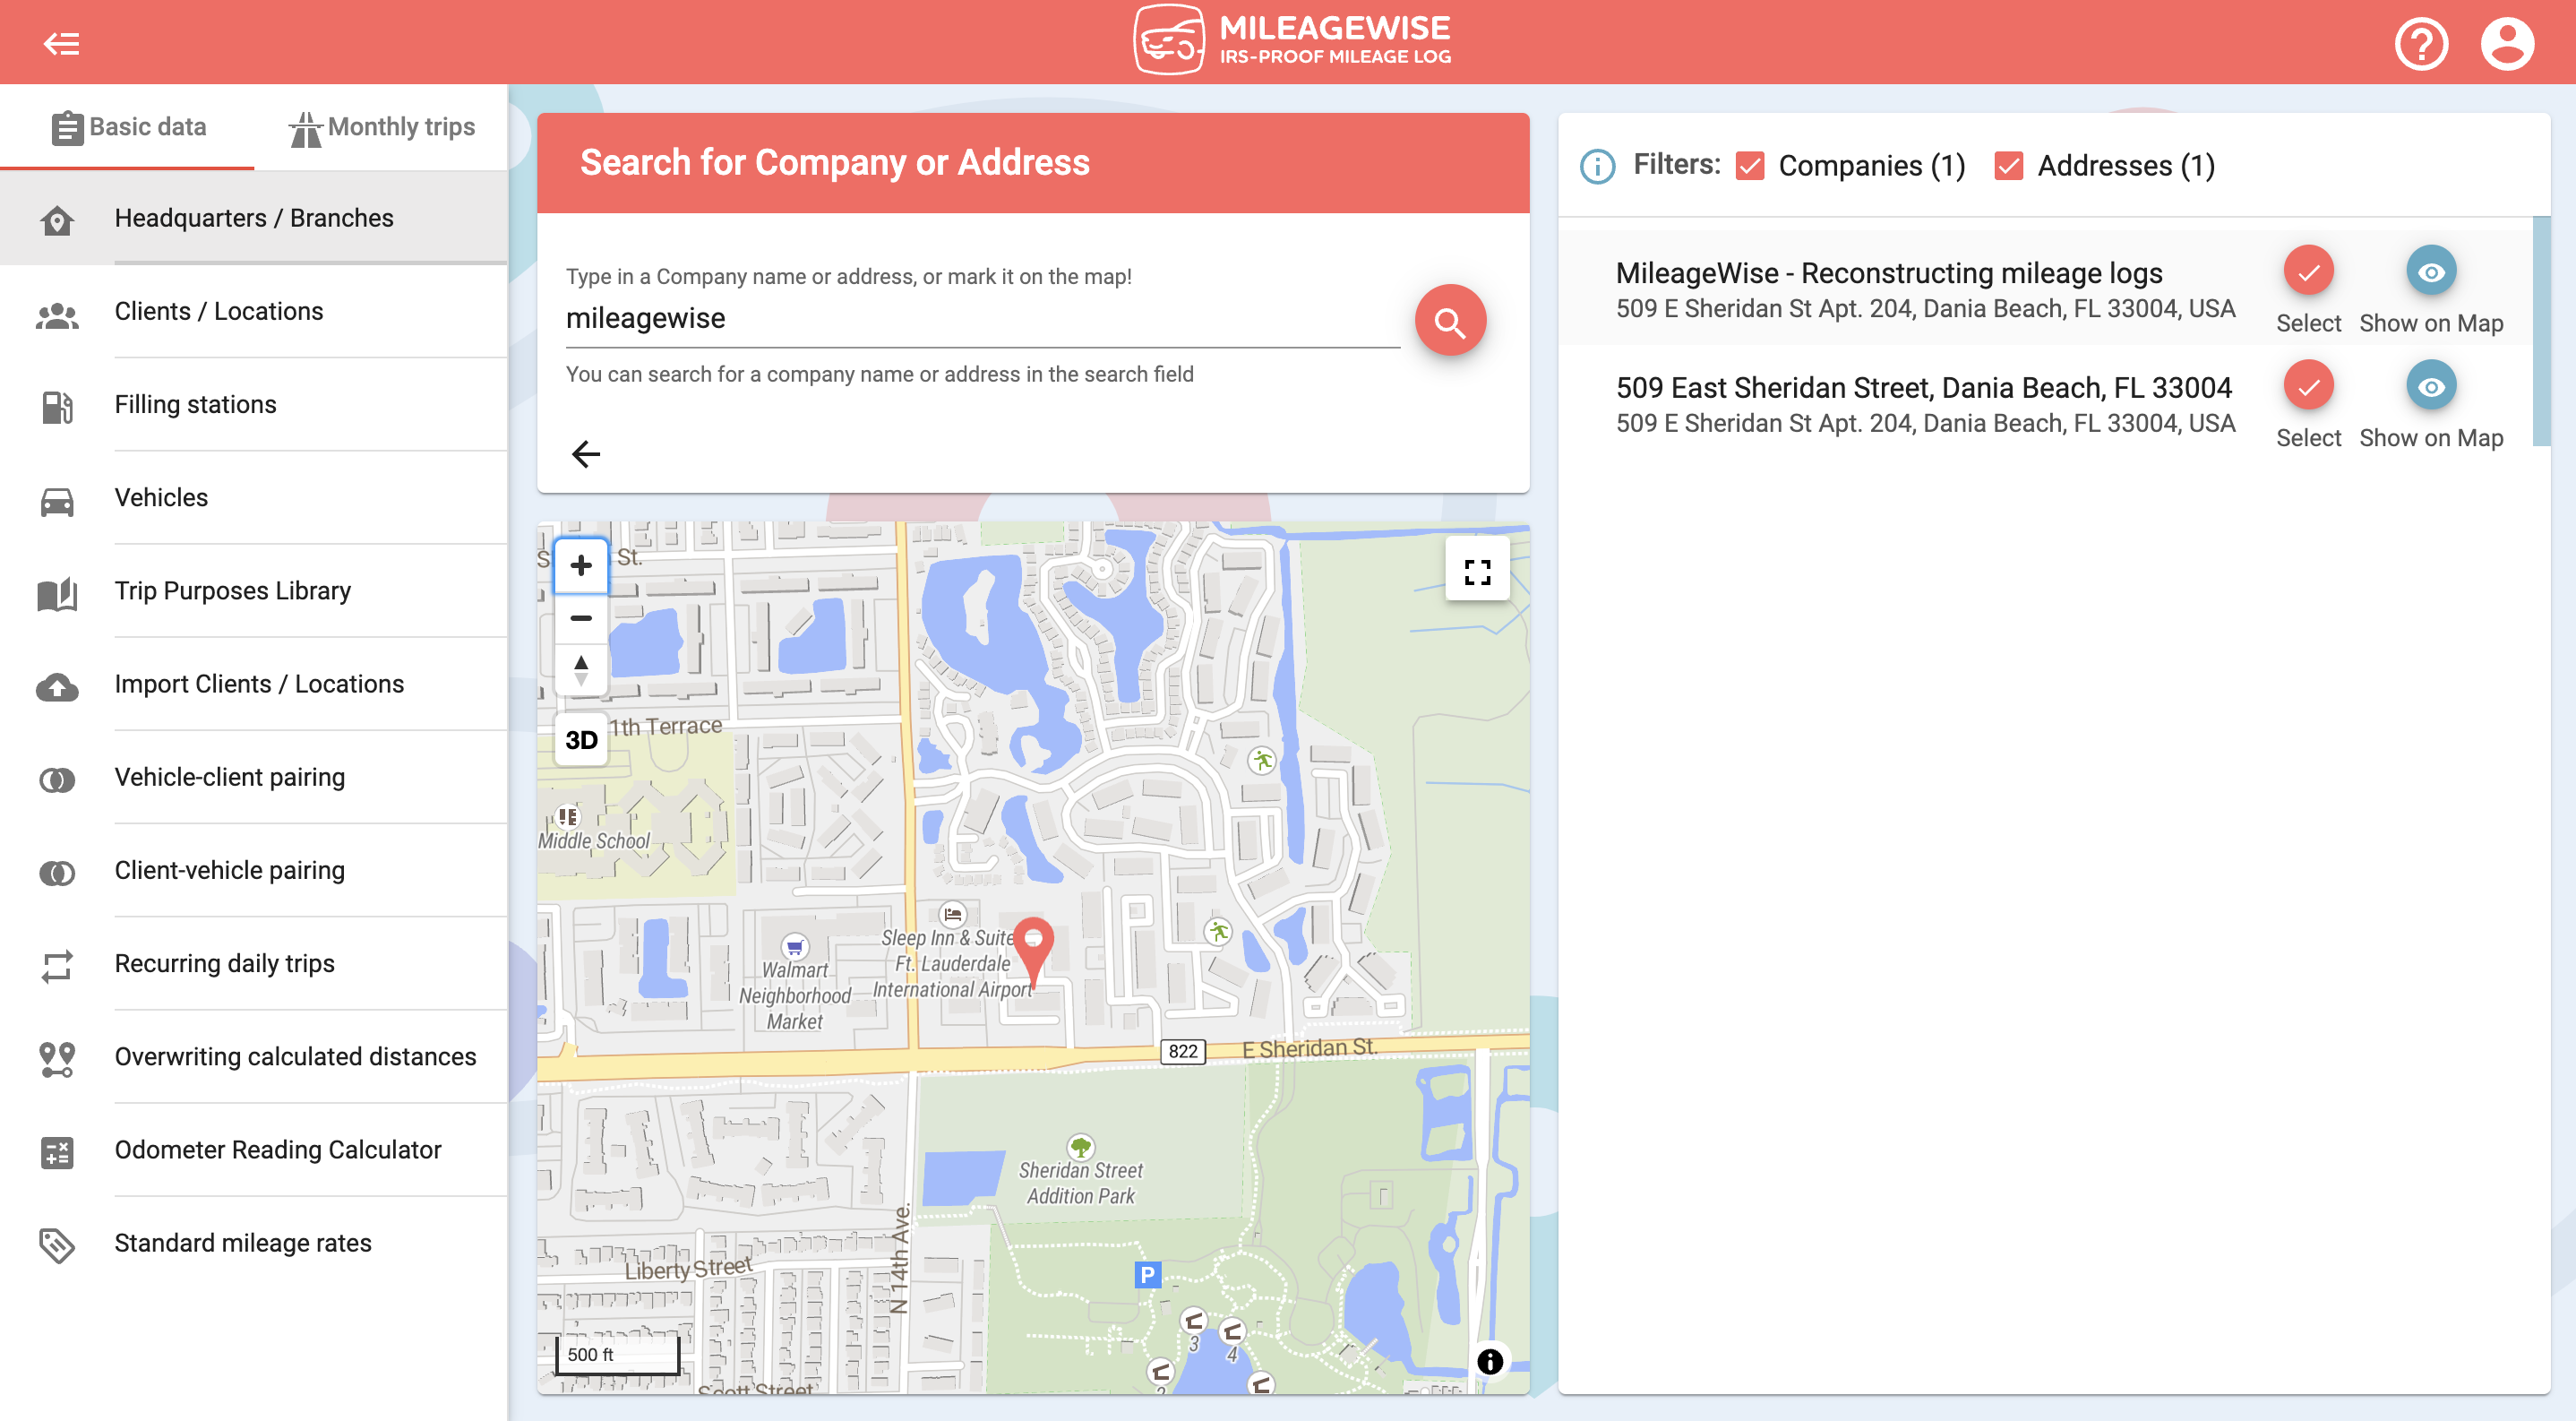
You can also search for a headquarters or branch by entering the address or company name.
This mileage tracker app goes beyond the basics! Automatically track your trips and customize your settings to match your needs. Designed to be battery-friendly, data-efficient, and fully ad-free — all while respecting your privacy. No upselling, no distractions — just the features you need.
With our Google Maps Timeline integration for importing your Location History, the AI Wizard Mileage Log Generator for recovering past trips, and our Built-in IRS Auditor that spots 70 potential red flags, MileageWise makes sure your mileage logs are always 100% IRS-proof.

April 29, 2025 Are you a freelancer or independent contractor? Do you get paid with a 1099 form? Then you need a 1099 tax calculator!
If you recently opened Google Maps and noticed your Timeline was deleted or partially missing, you’re not alone. In this post, we’ll break down what
Last Updated: April 7, 2025 If you use the internet for work, you might be able to claim a deduction on your tax return. But
Last Updated: March 3, 2025 If you regularly pay tolls for work-related travel, you may be wondering: Are tolls tax-deductible? The short answer is yes,
© 2025 MileageWise – originally established in 2001