What do you want to find out?
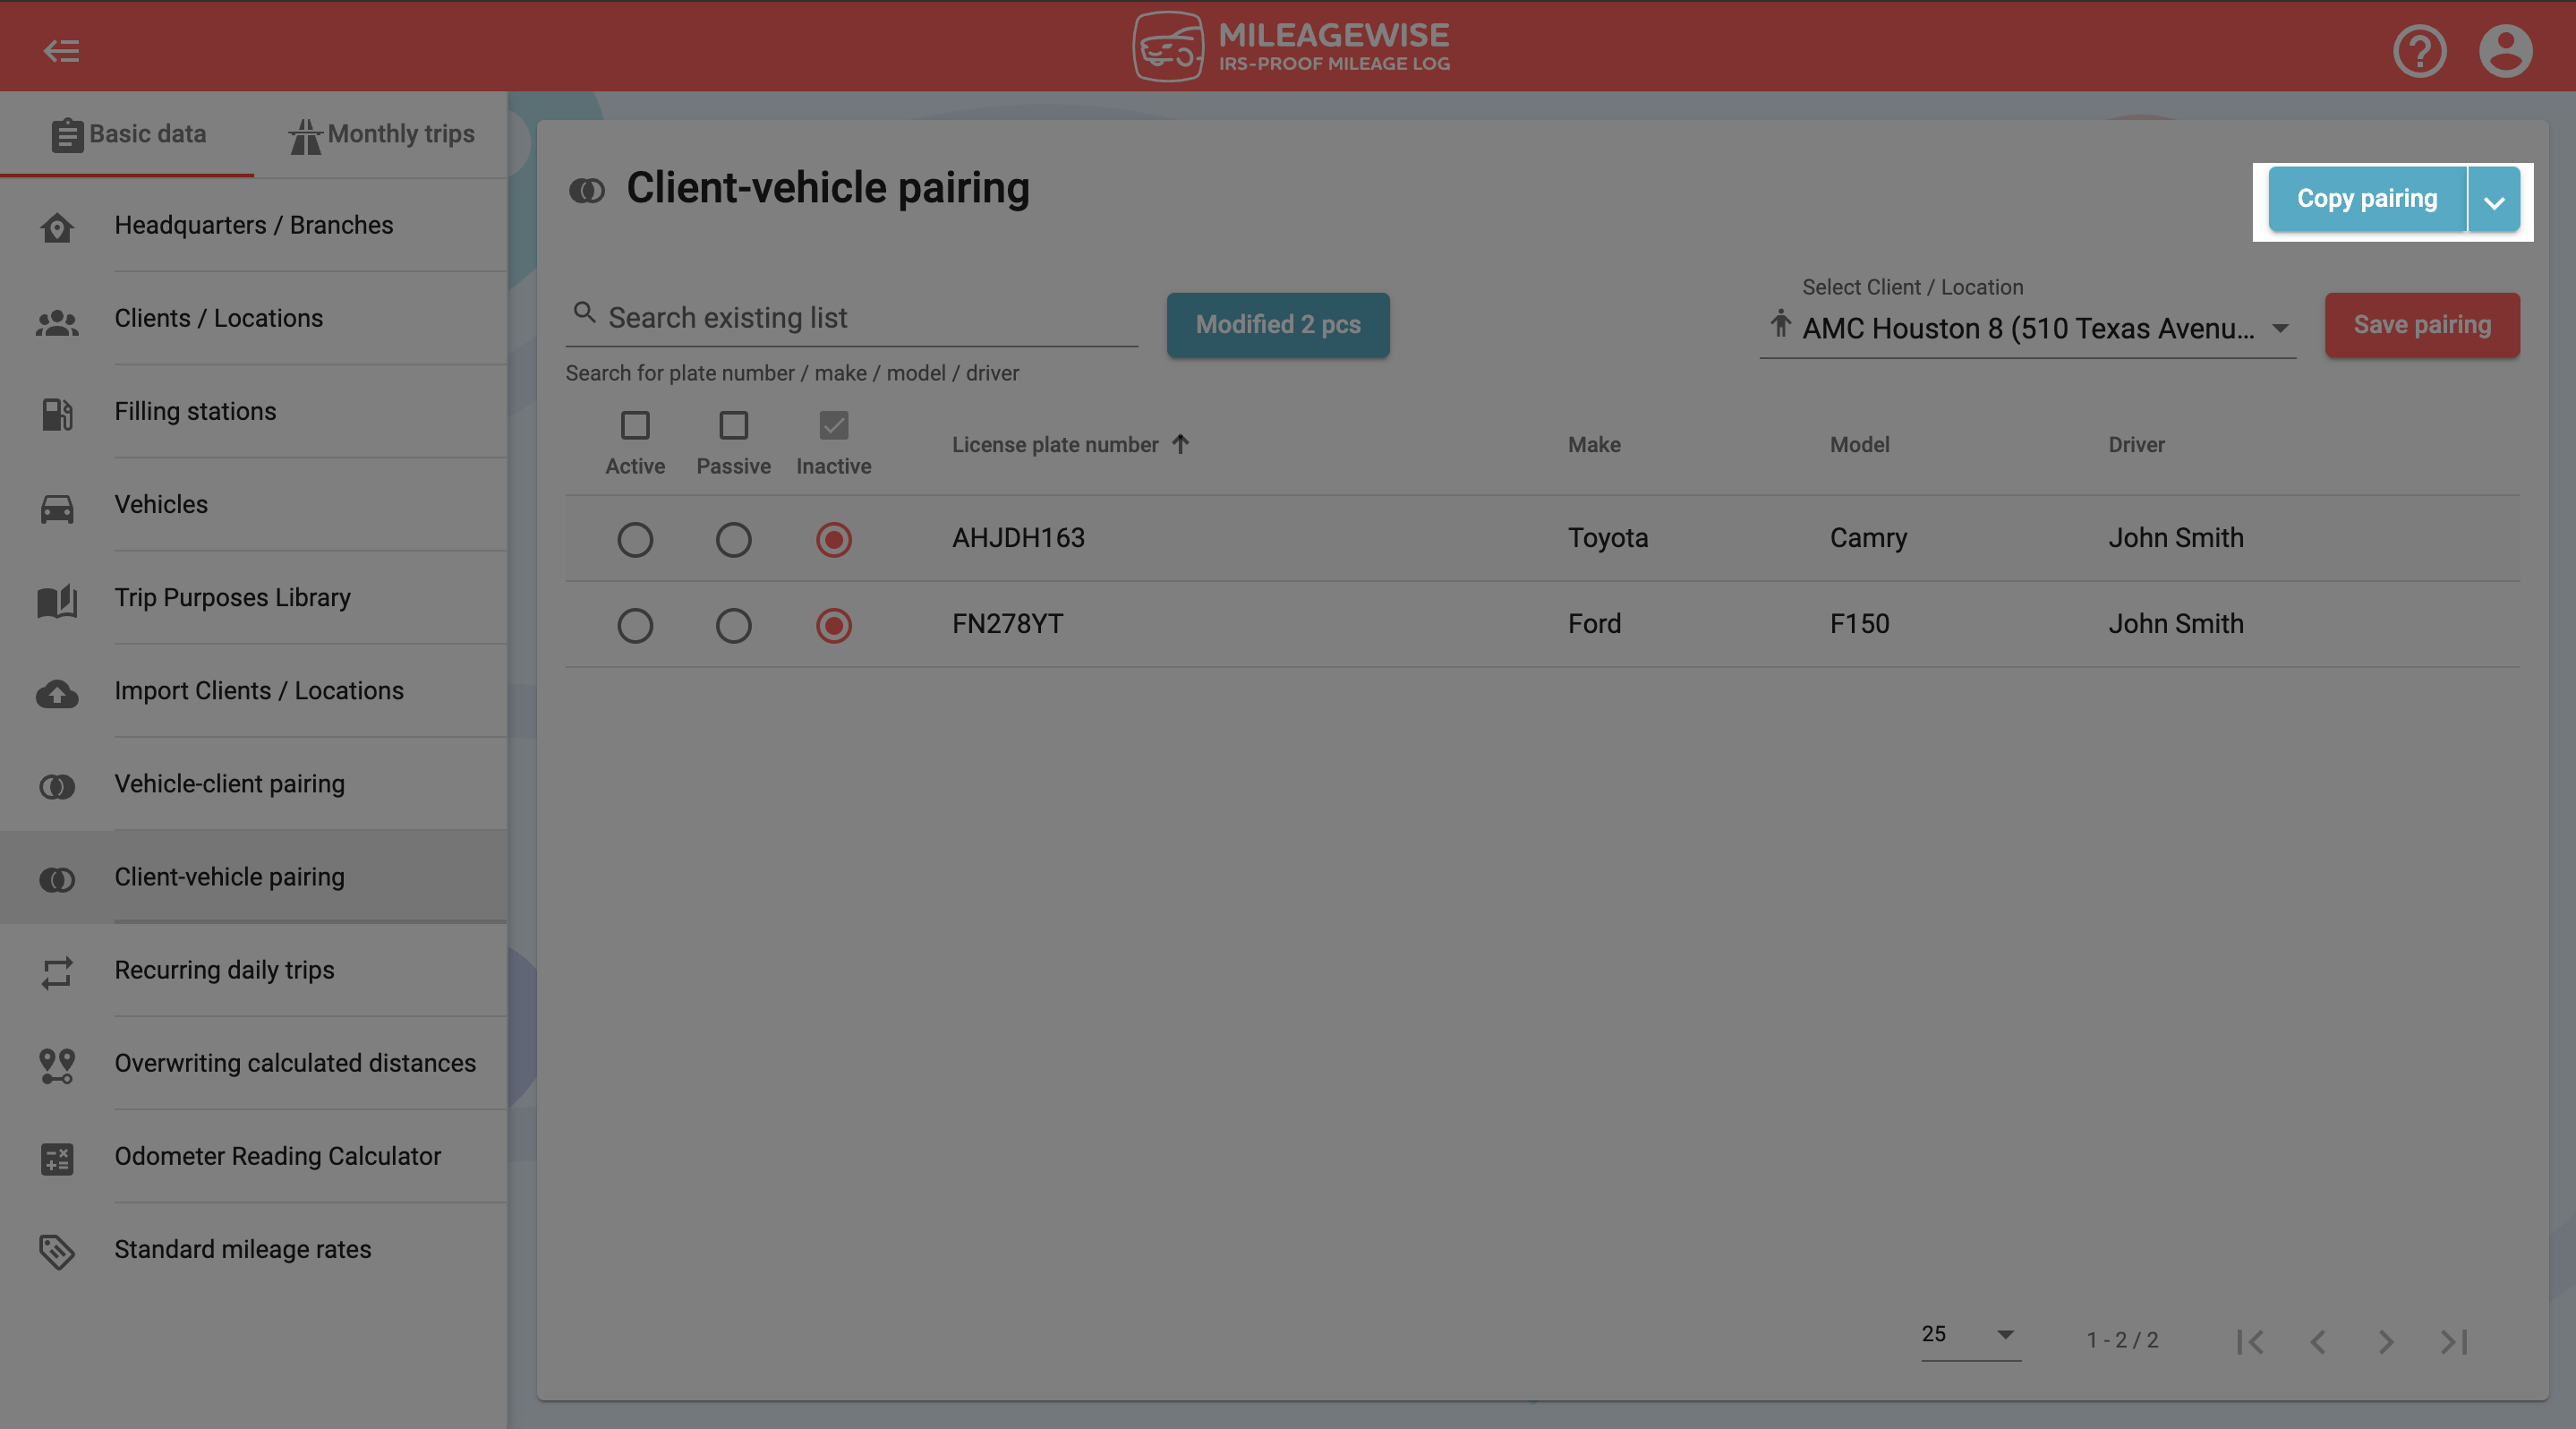
The Client-vehicle pairing feature allows you to link and categorize selected vehicles with specified clients/locations.
What this function does and what scenarios to use it in:
If you need to use the AI Wizard function to fill in the trip gaps in your mileage log, you can utilize this Client-Vehicle Pairing feature to ensure that only the selected clients/locations within the set vicinity (e.g. filter for a specific state, or ZIP code) can be used by the AI Wizard for the specified vehicle.
If you have multiple vehicles in the system, such as a fleet operation, this feature can be beneficial to ensure that each driver only has access to relevant data (the selected clients/locations). This will help keep things neat and tidy, rule out any confusion, and streamline the entire process by ensuring that each vehicle only has access to selected clients / locations.
The Setup
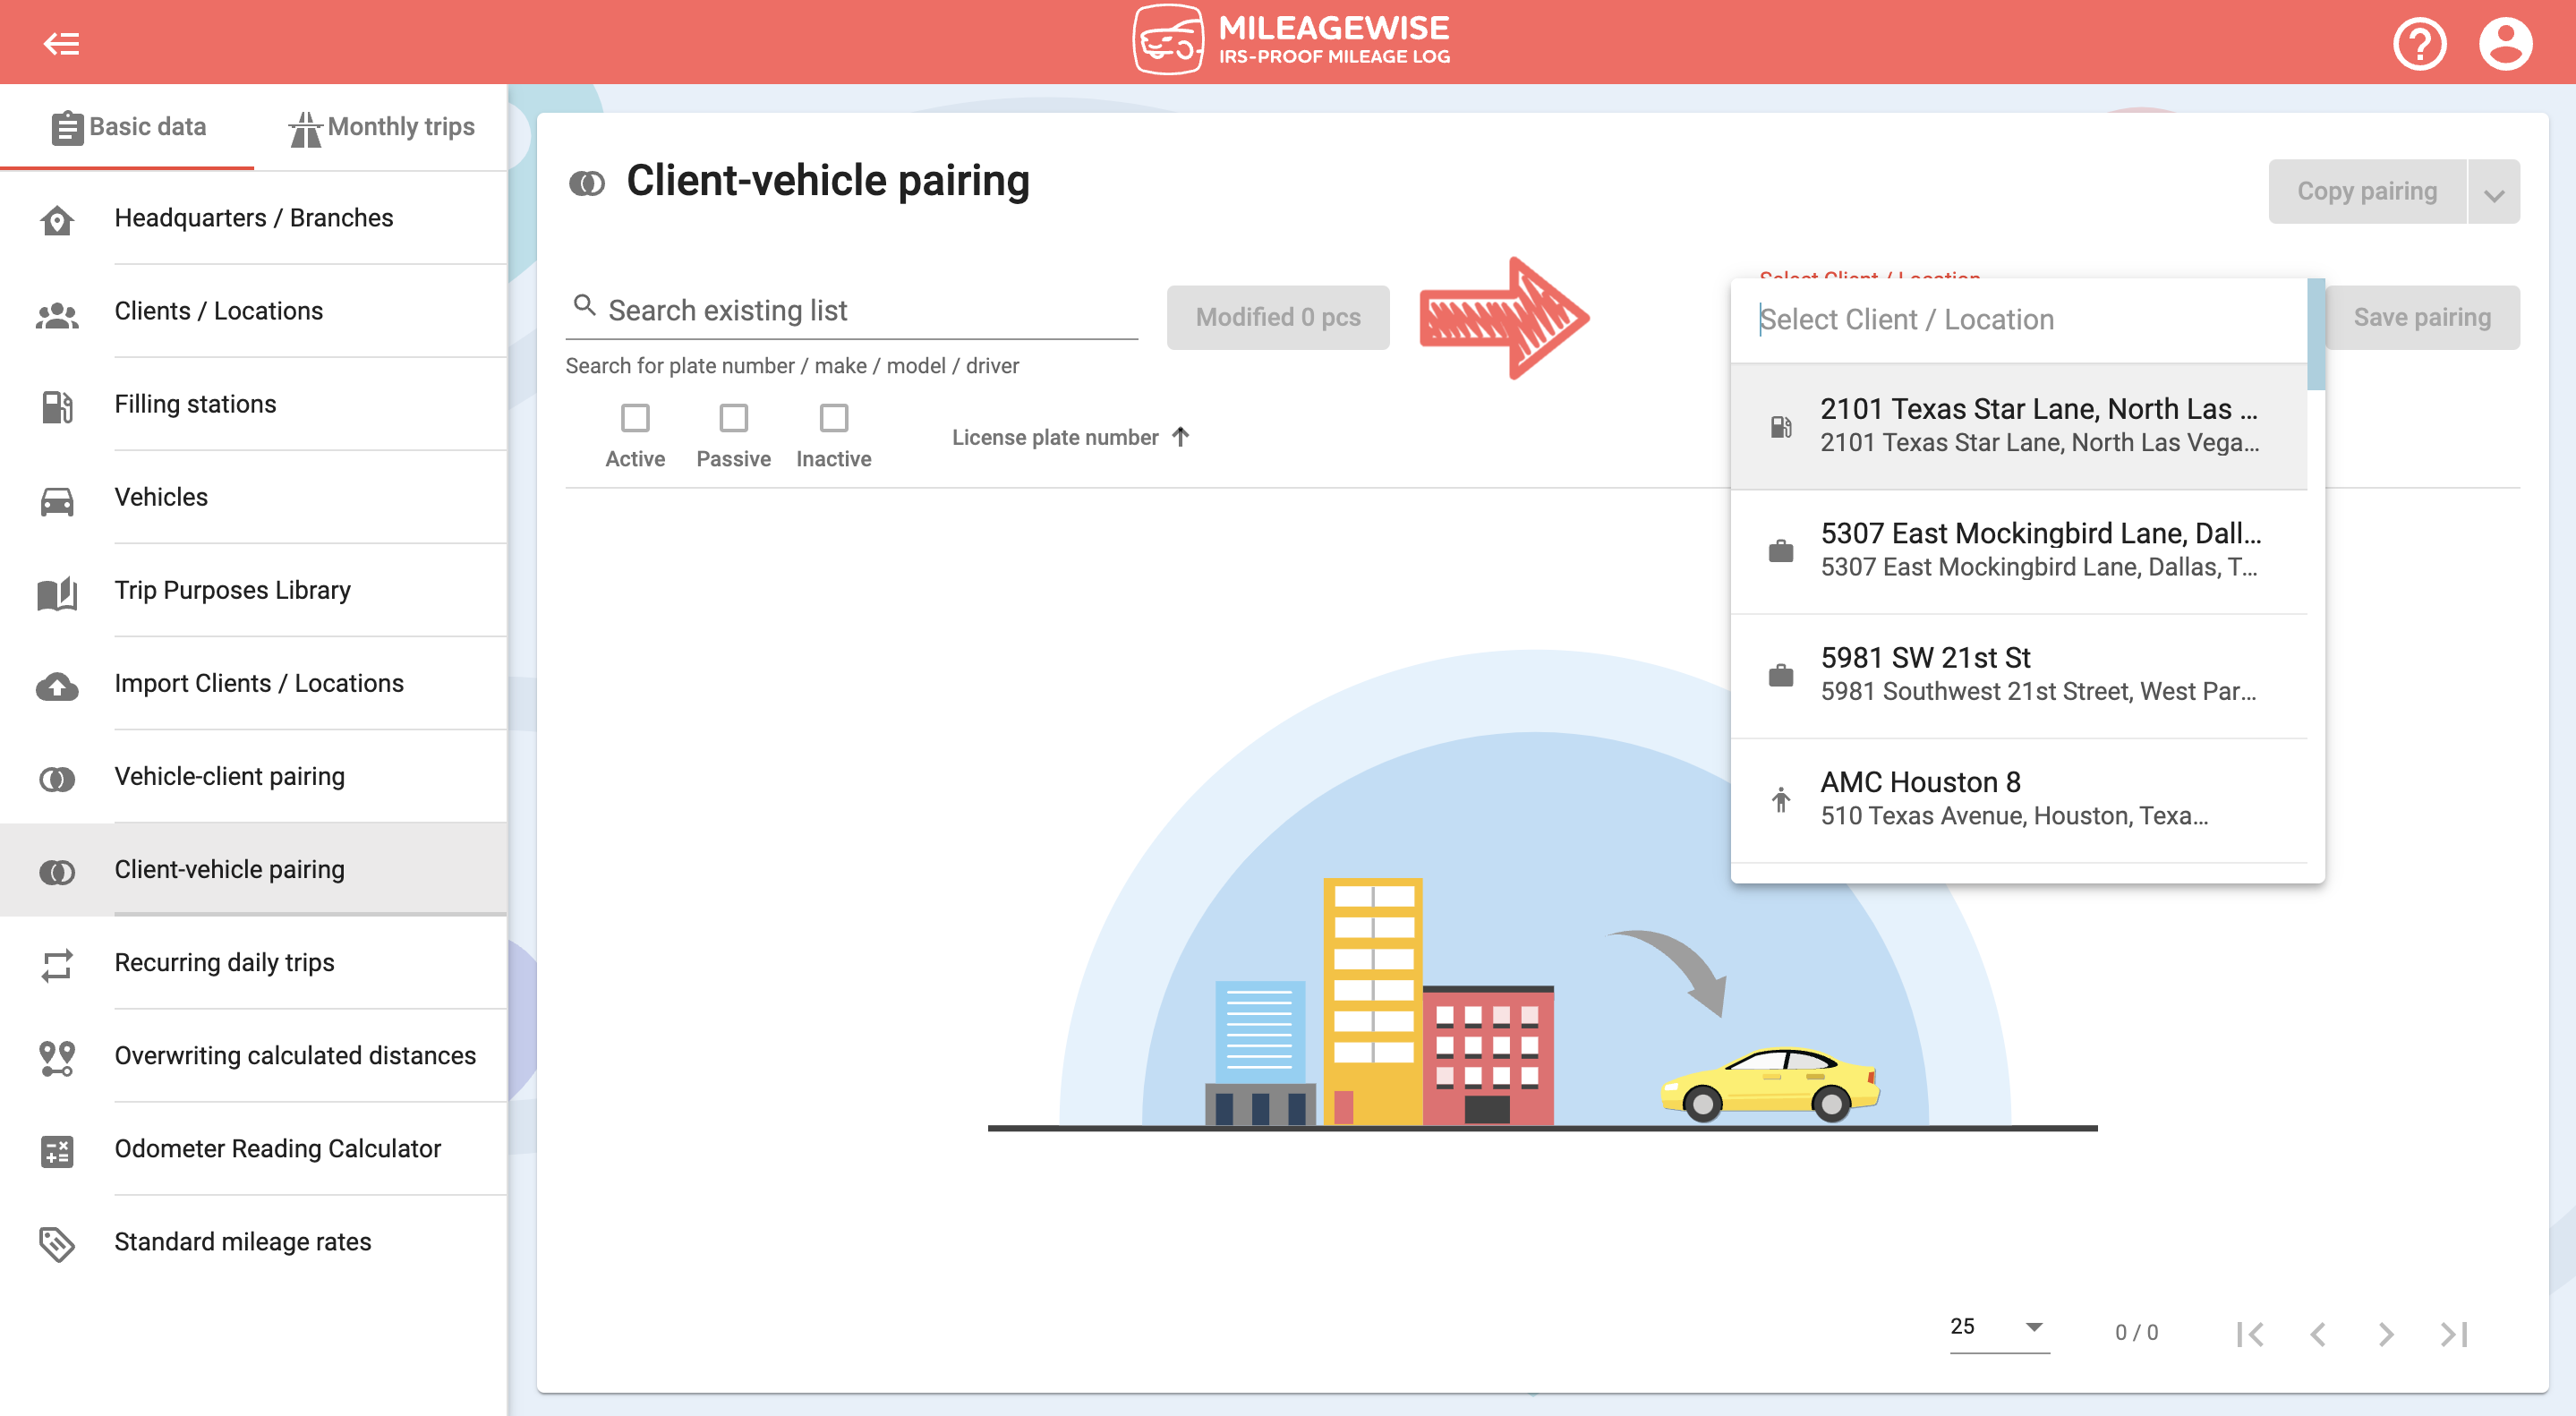
First, click on the field in the top right to select or search for the client/location you want to categorize.
Once you have selected the client/location, a list of your vehicles will appear, which you can sort by License plate number, Make, Model, Driver, (and Fuel type or Fuel consumption for Actual Expenses Method vehicles), or you can search for a specific vehicle via the search bar.
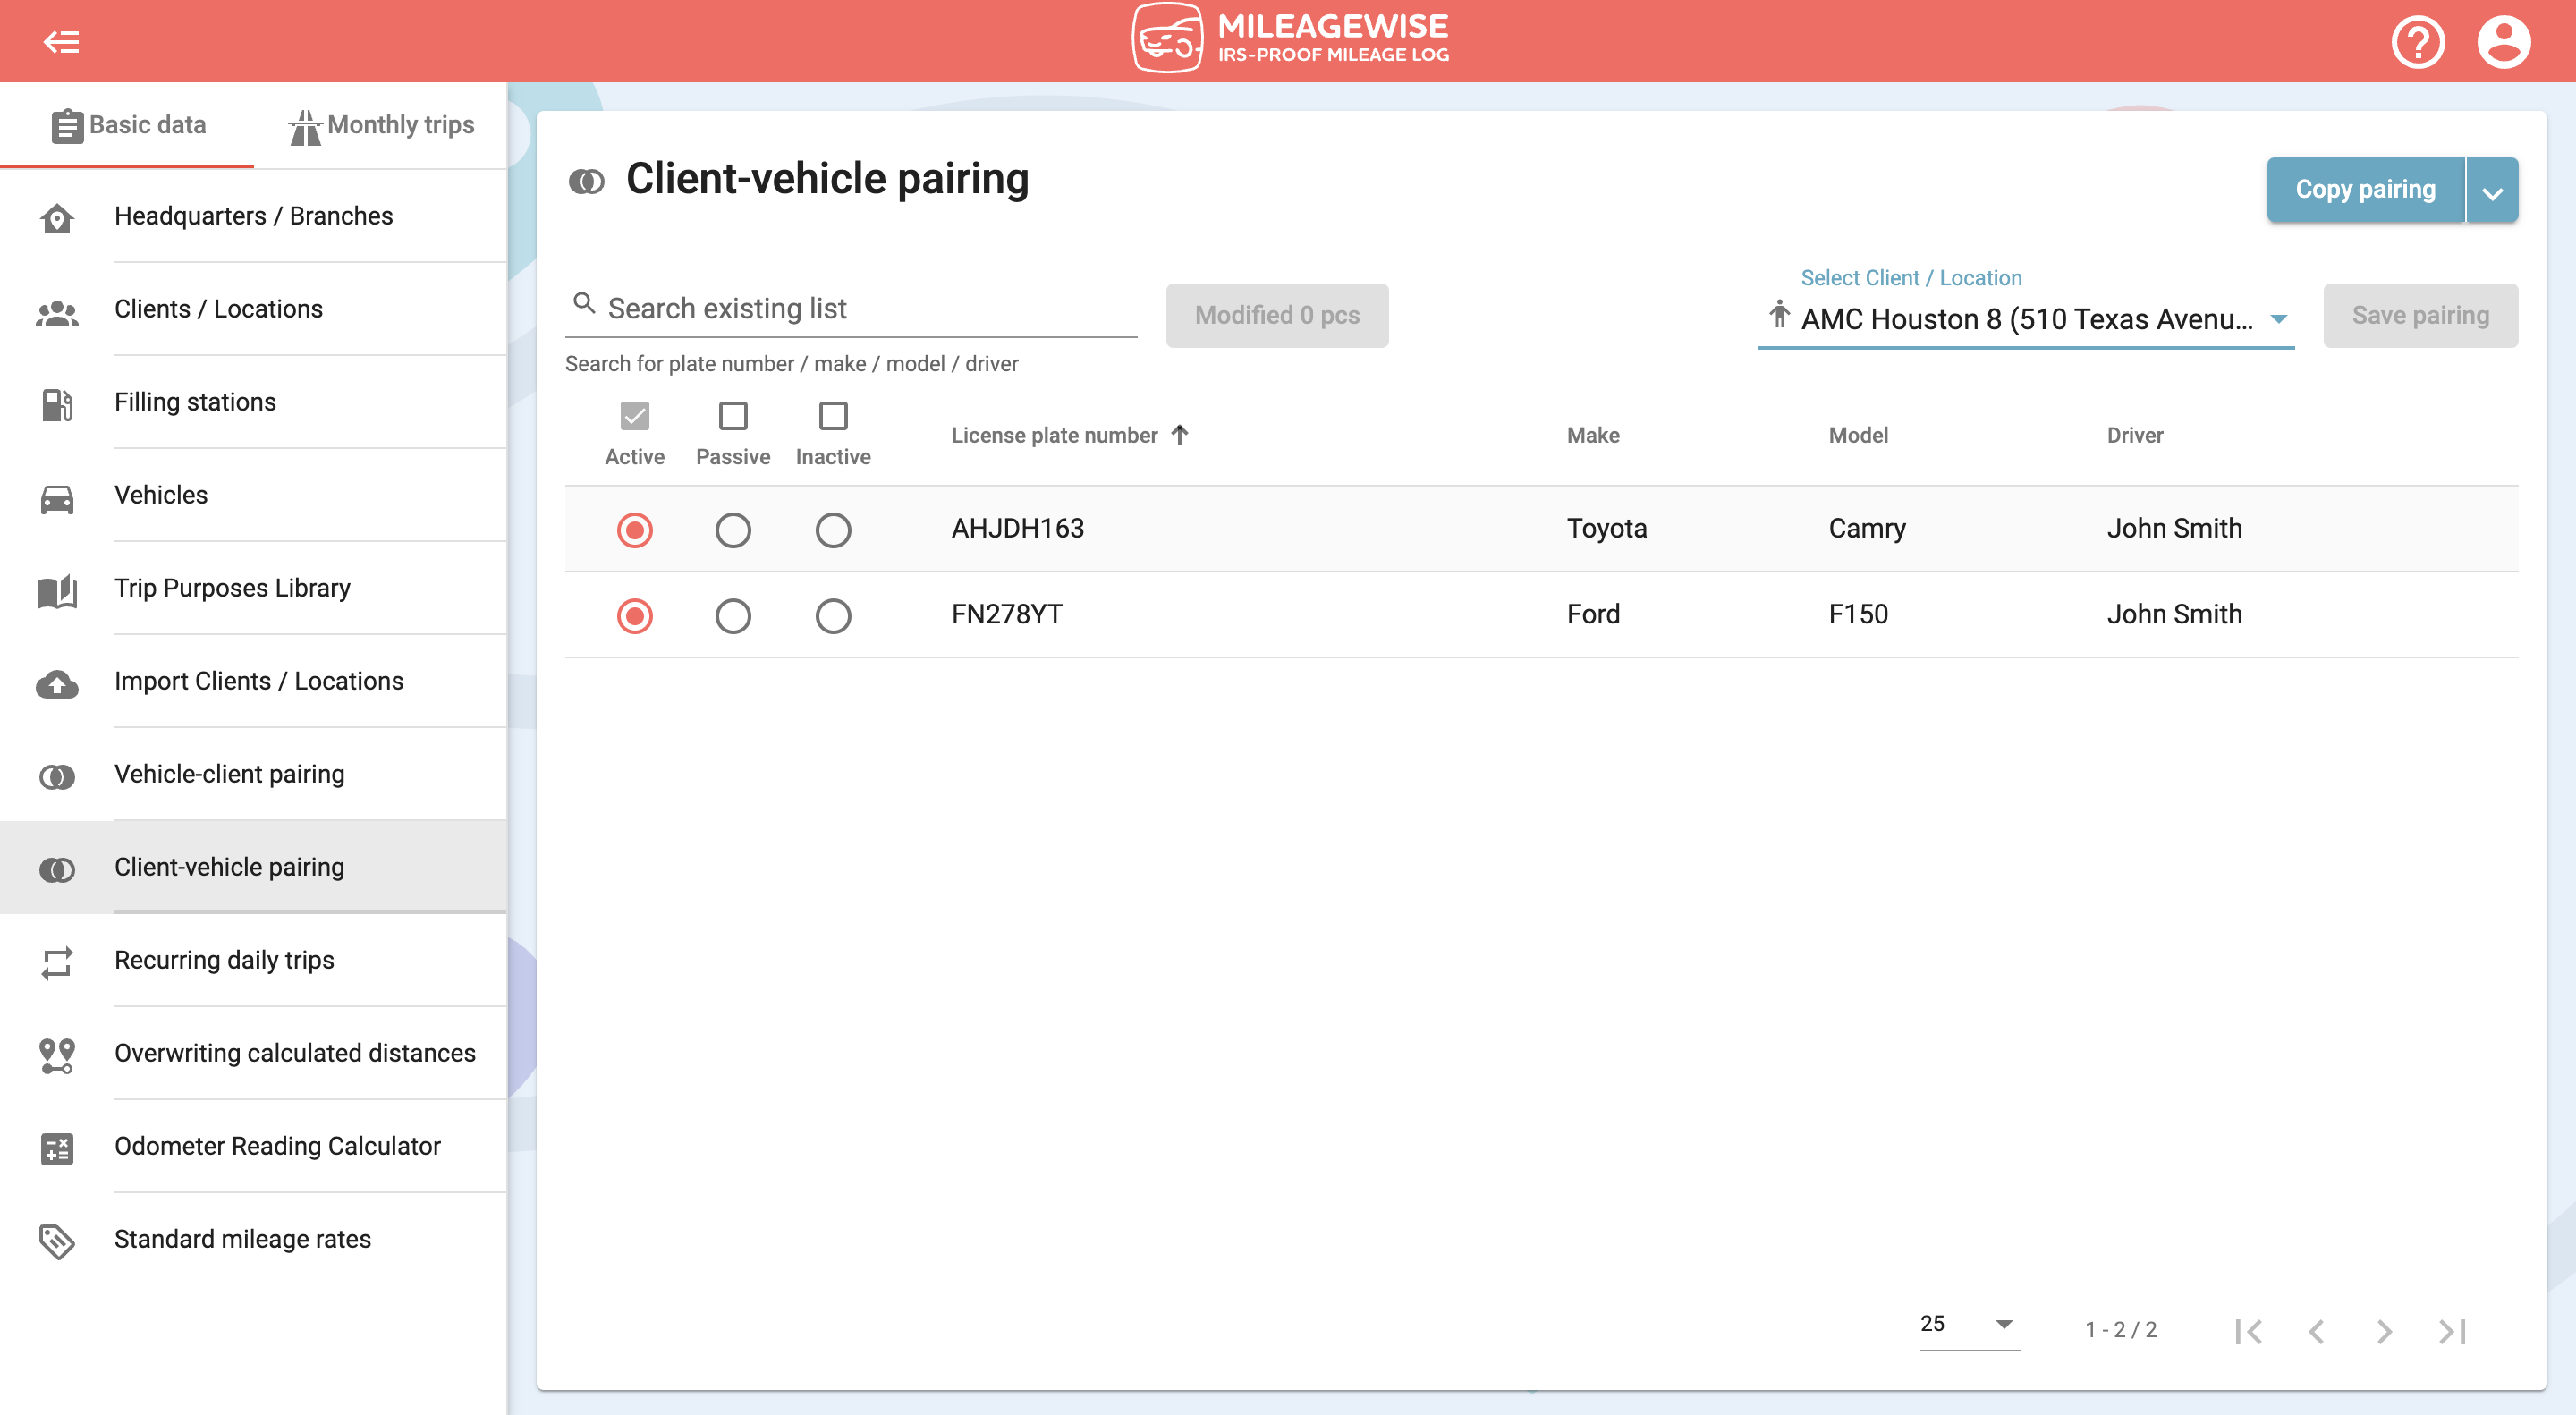
Active group:
Vehicles within the ‘Active’ group are paired with specific clients/locations. These vehicles have access to the specified clients/locations for trip recording, and also to use with the AI Wizard feature.
Passive Group:
Vehicles within the ‘Passive’ group are paired with clients/locations for manual use only, they won’t be used by the AI Wizard function.
Inactive group:
Vehicles within the ‘Inactive’ group are “paired” with clients/locations for which they won’t have access. They won’t be visible or usable. This feature is useful for users with multiple vehicles to keep everything tidy, and streamline operations for the team.
Modifications
To move a vehicle from one group to another, simply click on the circle in the appropriate column in that row. If you don’t want to make any other changes, click the ‘Save pairing’ button in the top-right corner of the screen.
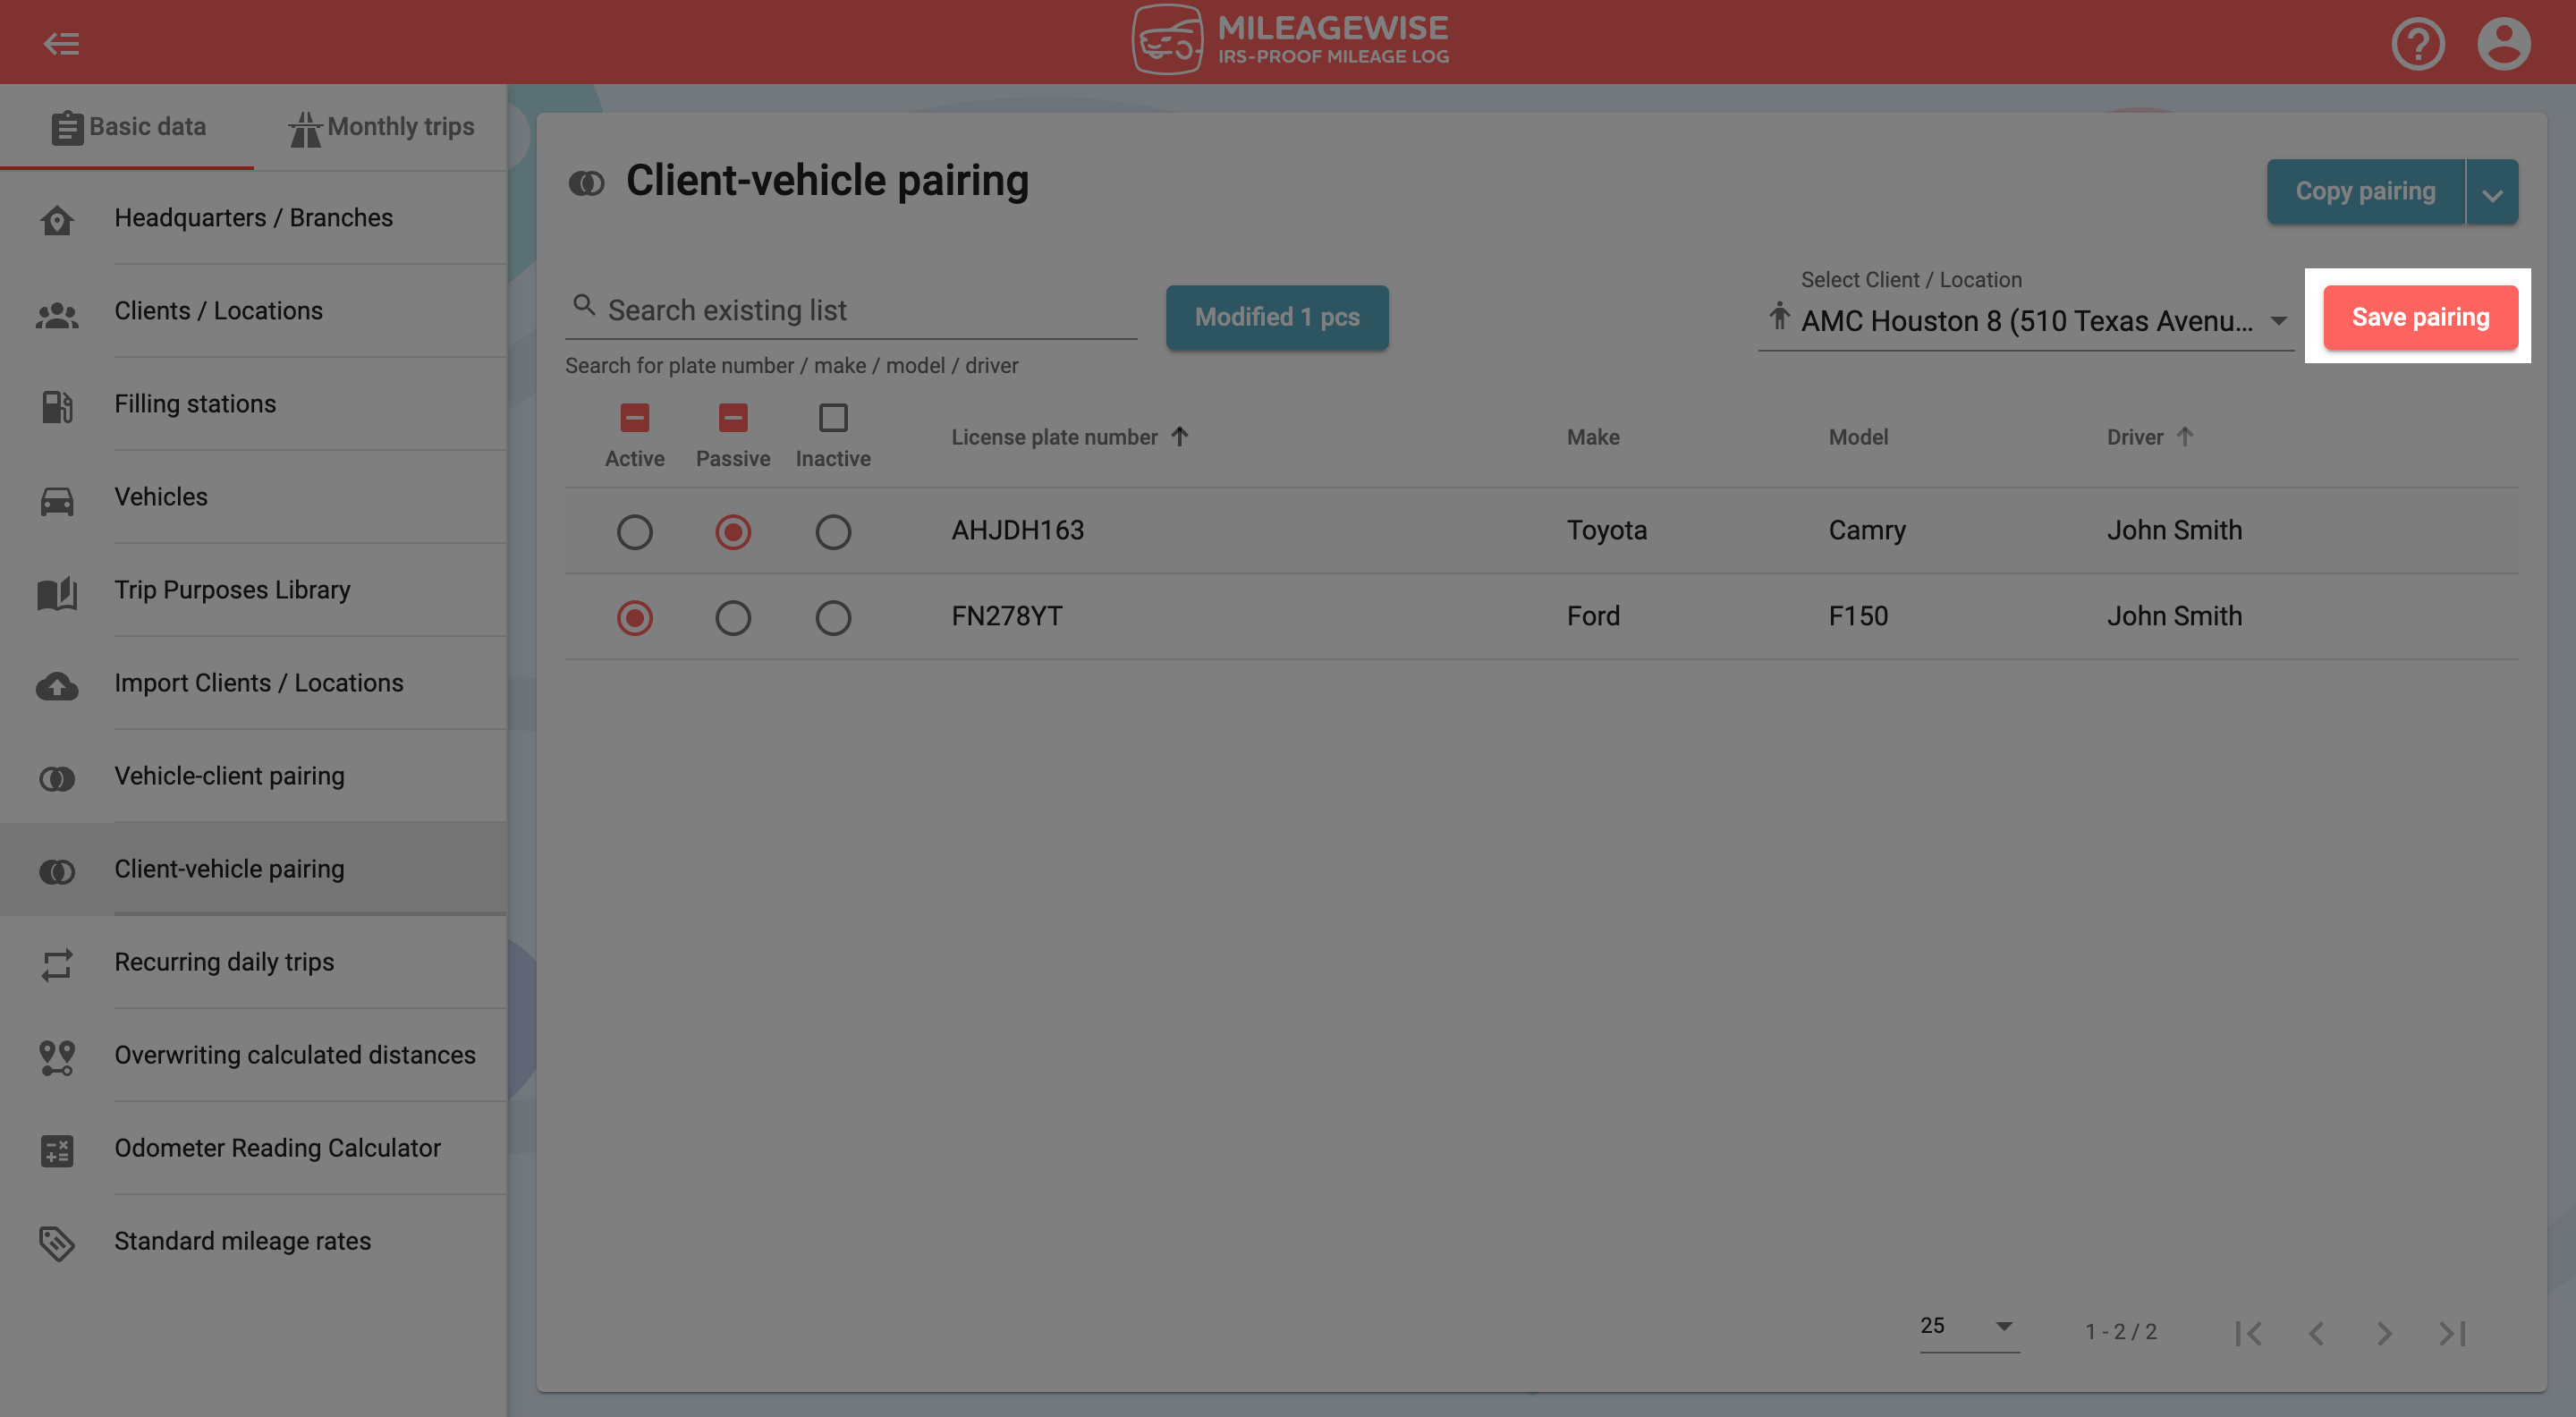
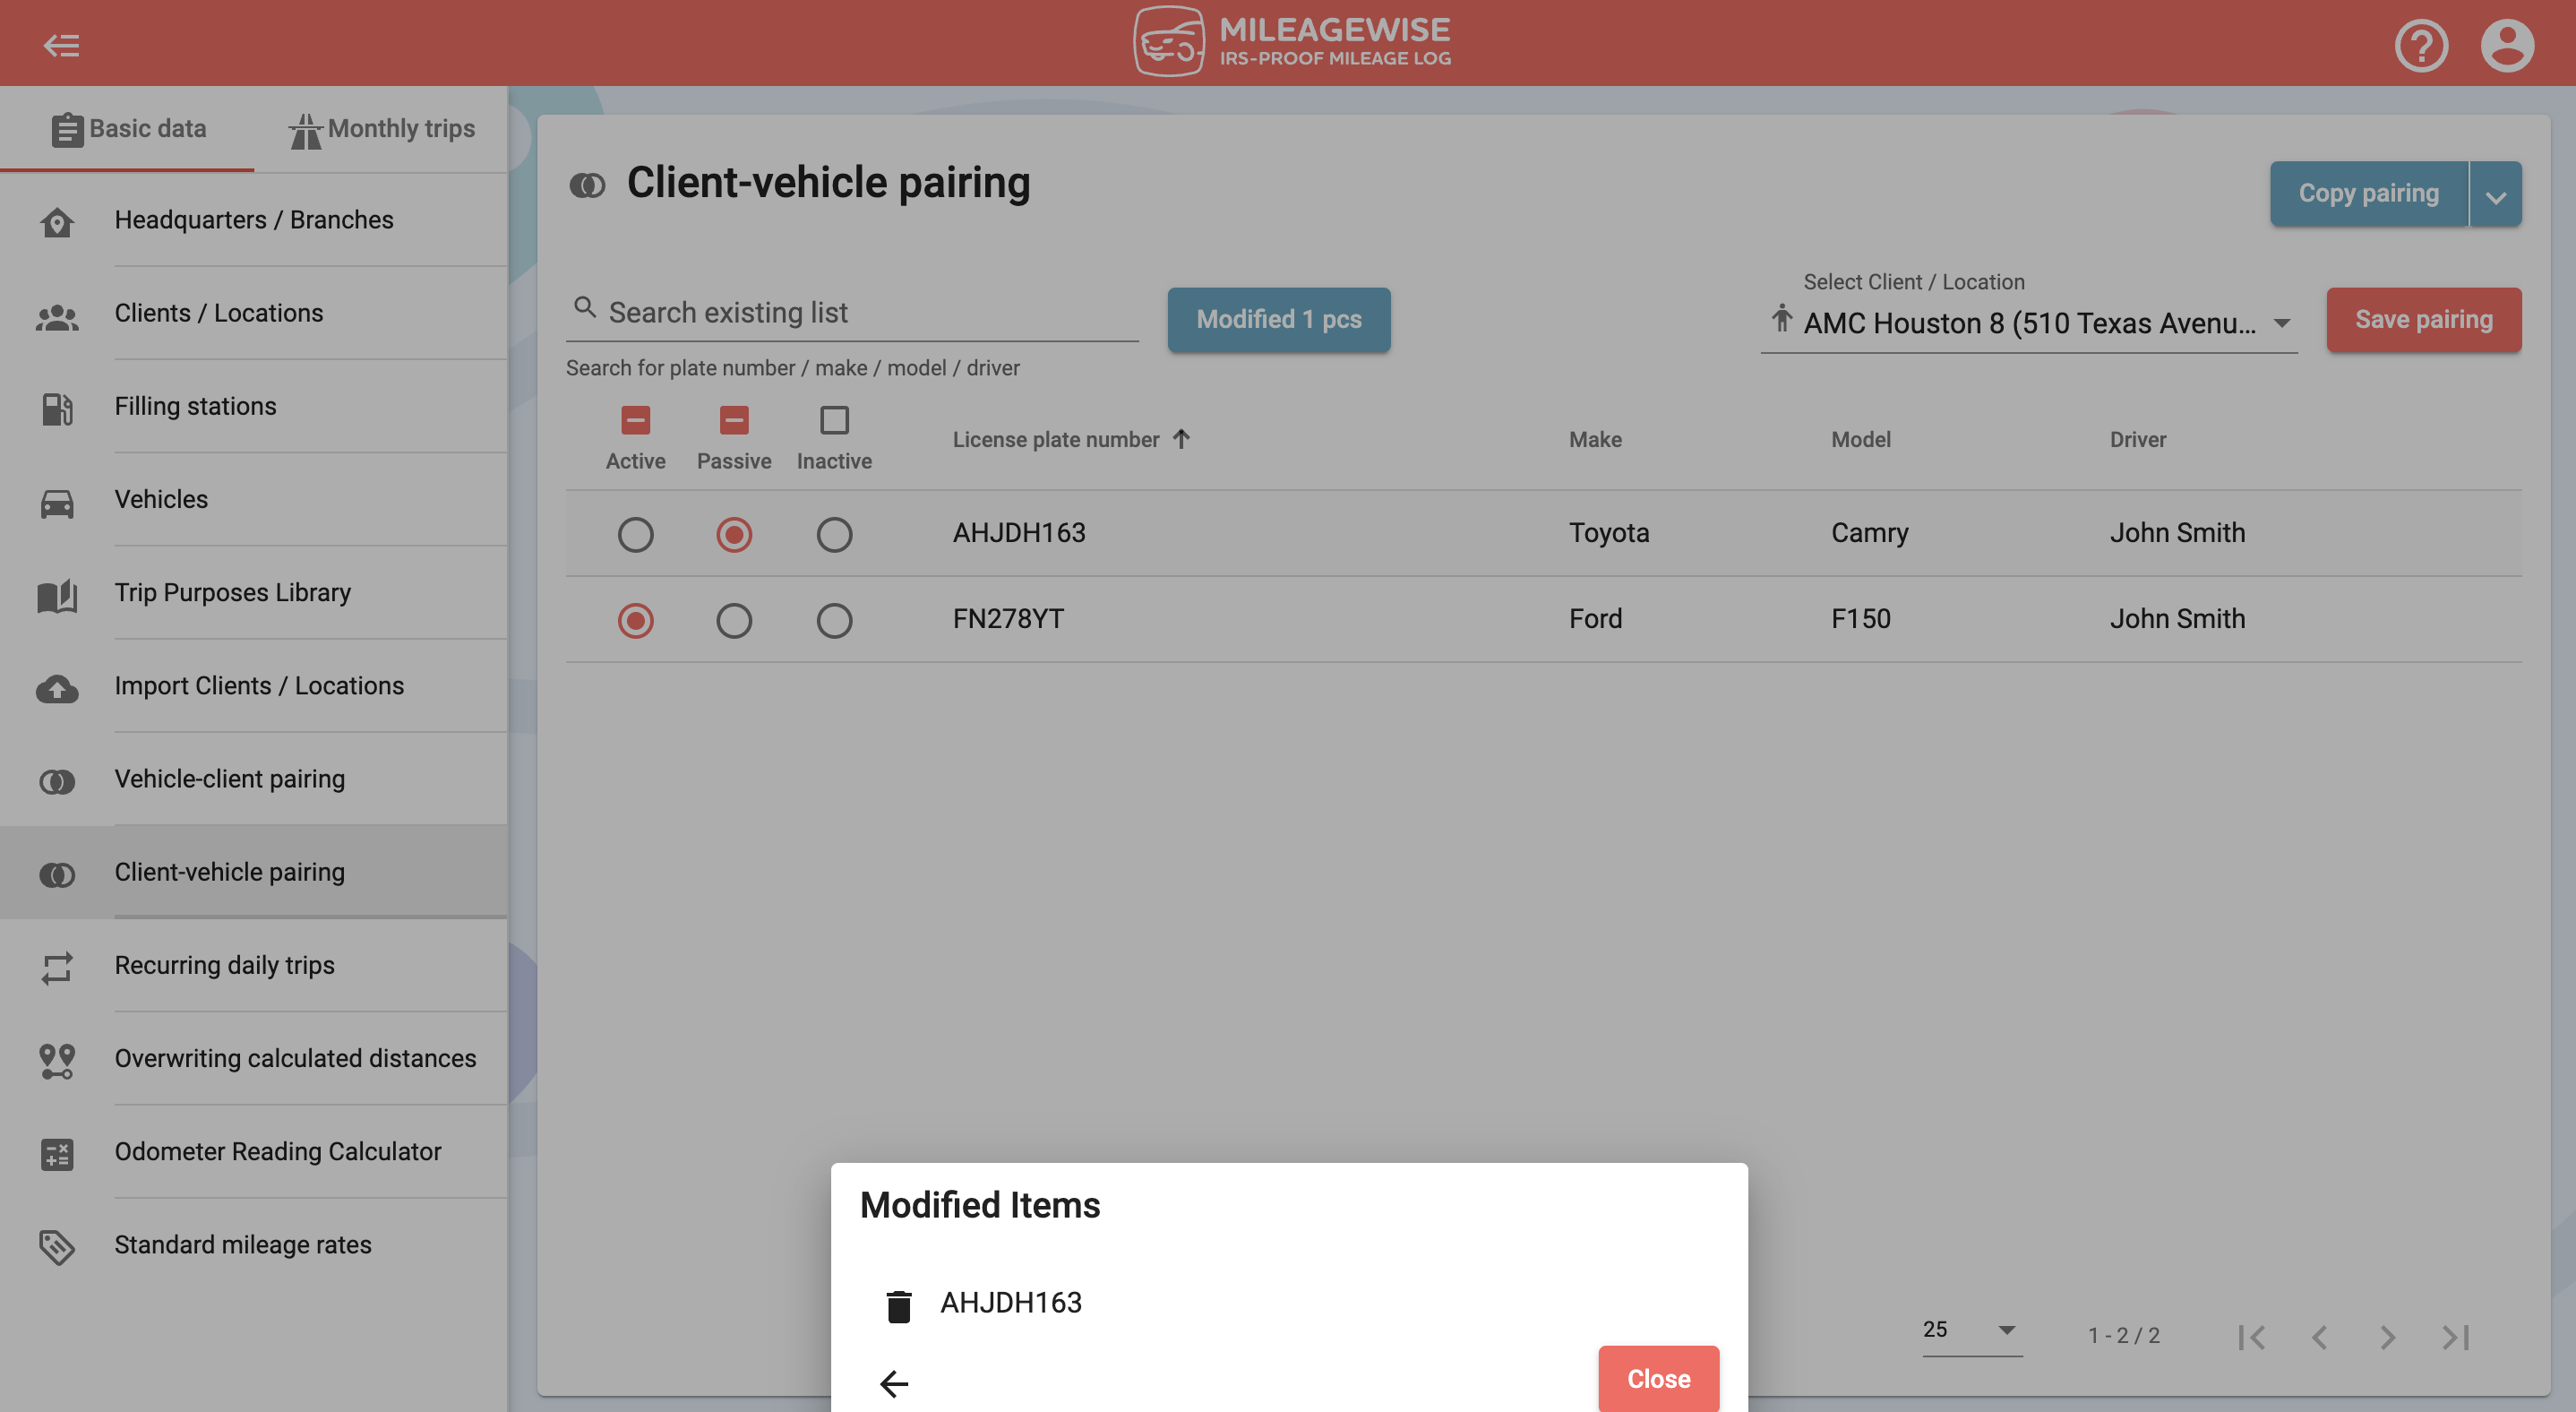
Click the ‘Modified’ button to display the list of vehicles modified so far.
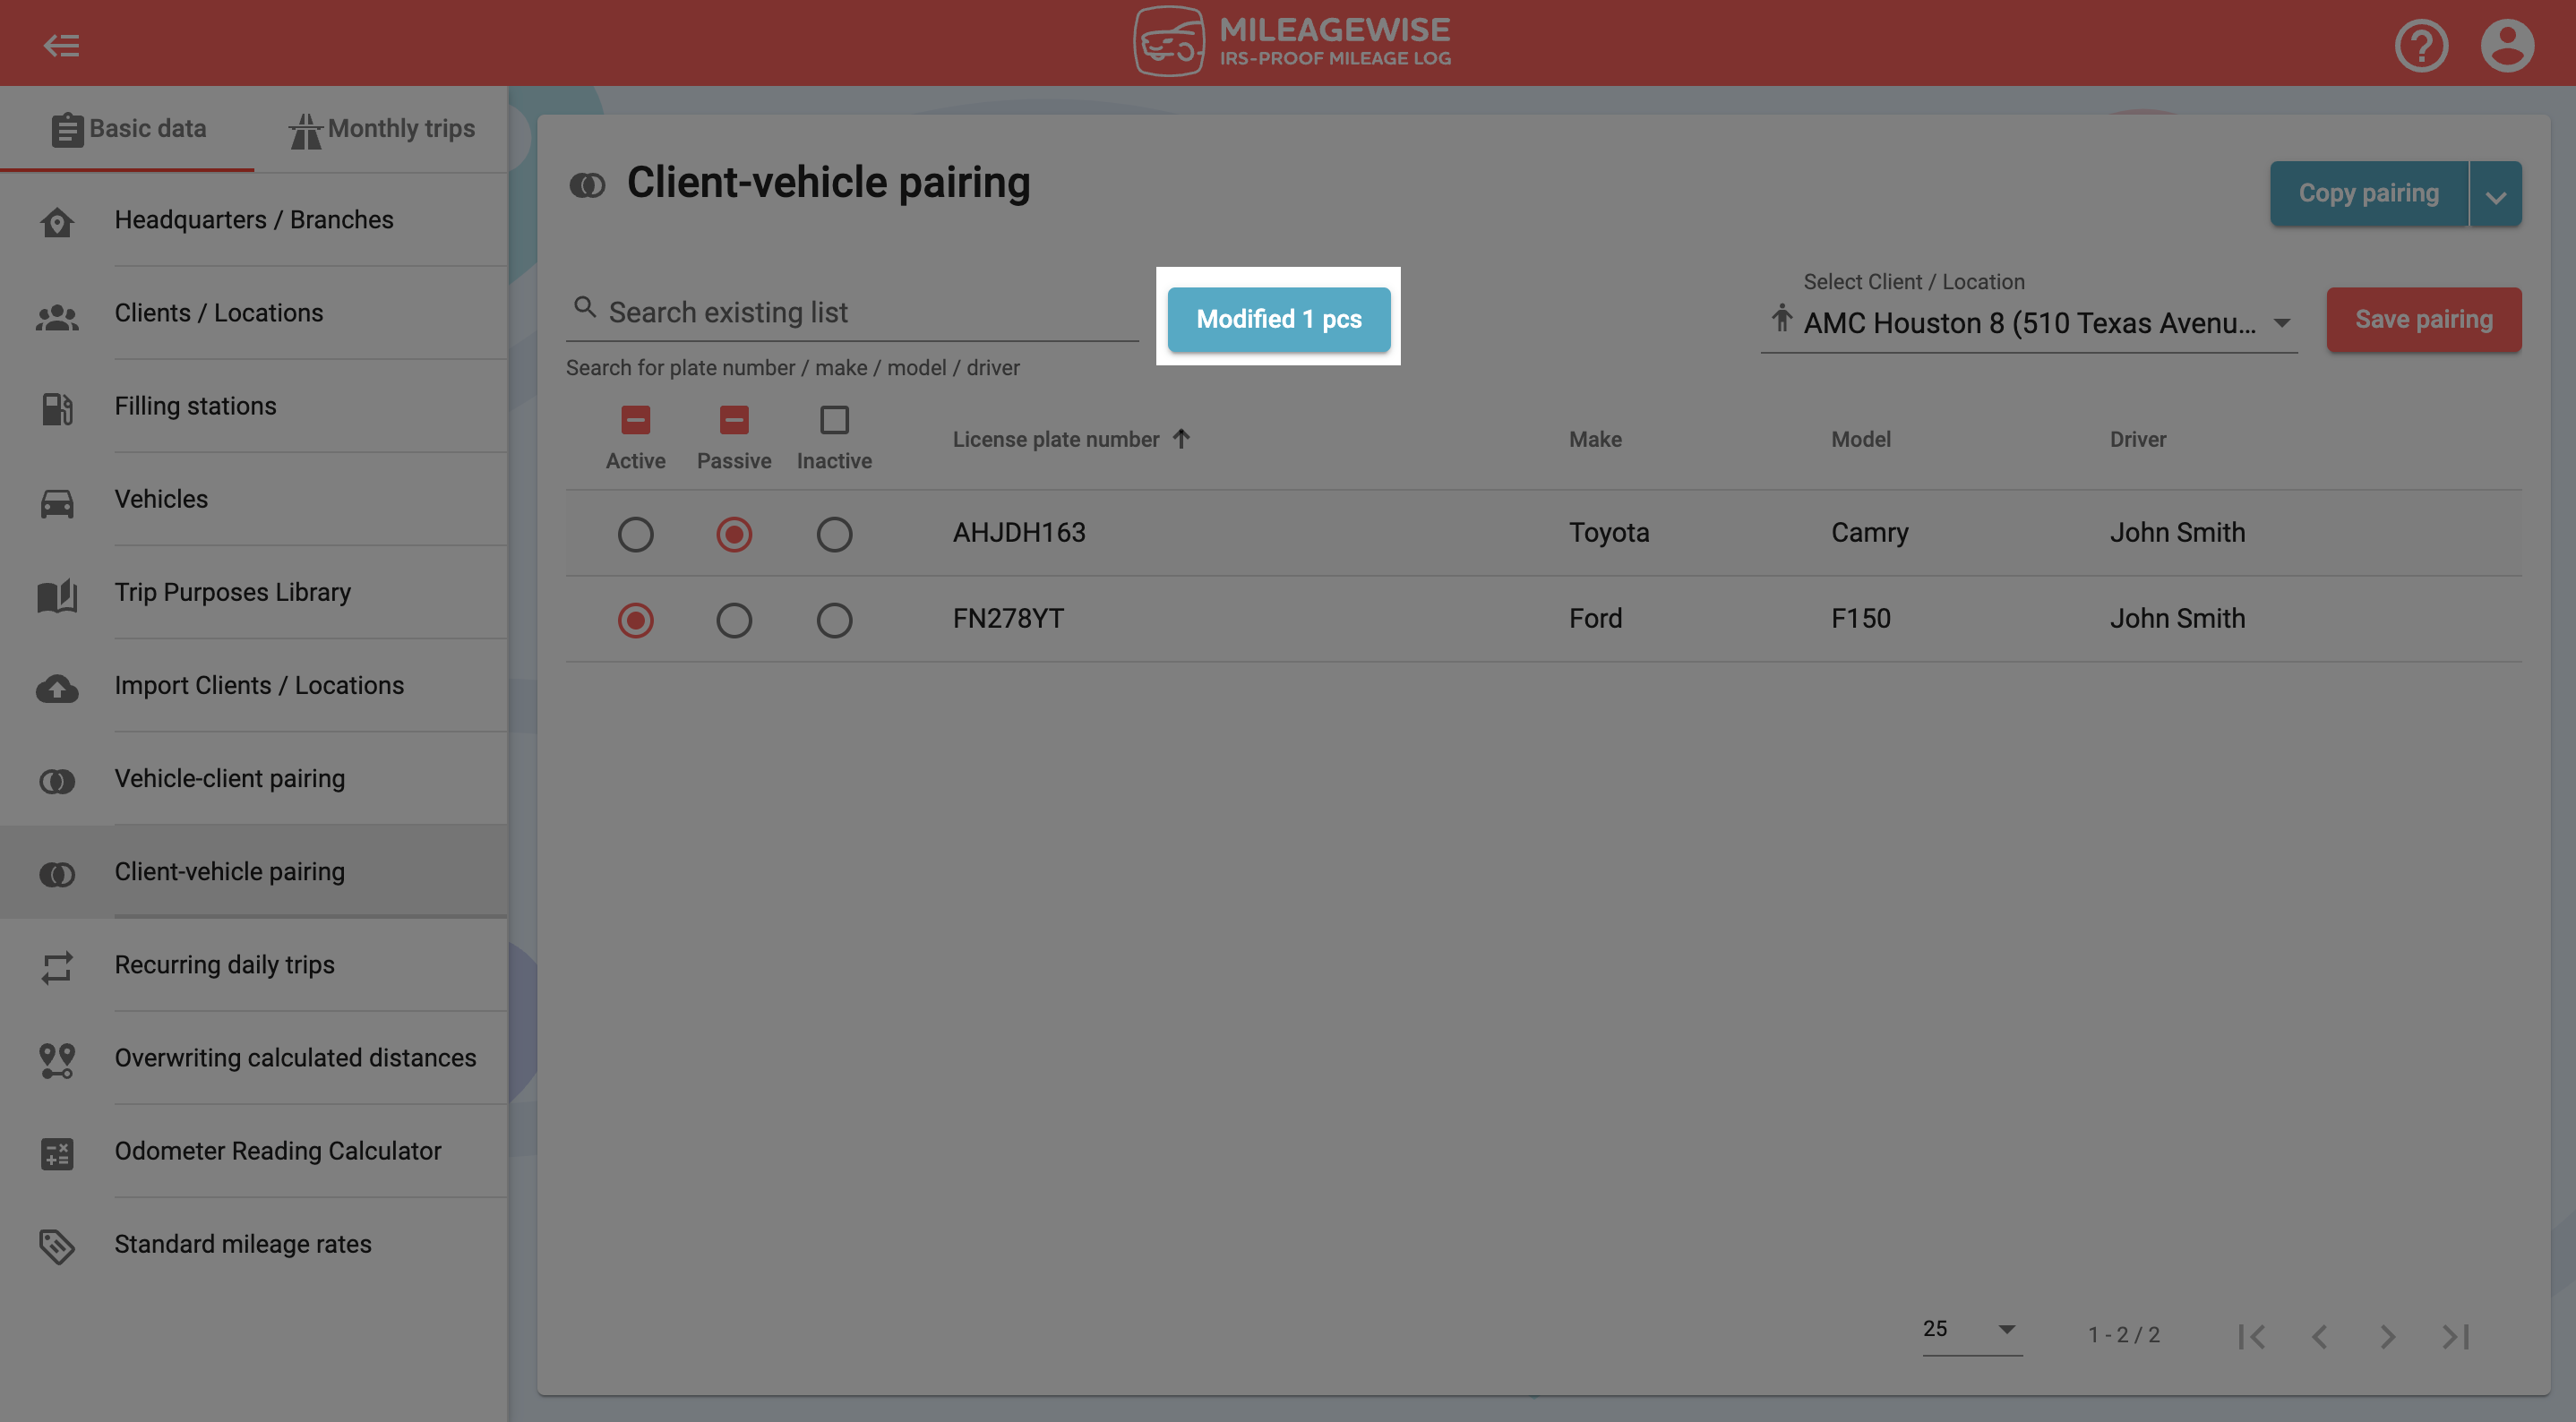
You can undo the changes by clicking the ‘Restore status![]() ‘icon. When you are done, click ‘Save pairing’ in the top right.
‘icon. When you are done, click ‘Save pairing’ in the top right.
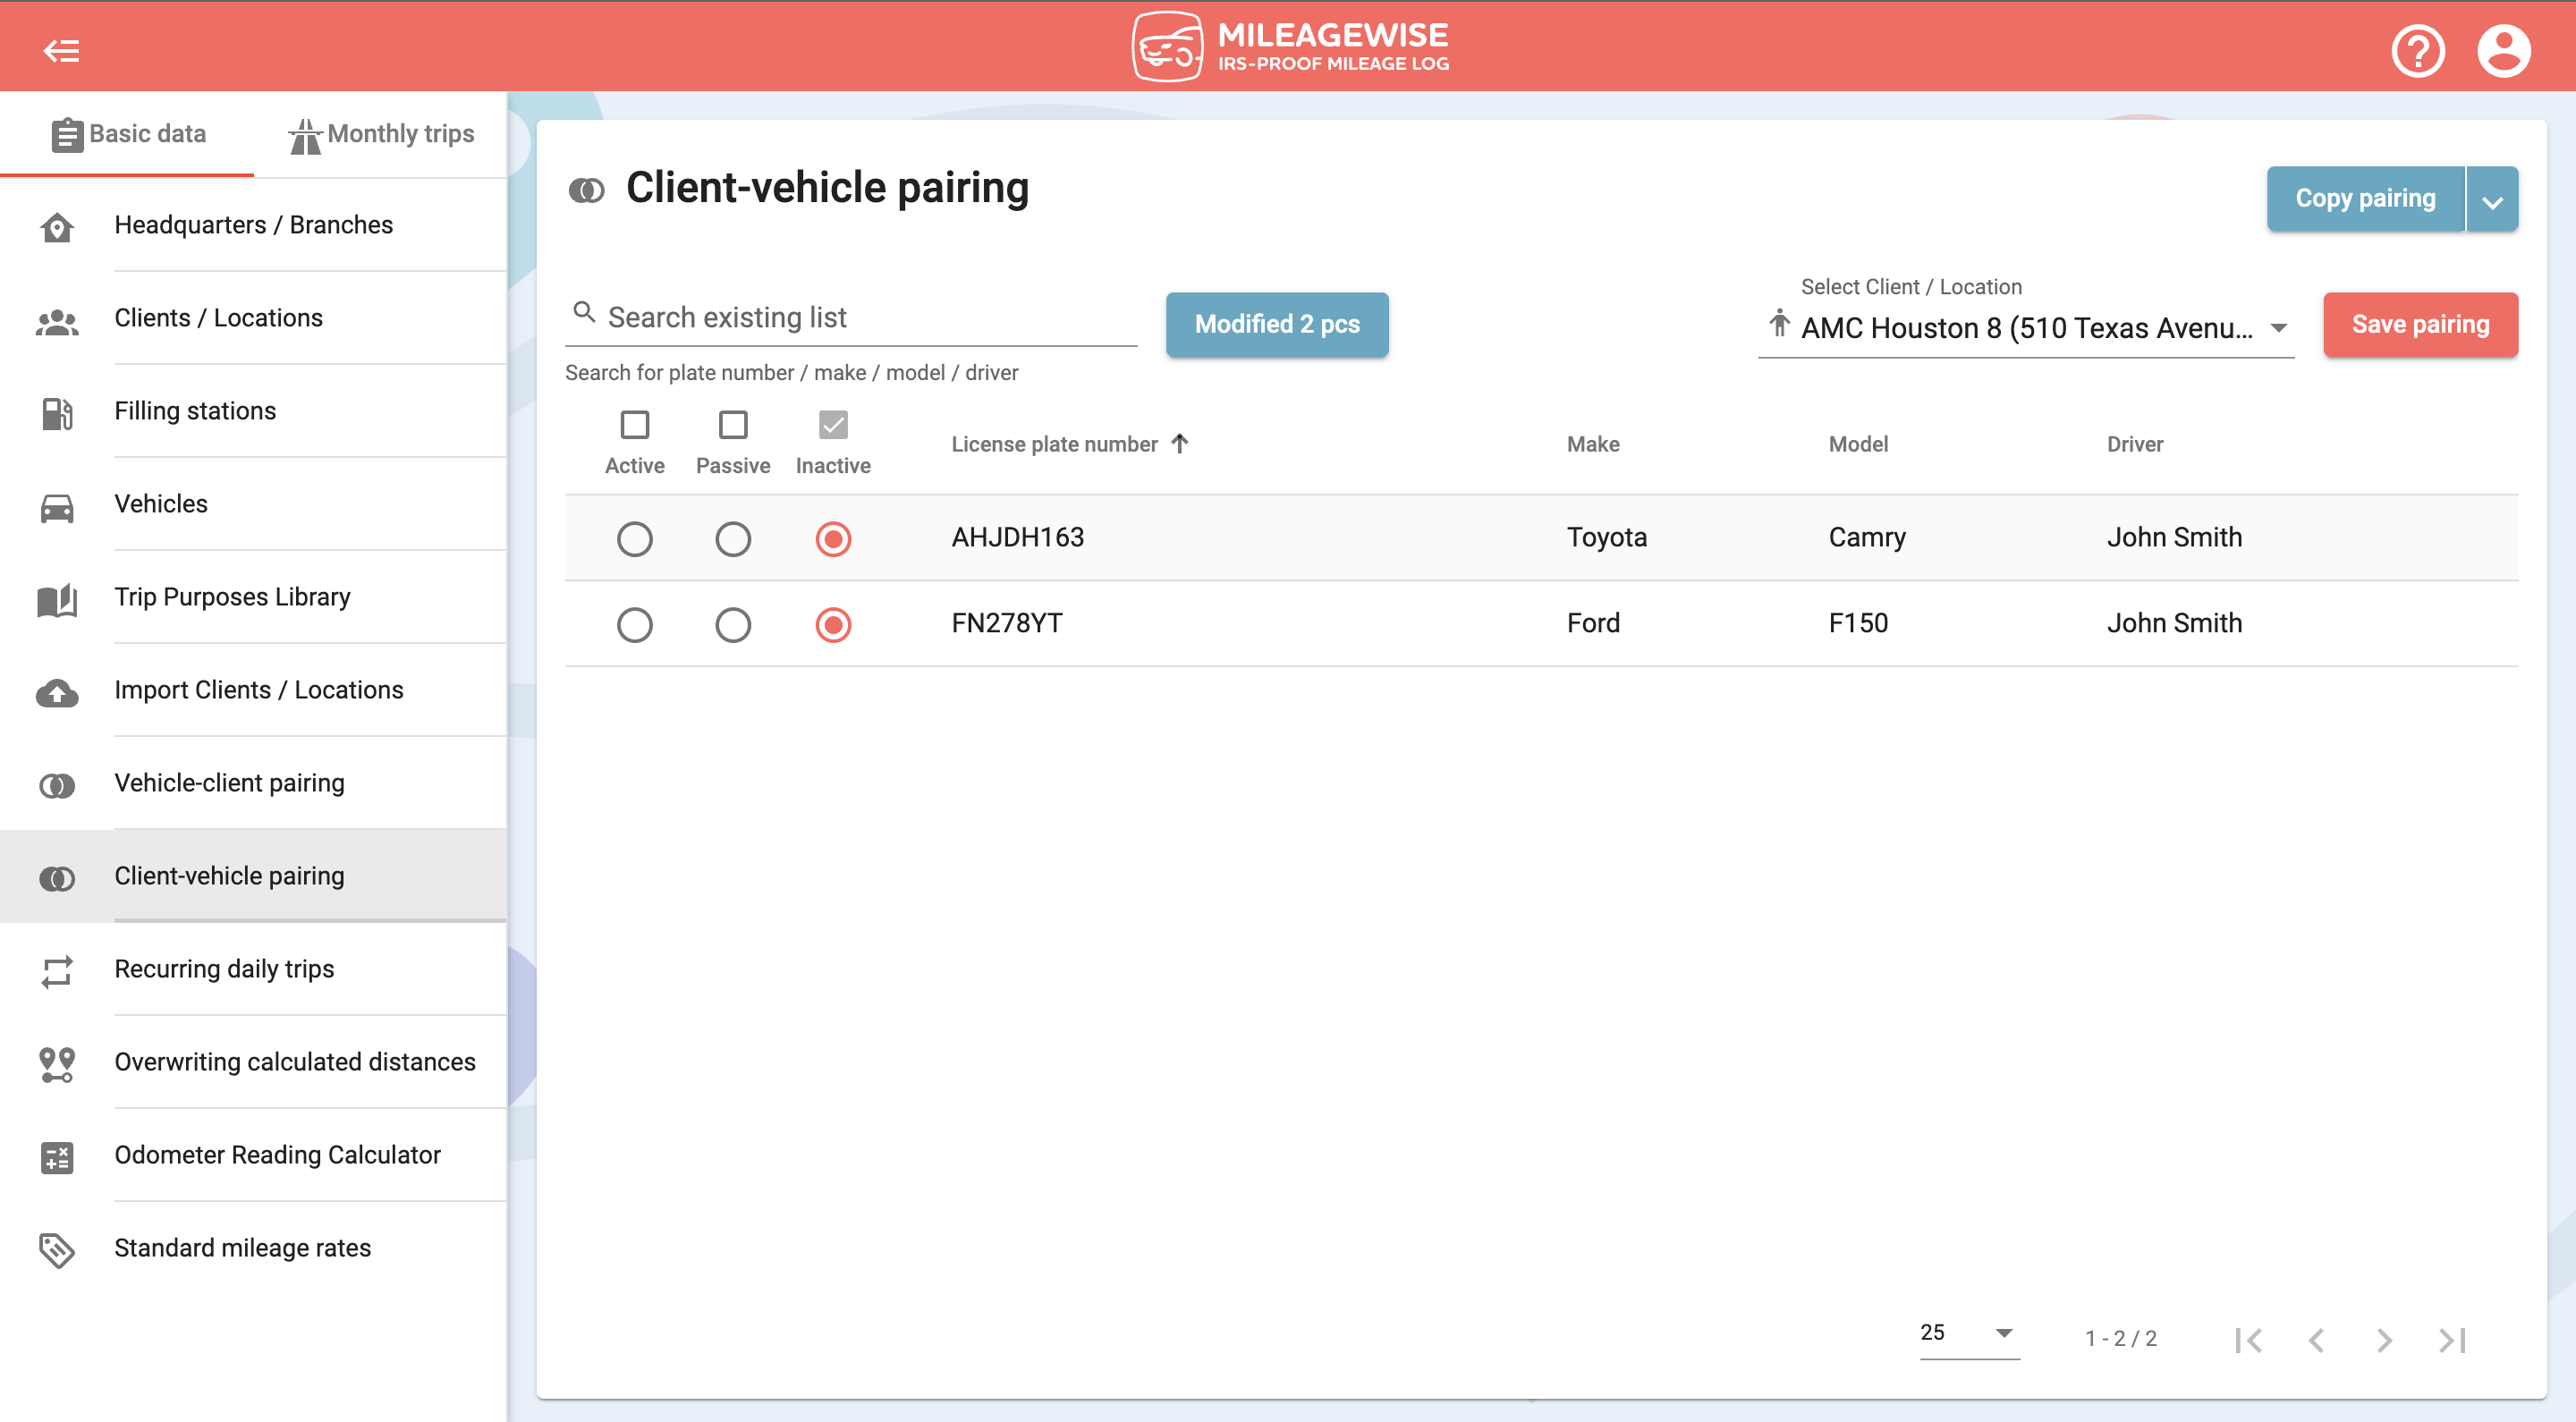
You can regroup all the vehicles at once by clicking the checkbox above each group:
Tip: If you want to copy the pairings from a particular vehicle to another vehicle, click on the menu in the top right, and select Copy pairing.
